Before proceeding with your tonal keys, take a few minutes to complete a tonal study based on some classic comic art. This way you'll have first hand experience how values can radically change how we experience an image. Be sure to do the reading if you haven't already. A Quick Primer on Values.pdf
WORKFLOW:
1. Select a piece of comic line art that you would like to work with. Download Line Art here and open in Photoshop.
2. Download this 5 Swatch Tonal Palette and import using the menu on the right of the Swatch panel.
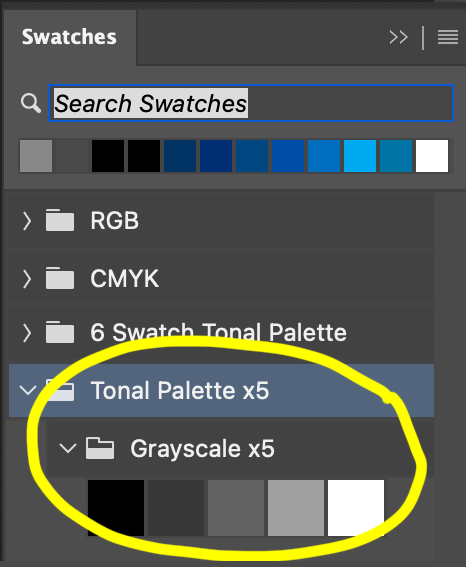

3. Next create a new layer above the BG layer. Then drag the BG layer on top and set the blend mode to multiply, and click the lock button.
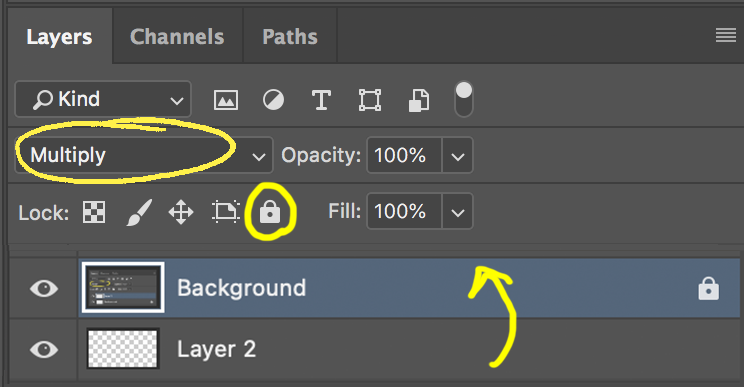
4. Fill in the new layer with a medium gray from the downladed tonal palette. Choose a foreground color by slecting a swatch from your palette, lighter or darker depending on the overall mood/time of day for your piece. With the new layer selected use the hotkey combo Alt/Delete to fill the layer. Note: Cmd/Delete will fill the layer with white (or whatever swatch you've selected for your BG color).
5. Use the poligonal Lasso tool to select and delete sections from your tone layer to establish your brightest areas.
6. Now you're now ready to begin painting in the rest of the tones. Create a new layer above your tonae layer and beign painting directly onto it.
7. When you are finished save your original PSD file to your project and then export a jpg by saving a copy (cmd/alt/S) and changing the file setting to jpg.
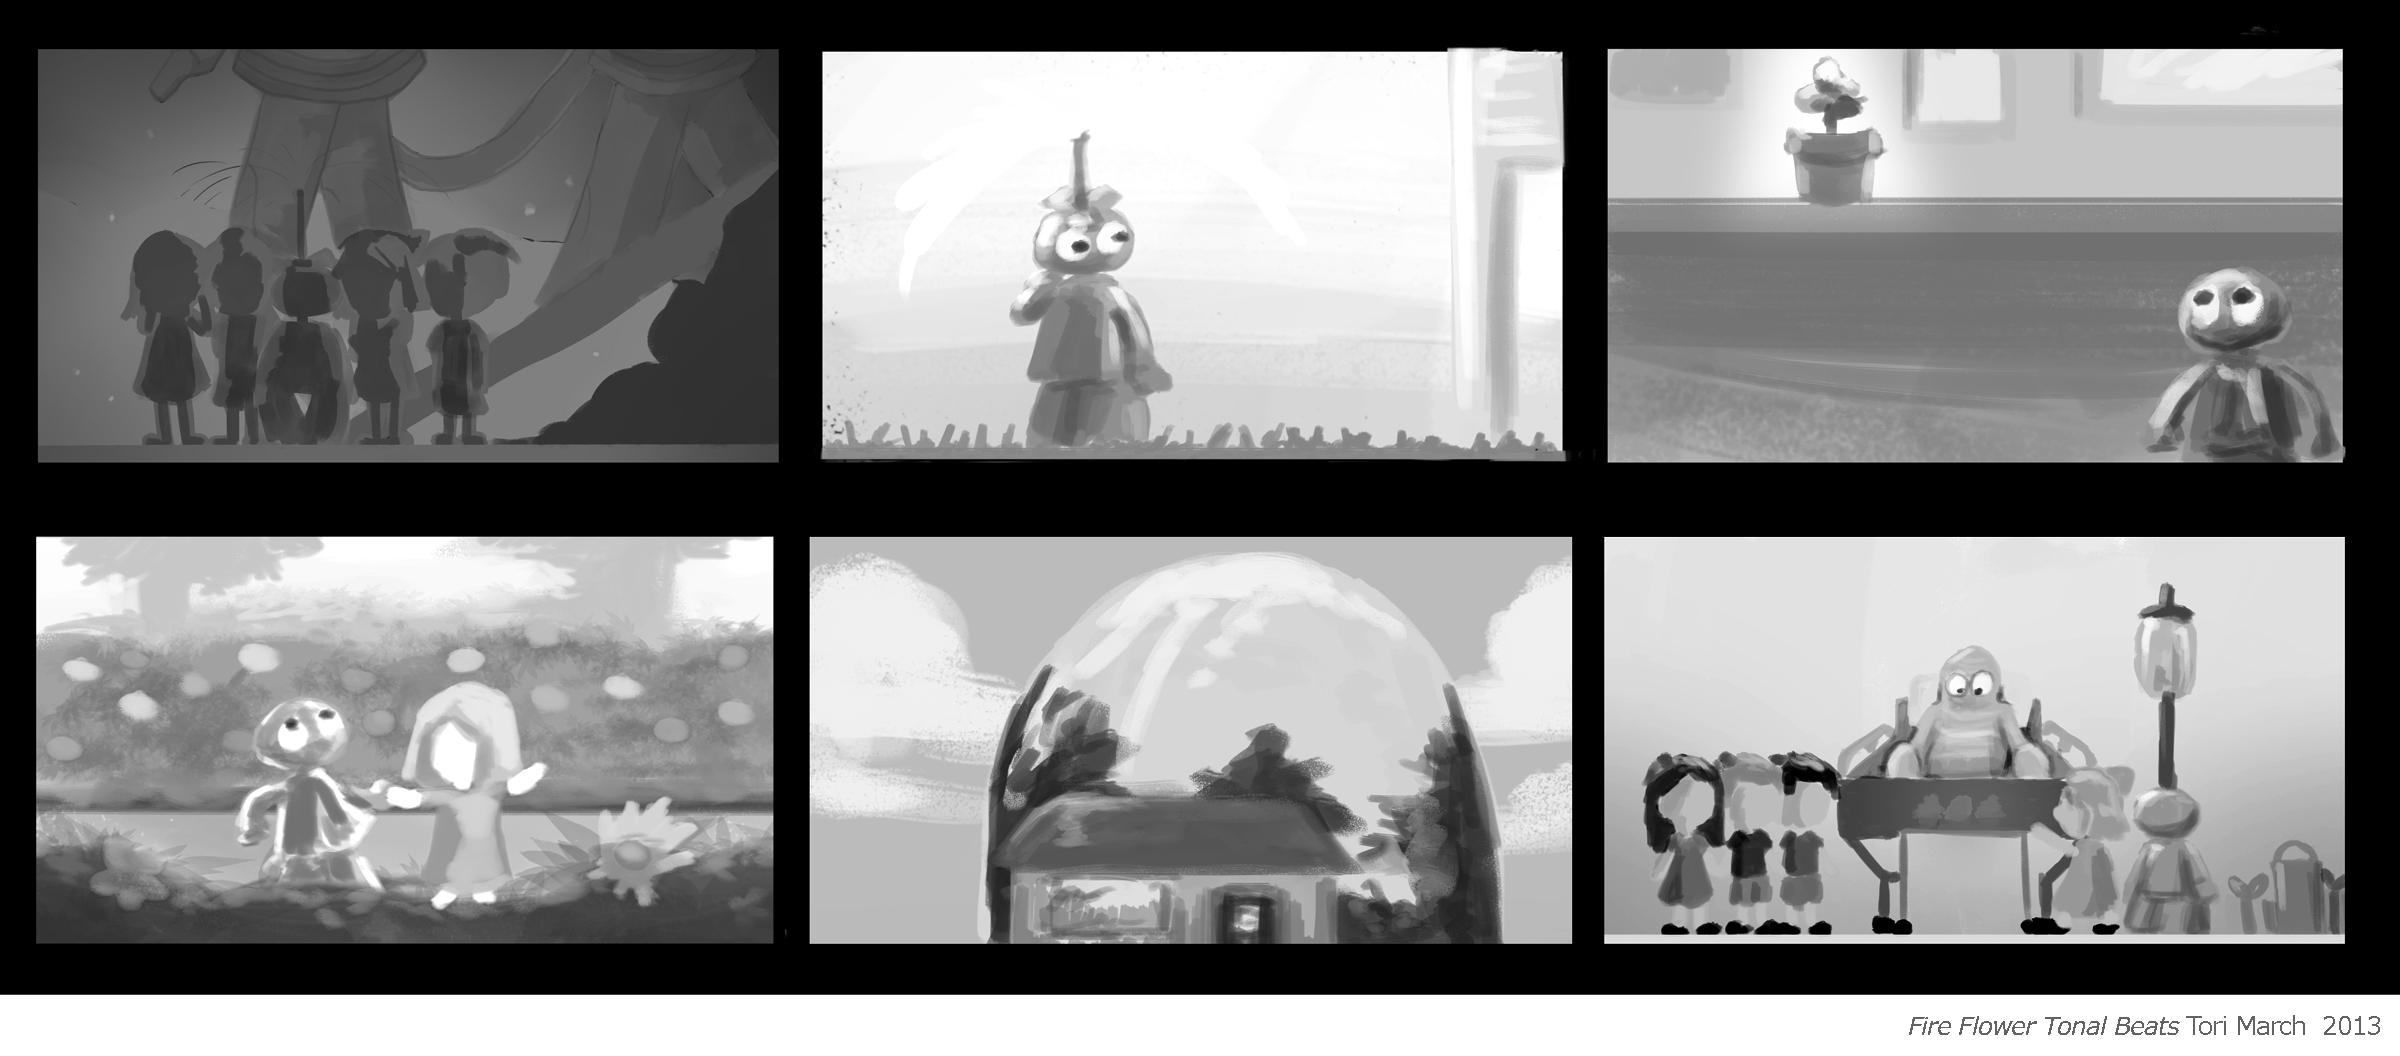
This is where you plot the emotional arc of your film and lay the ground work for lighting and color choices down the road. Select the story beats that best exemplify the changing moods, lighting and/or
settings in your story and then import them into a single photoshop file so you can work on them in sequence. Working small with a limited palette (white,
light gray, medium gray, dark gray and black) will help you to establish basic lighting, clarify images and
accentuate the emotional tone underscored in each scene.
EXAMPLE:
TUTORIAL/DEMO:
Watch this short series of videos on Setting up and Implementing Tonal Keys in Photoshop.
WORKFLOW:
1. Download Tonal Template here.
Tonal/Color Script Template_6.psd
Tonal/Color Script Template_7.psd
Tonal/Color Script Template_16.psd
2. Open the file in Photoshop and import the panels you have chosen as your tonal keys. Arrange the panels in order under the "Black Frame" layer. Rasterize and flatten (cmd E) the imported panels, and set the opacity of the flattened layer to 50%. To rasterize the imported layers, select them all, right-mouse and choose Rasterize Layer.
3. If you haven't already, download this 5 Swatch Tonal Palette and import using the menu on the right of the Swatch panel.
4. Next create a new layer between the Black Frame layer and your Tonal Keys and set the blend mode to multiply. You are now ready to start painting.
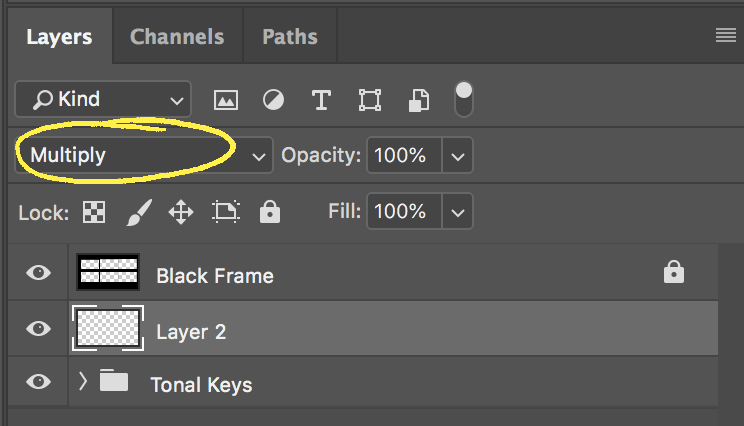
5. I suggest you begin by filling the new layer with a medium gray from the downladed tonal palette. Lighter or darker depending on the overall mood/time of day for your piece. Continue to paint directly on the new layer, working back and forth between all of the panels at once until you are happy with how they work as a progression. Once you've painted all of the panels, you may want to use levels (cmd L) to adjust selected panels for brigtness and contrast.
6. When you are finished save your original PSD file to your project and then export a jpg by saving a copy (cmd/alt/S) and changing the file setting to jpg.
SPECS:
- Use a 5-tone BW palette
- Multiple panels arranged in a single image against a black or neutral background.
- 3600px across
NAMING: simpsonB_fireflower_tonalKey.jpg