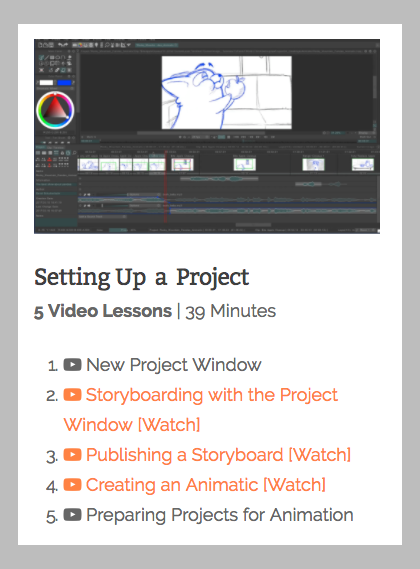
TV PAINT STORY REEL SET-UP: STEP BY STEP
A. STORYBOARD TUTORIALS:
Watch these three tutorials before getting started. You'll need to scroll down the page a bit to find them.
https://www.bloopanimation.com/tvpaint-animation/
B. STORY REEL SET-UP IN TVP: STEP BY STEP
- Create Project Folder and include the following folders:
- Audio
- TVP
- Panels
- Movies
- Use Batch Rename in Bridge to Rename story panels with concise naming.
Example:
fishbones_01.jpg
fishbones_02.jpg
fishbones_03.jpg
- Open TV Paint and Open/Import story panels.
- Select the first images and click Load.
- Select Project and under Split Scene choose "Clip"
- Click on Import
- Merge Action Beats Clips into a Single Clip.
- Select the first clip of a series of action beats you want to merge and click on the double arrows facing each other in the project tab. You want the lower one labeled "Merge Clips"
- Import Click Track/Music
- Go to the Story Resource Page and download several (or all click tracks) to the Audio folder in your project. If you are using music you can use the Free Music links at the bottom of the page or resource your own. Either way, don't forget to store them in the AUDIO folder.
- In the Project Tap on the Timeline choose the "Timeline View"
- Click on "Add a Soundtrack" and browse to your Audio folder and import the Clicktrack tempo or music that best suits the timing of your project.
- Click on the imported track and slide it to the left to so that the first image is in line with second click of the double click at the head of the track.
- Change Clip Timings
- Use the Zoom tool to make the clips as large as possible.
- Start with the first clip and drag the right border to the right until it aligns with the next audio click.
- Select the right border of the second clip and drag that to the right until it aligns with the second click.
- Repeat until each clip is a single click in length.
- Click Play. You may have to turn off the mute button in the remote control to hear your click track.
- Watch you’re the timeline and make notes as to where your timings need to change.
- Modify Clips by Creating New Layers and Drawing Over Original Panels.
- Work in "Clip" mode.
- Create new layers to draw over original panels.
- Create extra layers for FG, Mid-ground and Background when neccessary.
- Create new instances to communicate multiple "action beats" within a Clip.
- Export Project Movie.
- Go to File/Export
- In the Project Display Tab Choose the following
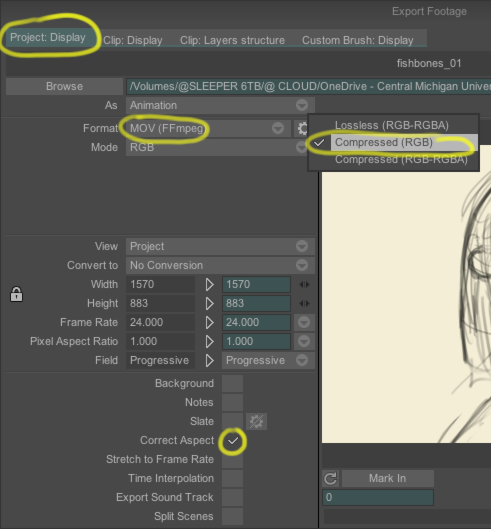
c. Browse to Movie folder in your project.
d. Click Export