Teams will brainstorm, research and produce three *five-panel concepts and pitch them to the class next week. Each pitch will be accompanied by a supporting document consisting of one or two inspirational images, a one-sentence process strategy, and a breakdown of production roles per artist.
* "five-panels" is loosely defined and may be expanded upon if one or two more panels are needed to convey a more complex progression of beats.
A. *FIVE-PANEL PITCH SEQUENCE (x3)
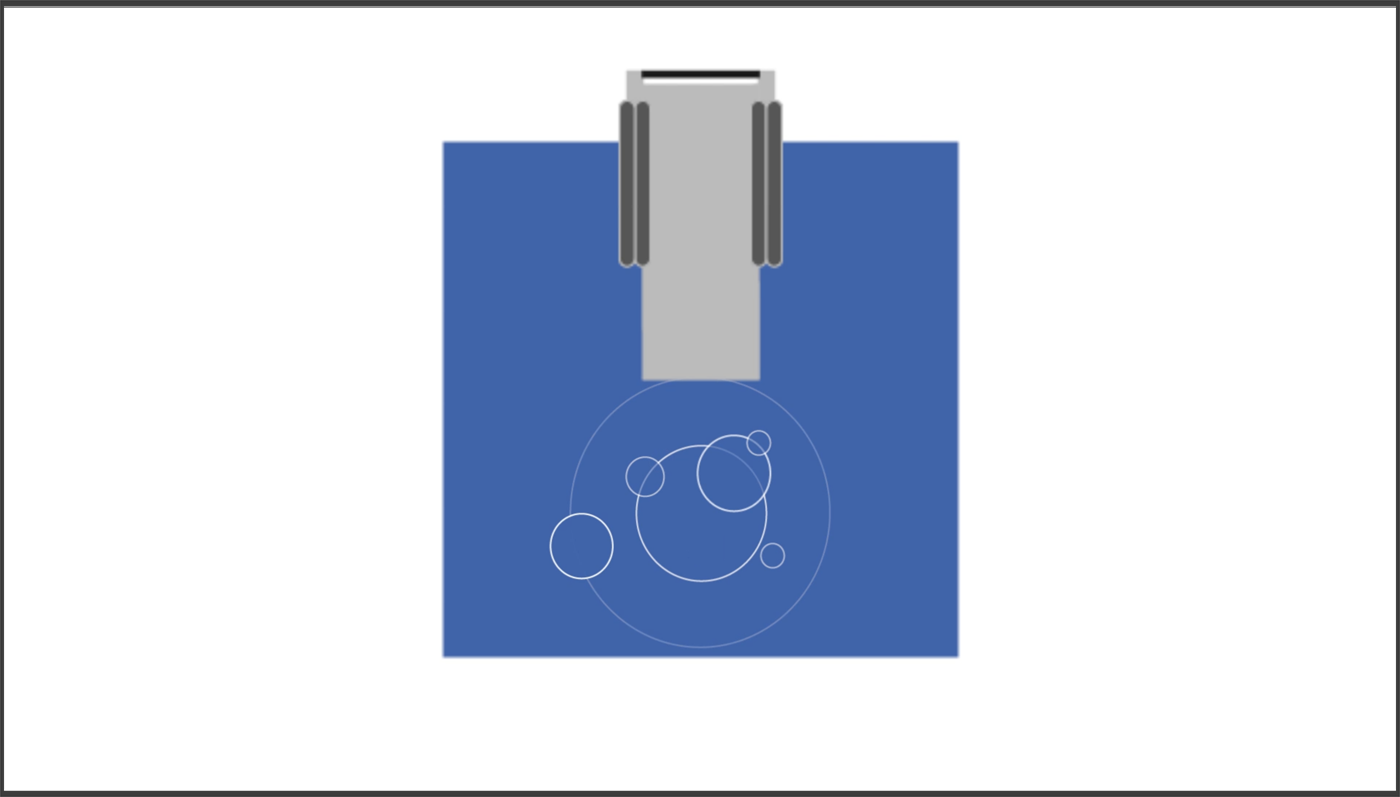
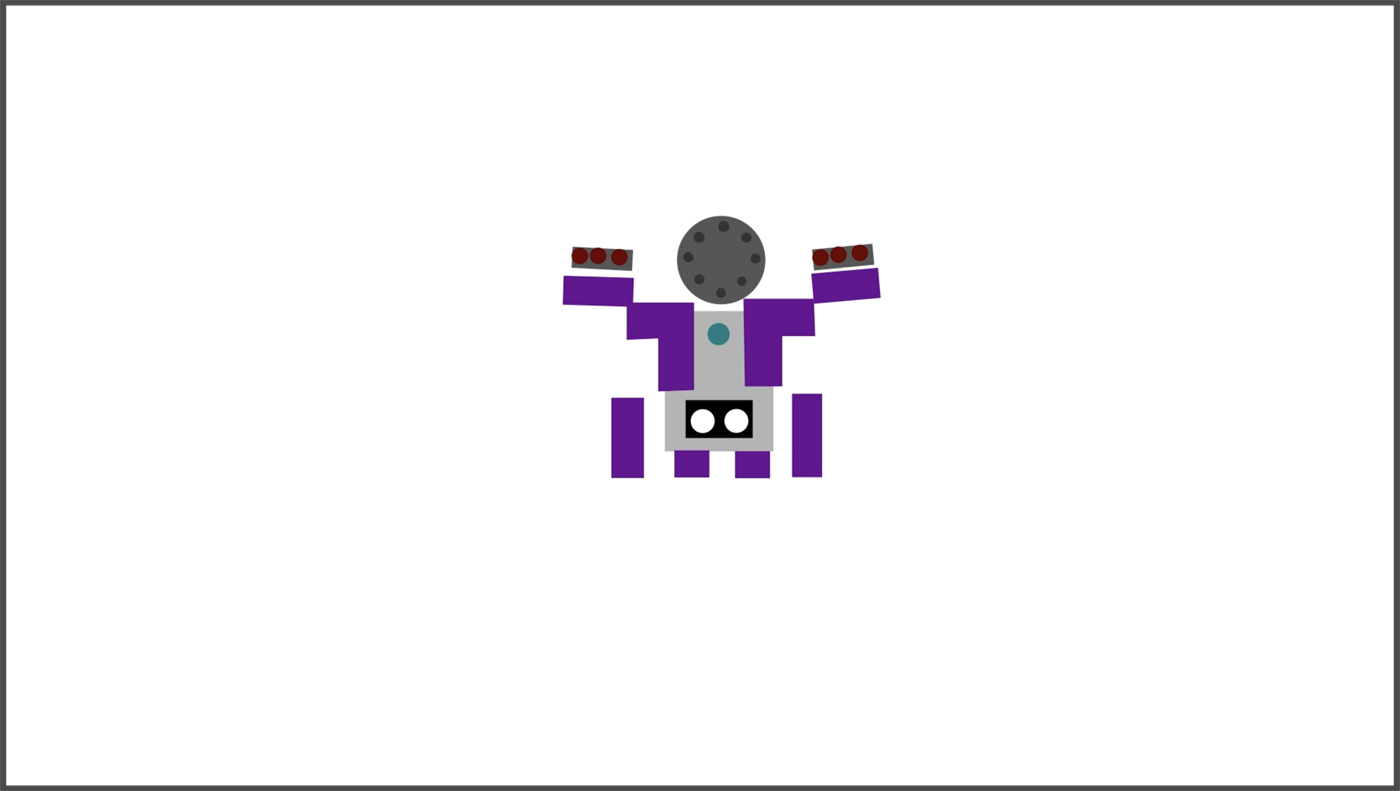
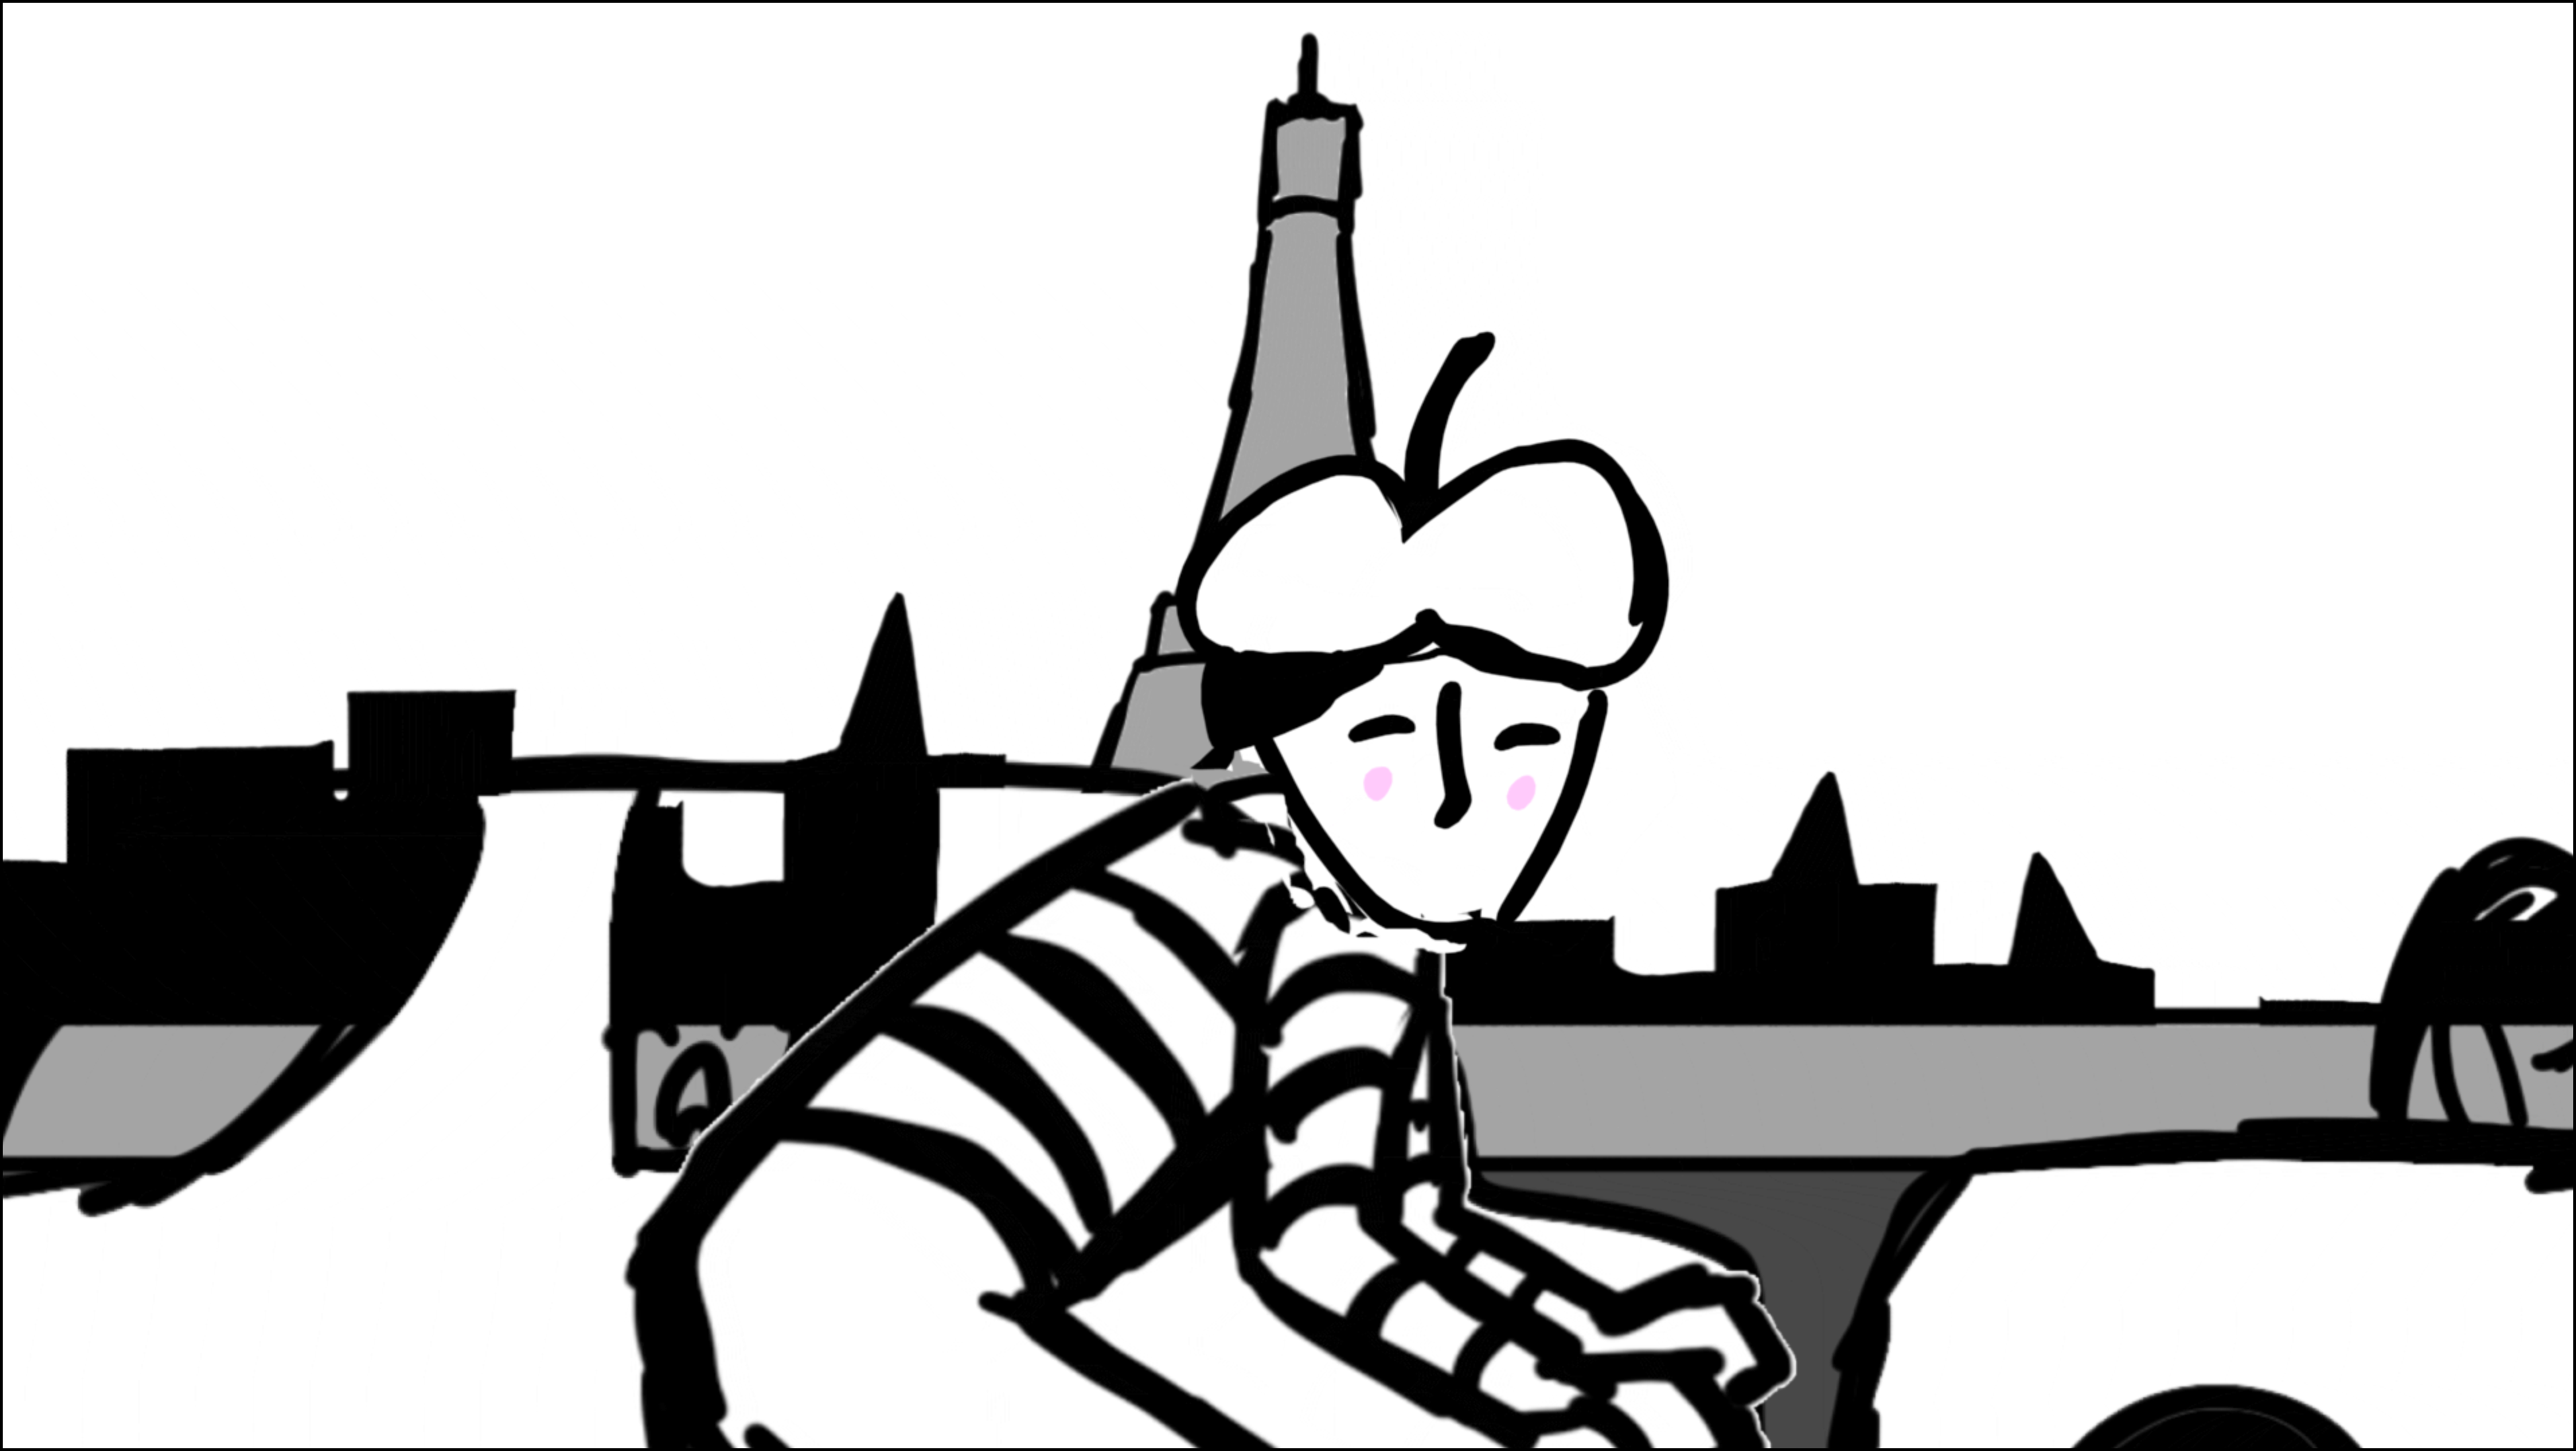
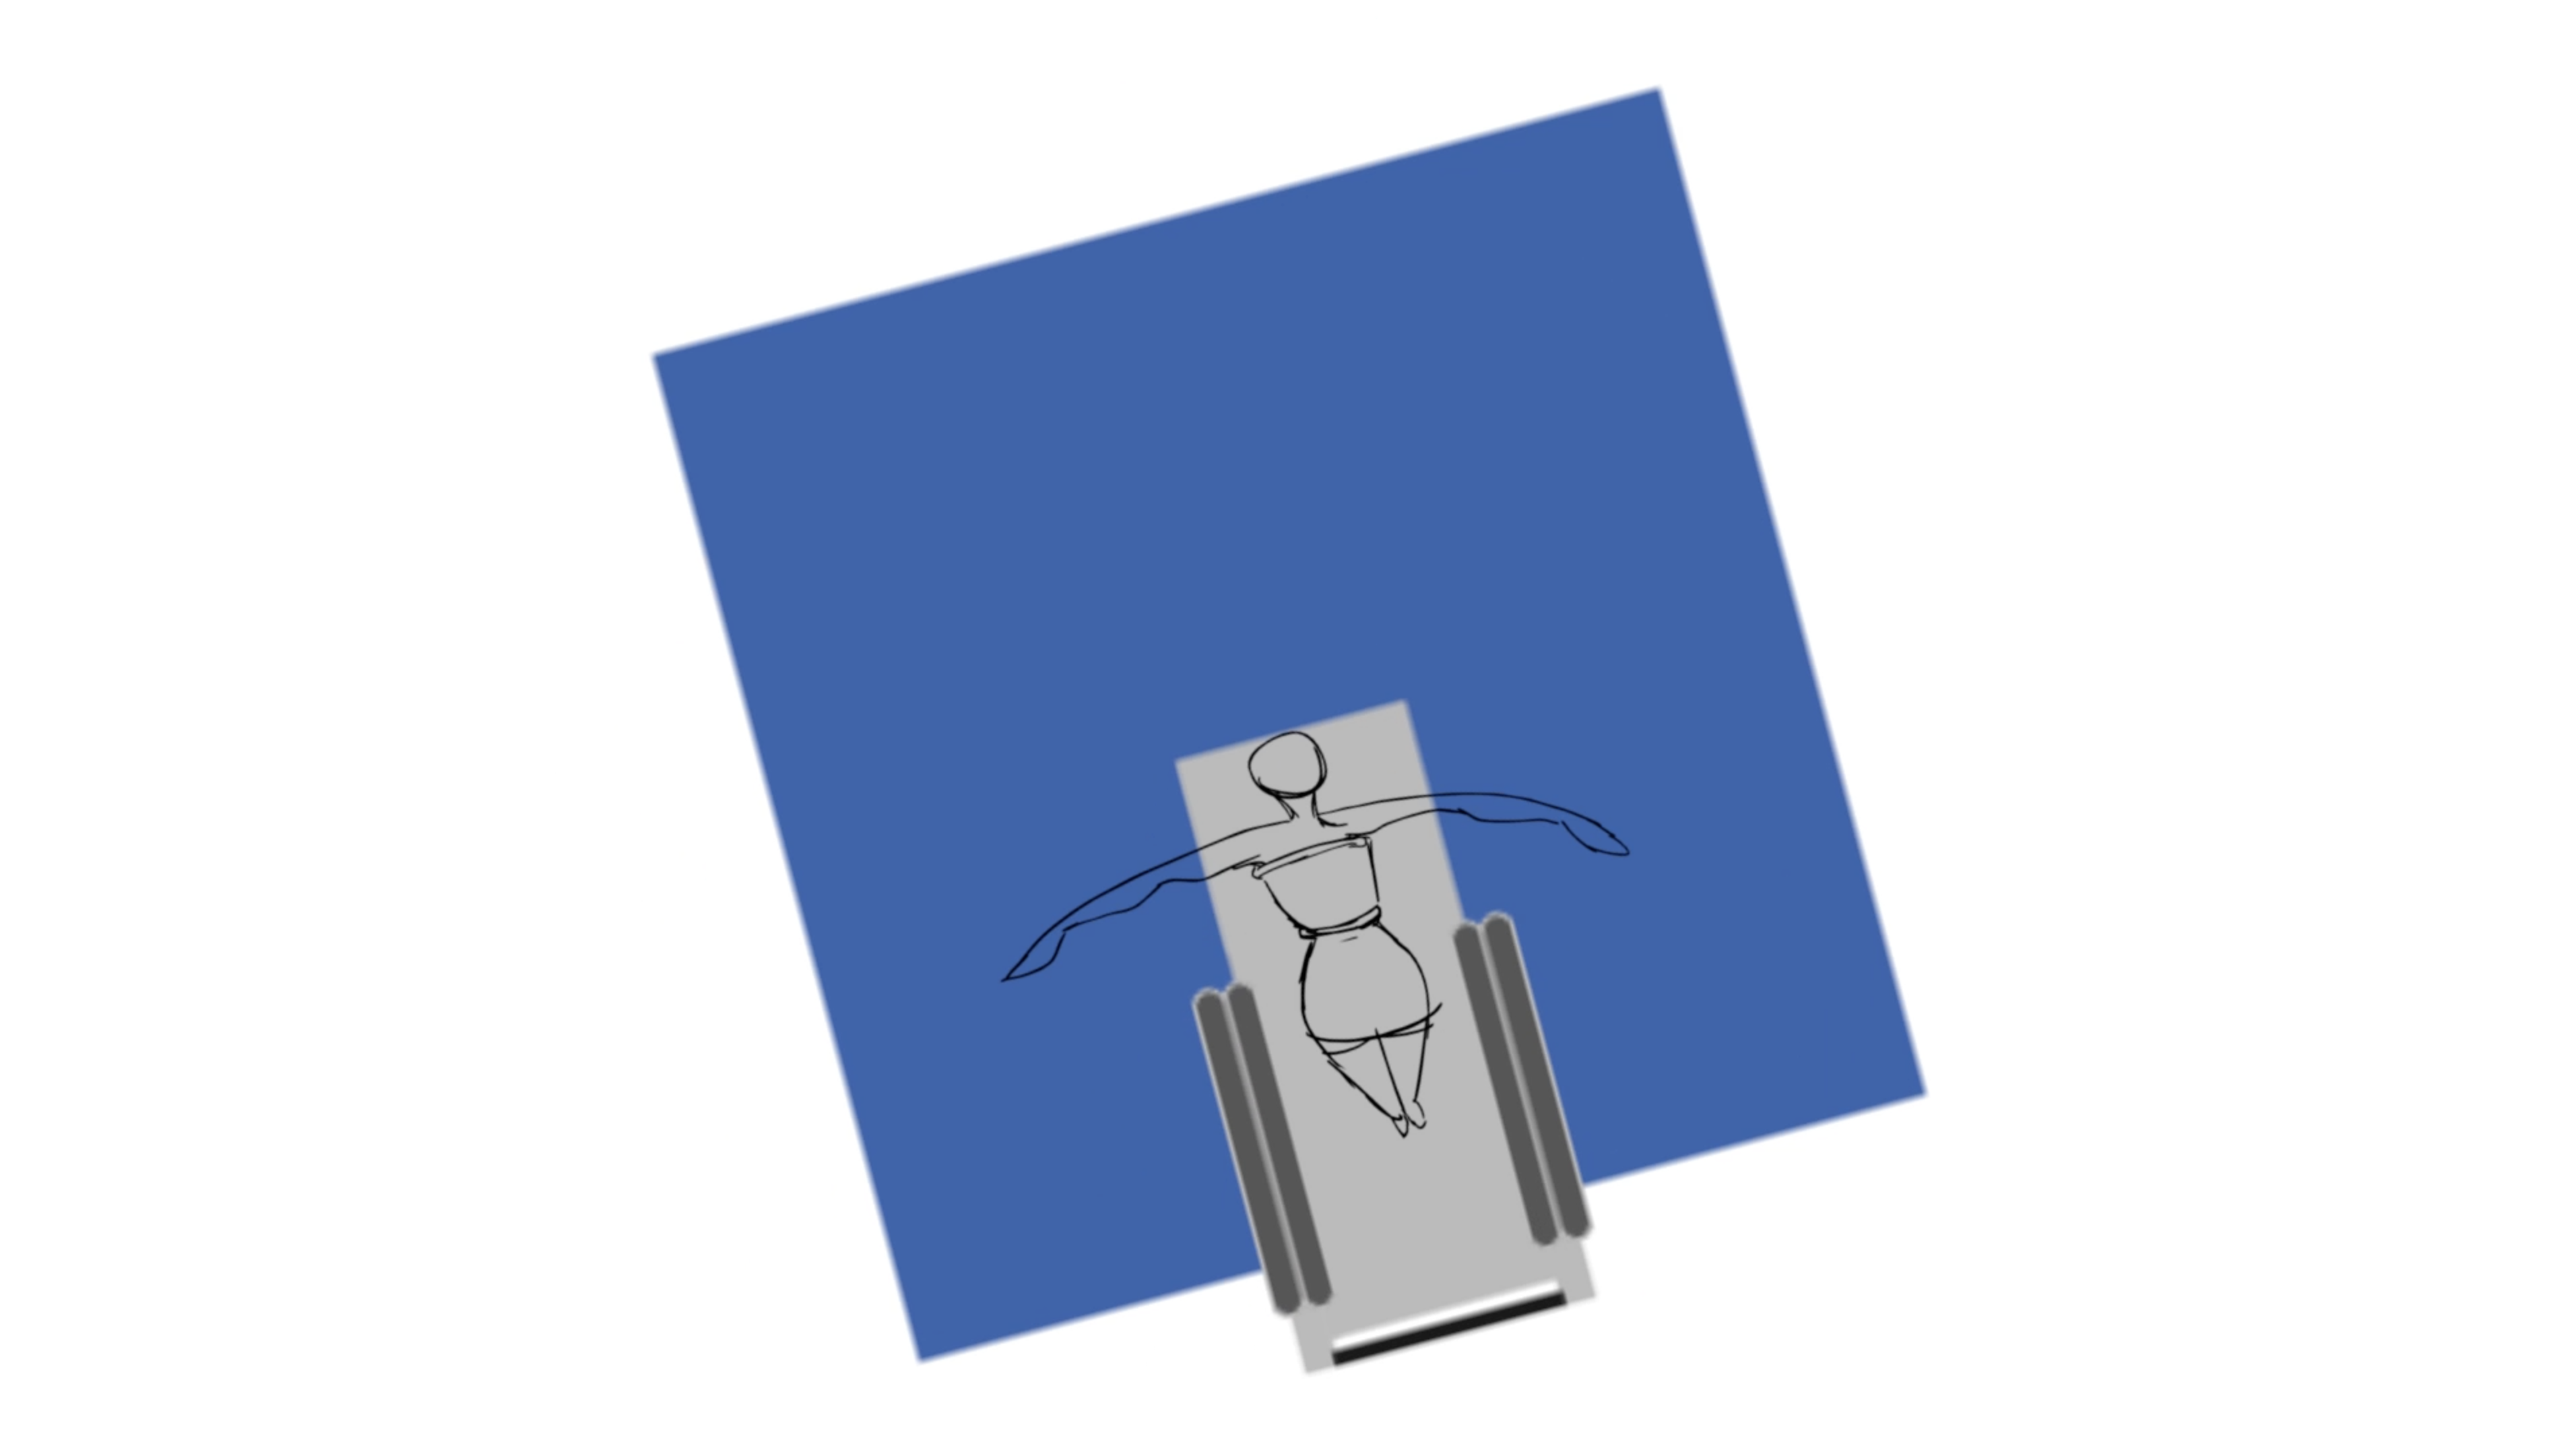
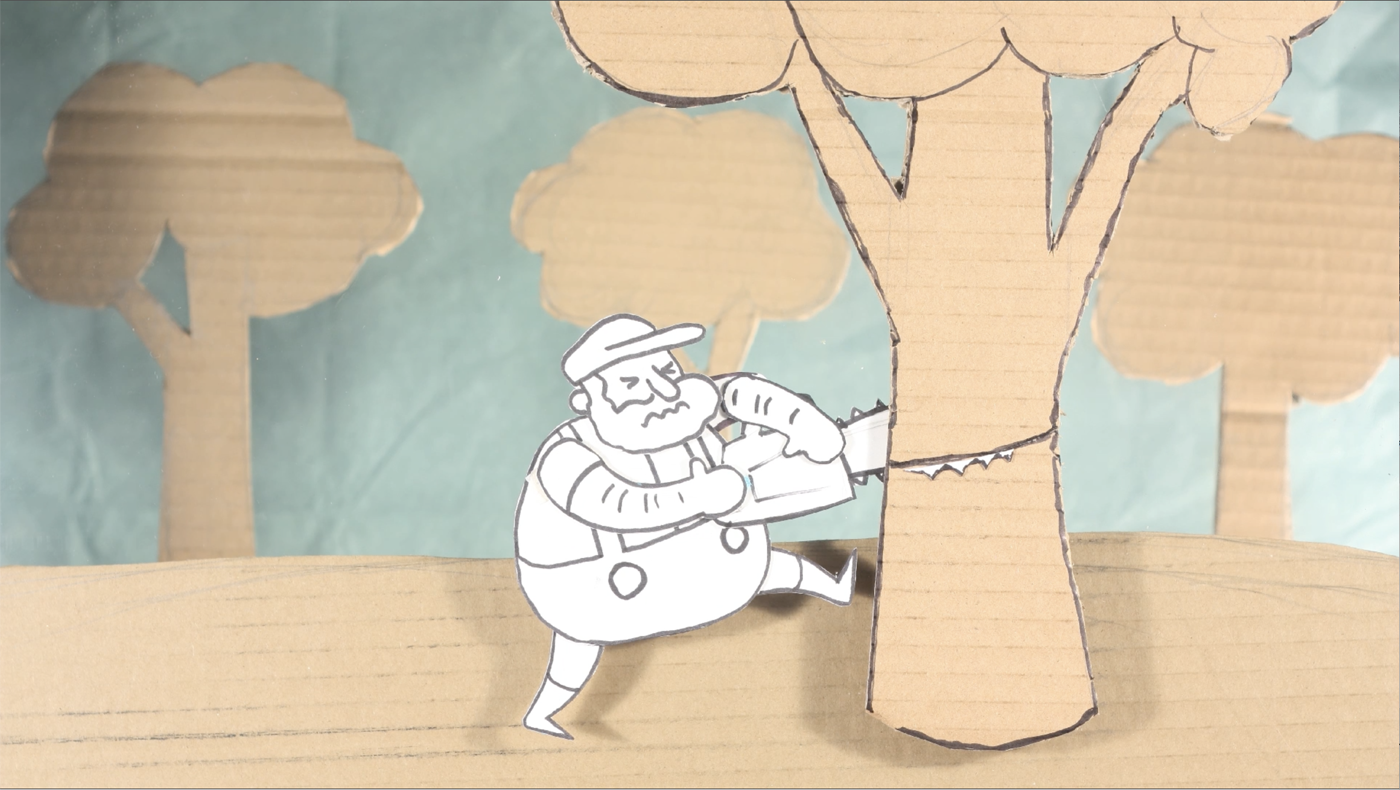
For the first Milestone in this project, you will be pitching three possible *five-panel scenerios. Each of your pitch sequences should provide a visually engaging solution to the subject at hand utilizing animated motion and cinematic design.
For the "Square Project" each pitch should begin and end on a 250 x 250 pixel square.
* "five-panels" is loosely defined and may be expanded upon if one or two more panels are needed. Eight or more panels may suggest your idea could be too complex to execute as a micro-short.
Workflow:
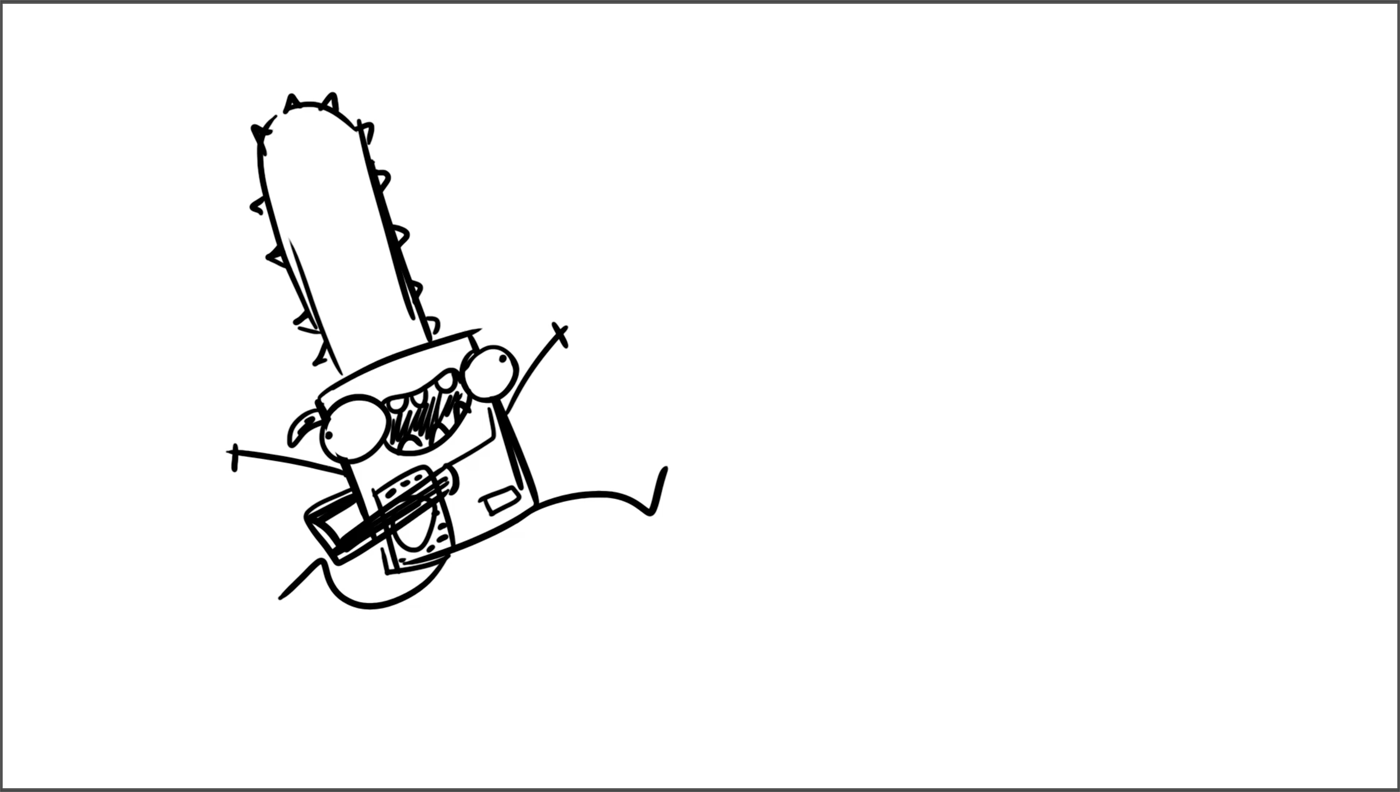
1. Meet with your partner and bang out as many five-panel* options as possible. Work small, rough and quickly at this stage. Once you have a few ideas, narrow them down to your best three to develop further for presentation.
2. Take as many panels as you need at first to clarify the concept and then edit them back to essential panels for your final pitch. ALWAYS save your outtakes! If it turns out that you need an extra panel or two to sell the pitch, this is acceptable. Any more than that and you're either not editing as well as you should or your idea is too complicated to deliver as a micro-short.
3. Reformat your panels to a 16;9 aspact ratio (1920 x 1080) by utilzing the .psd template file provided here microshort_squareTemplates.zip. Shift/Select all your panels in Adobe Bridge and then click here for a handy Import files as Photoshop Layers tip.
4. Take time to clean up your images. Line, color, tone . . . use whatever you need to clearly communicate your vision for the final animation.
5. Save each pitch in a single folder of sequential jpgs and practice flipping through them in Adobe Bridge.
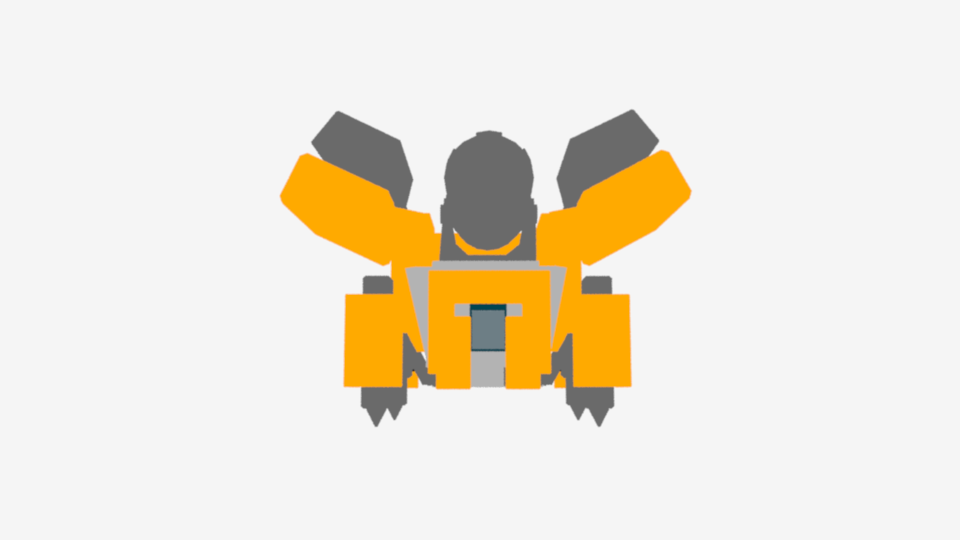
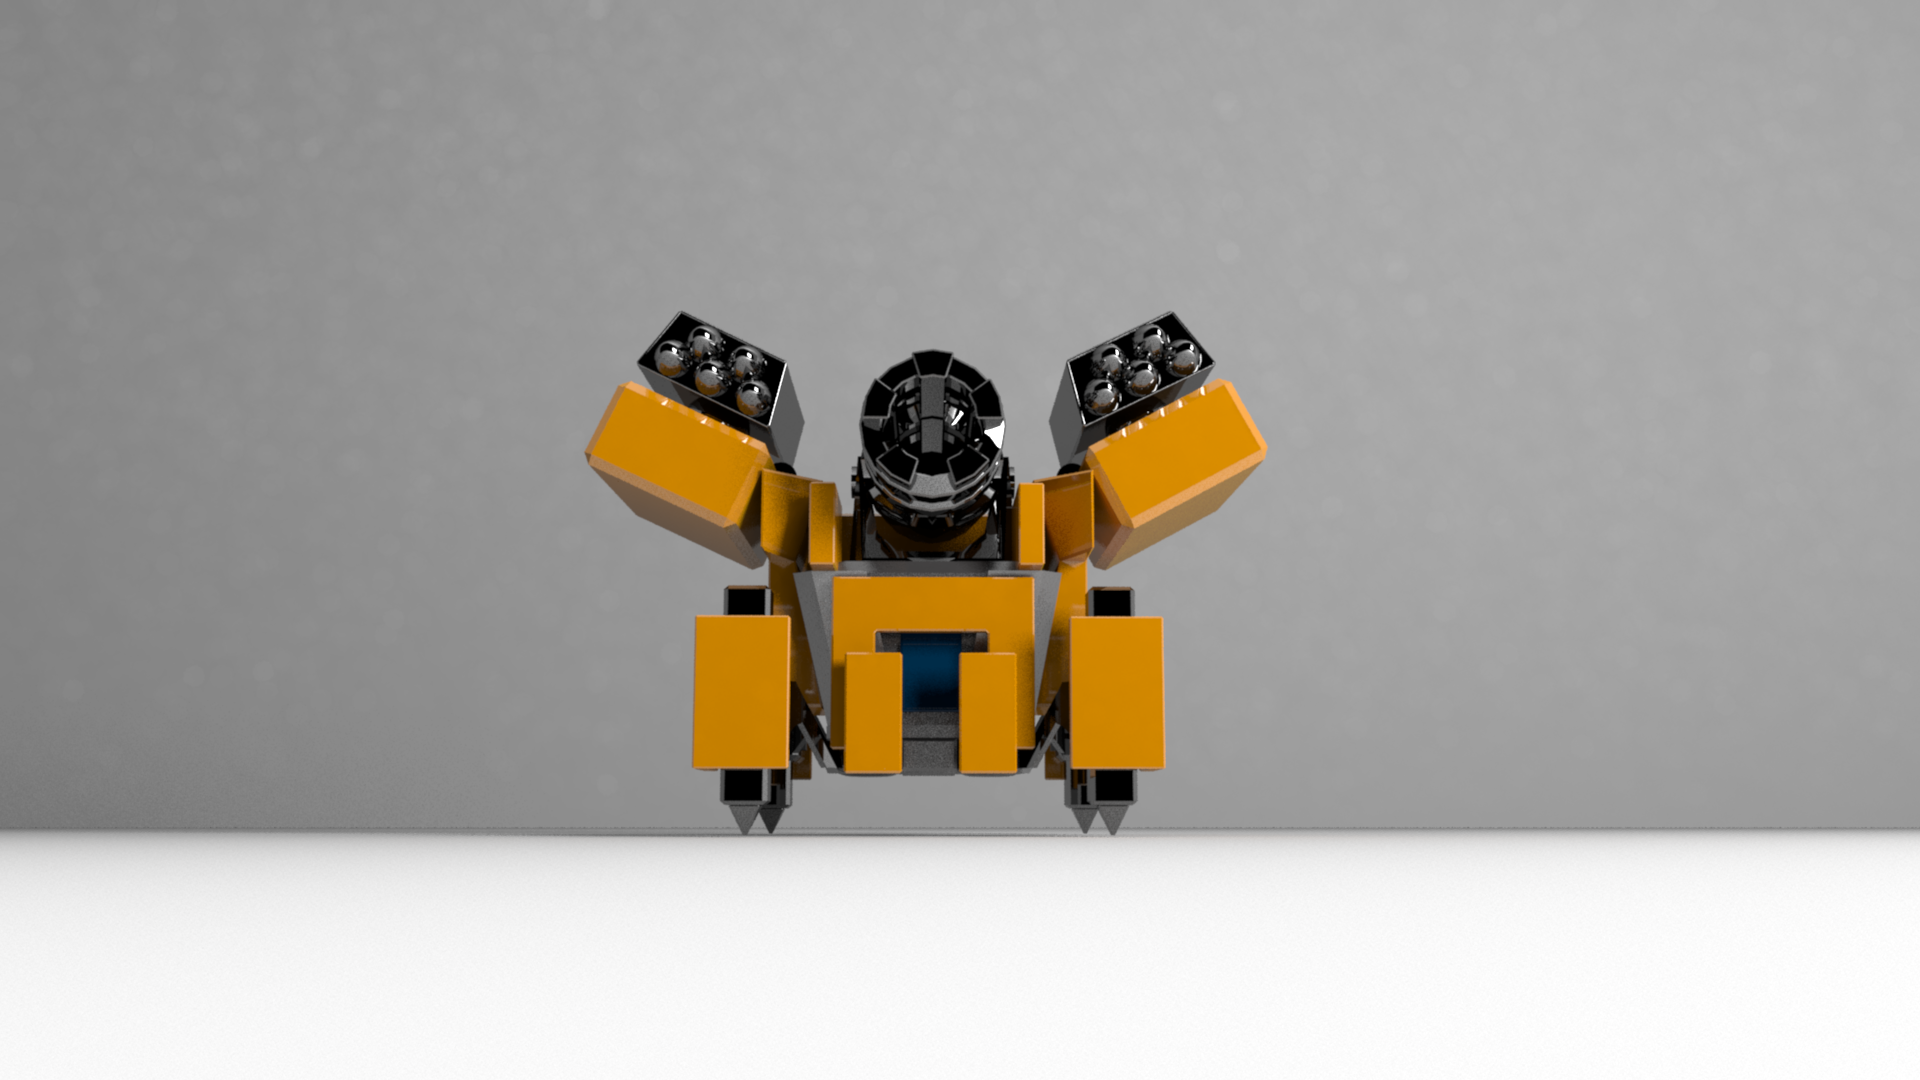
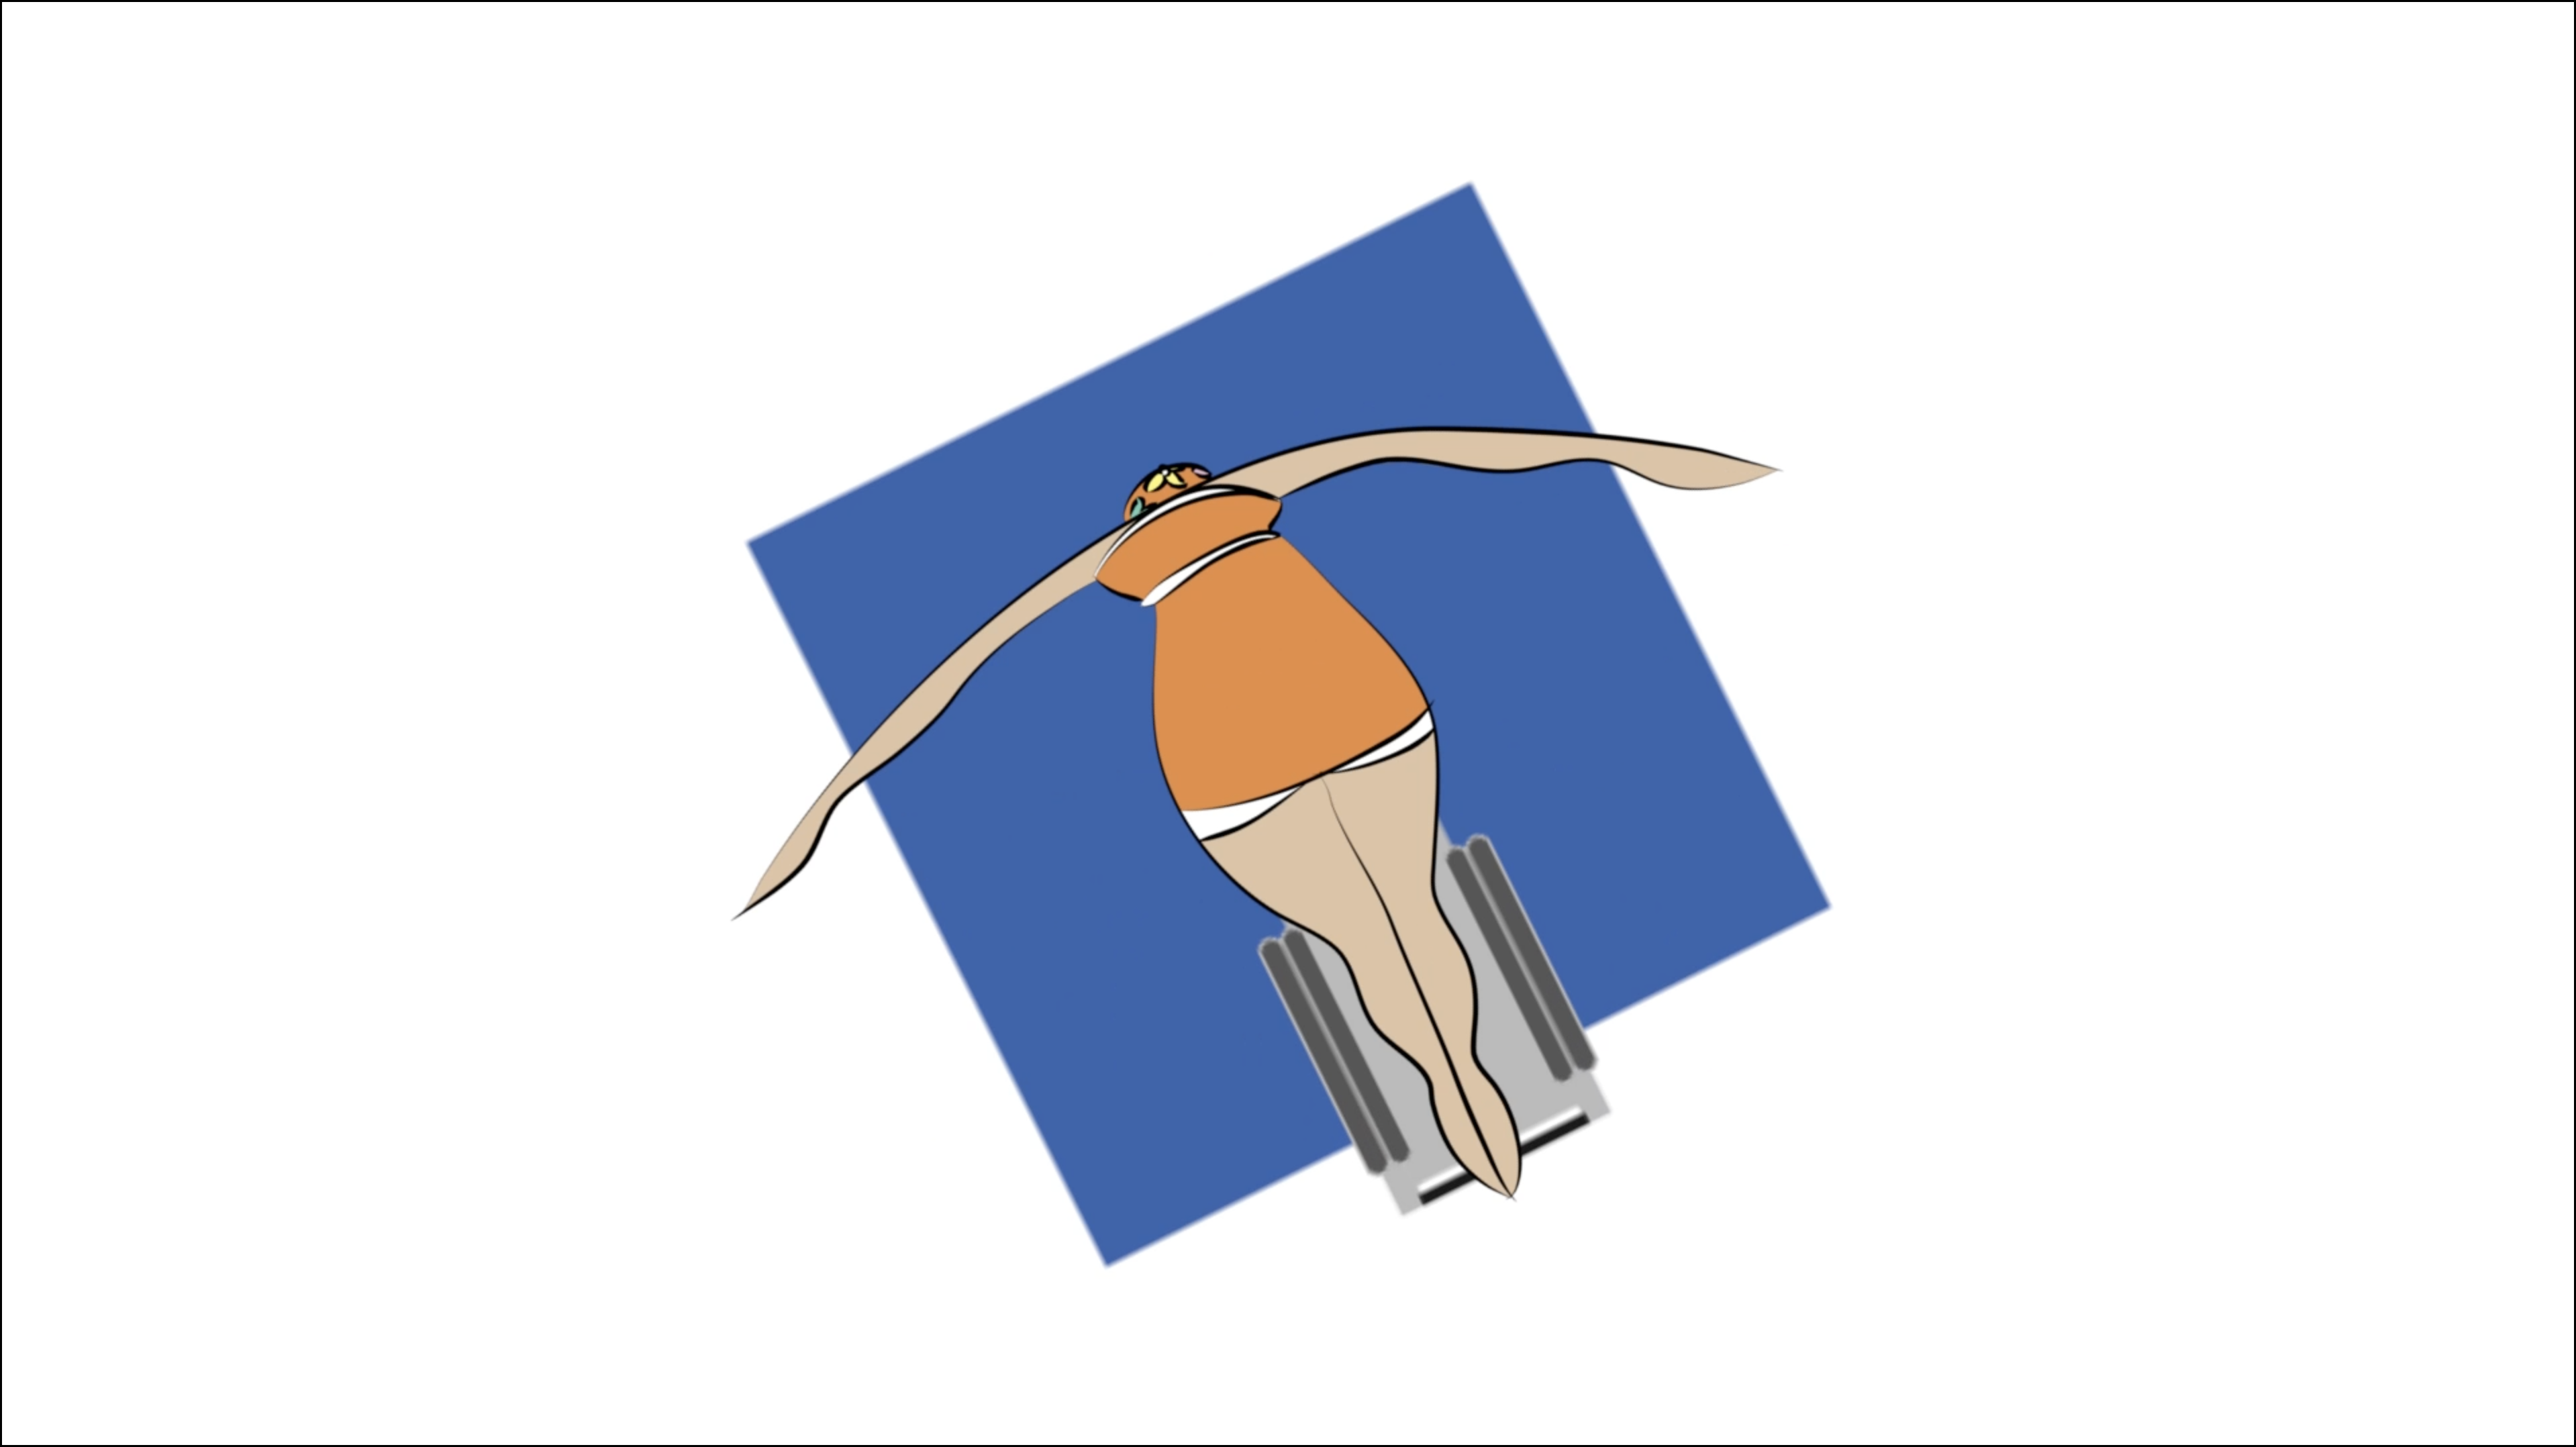
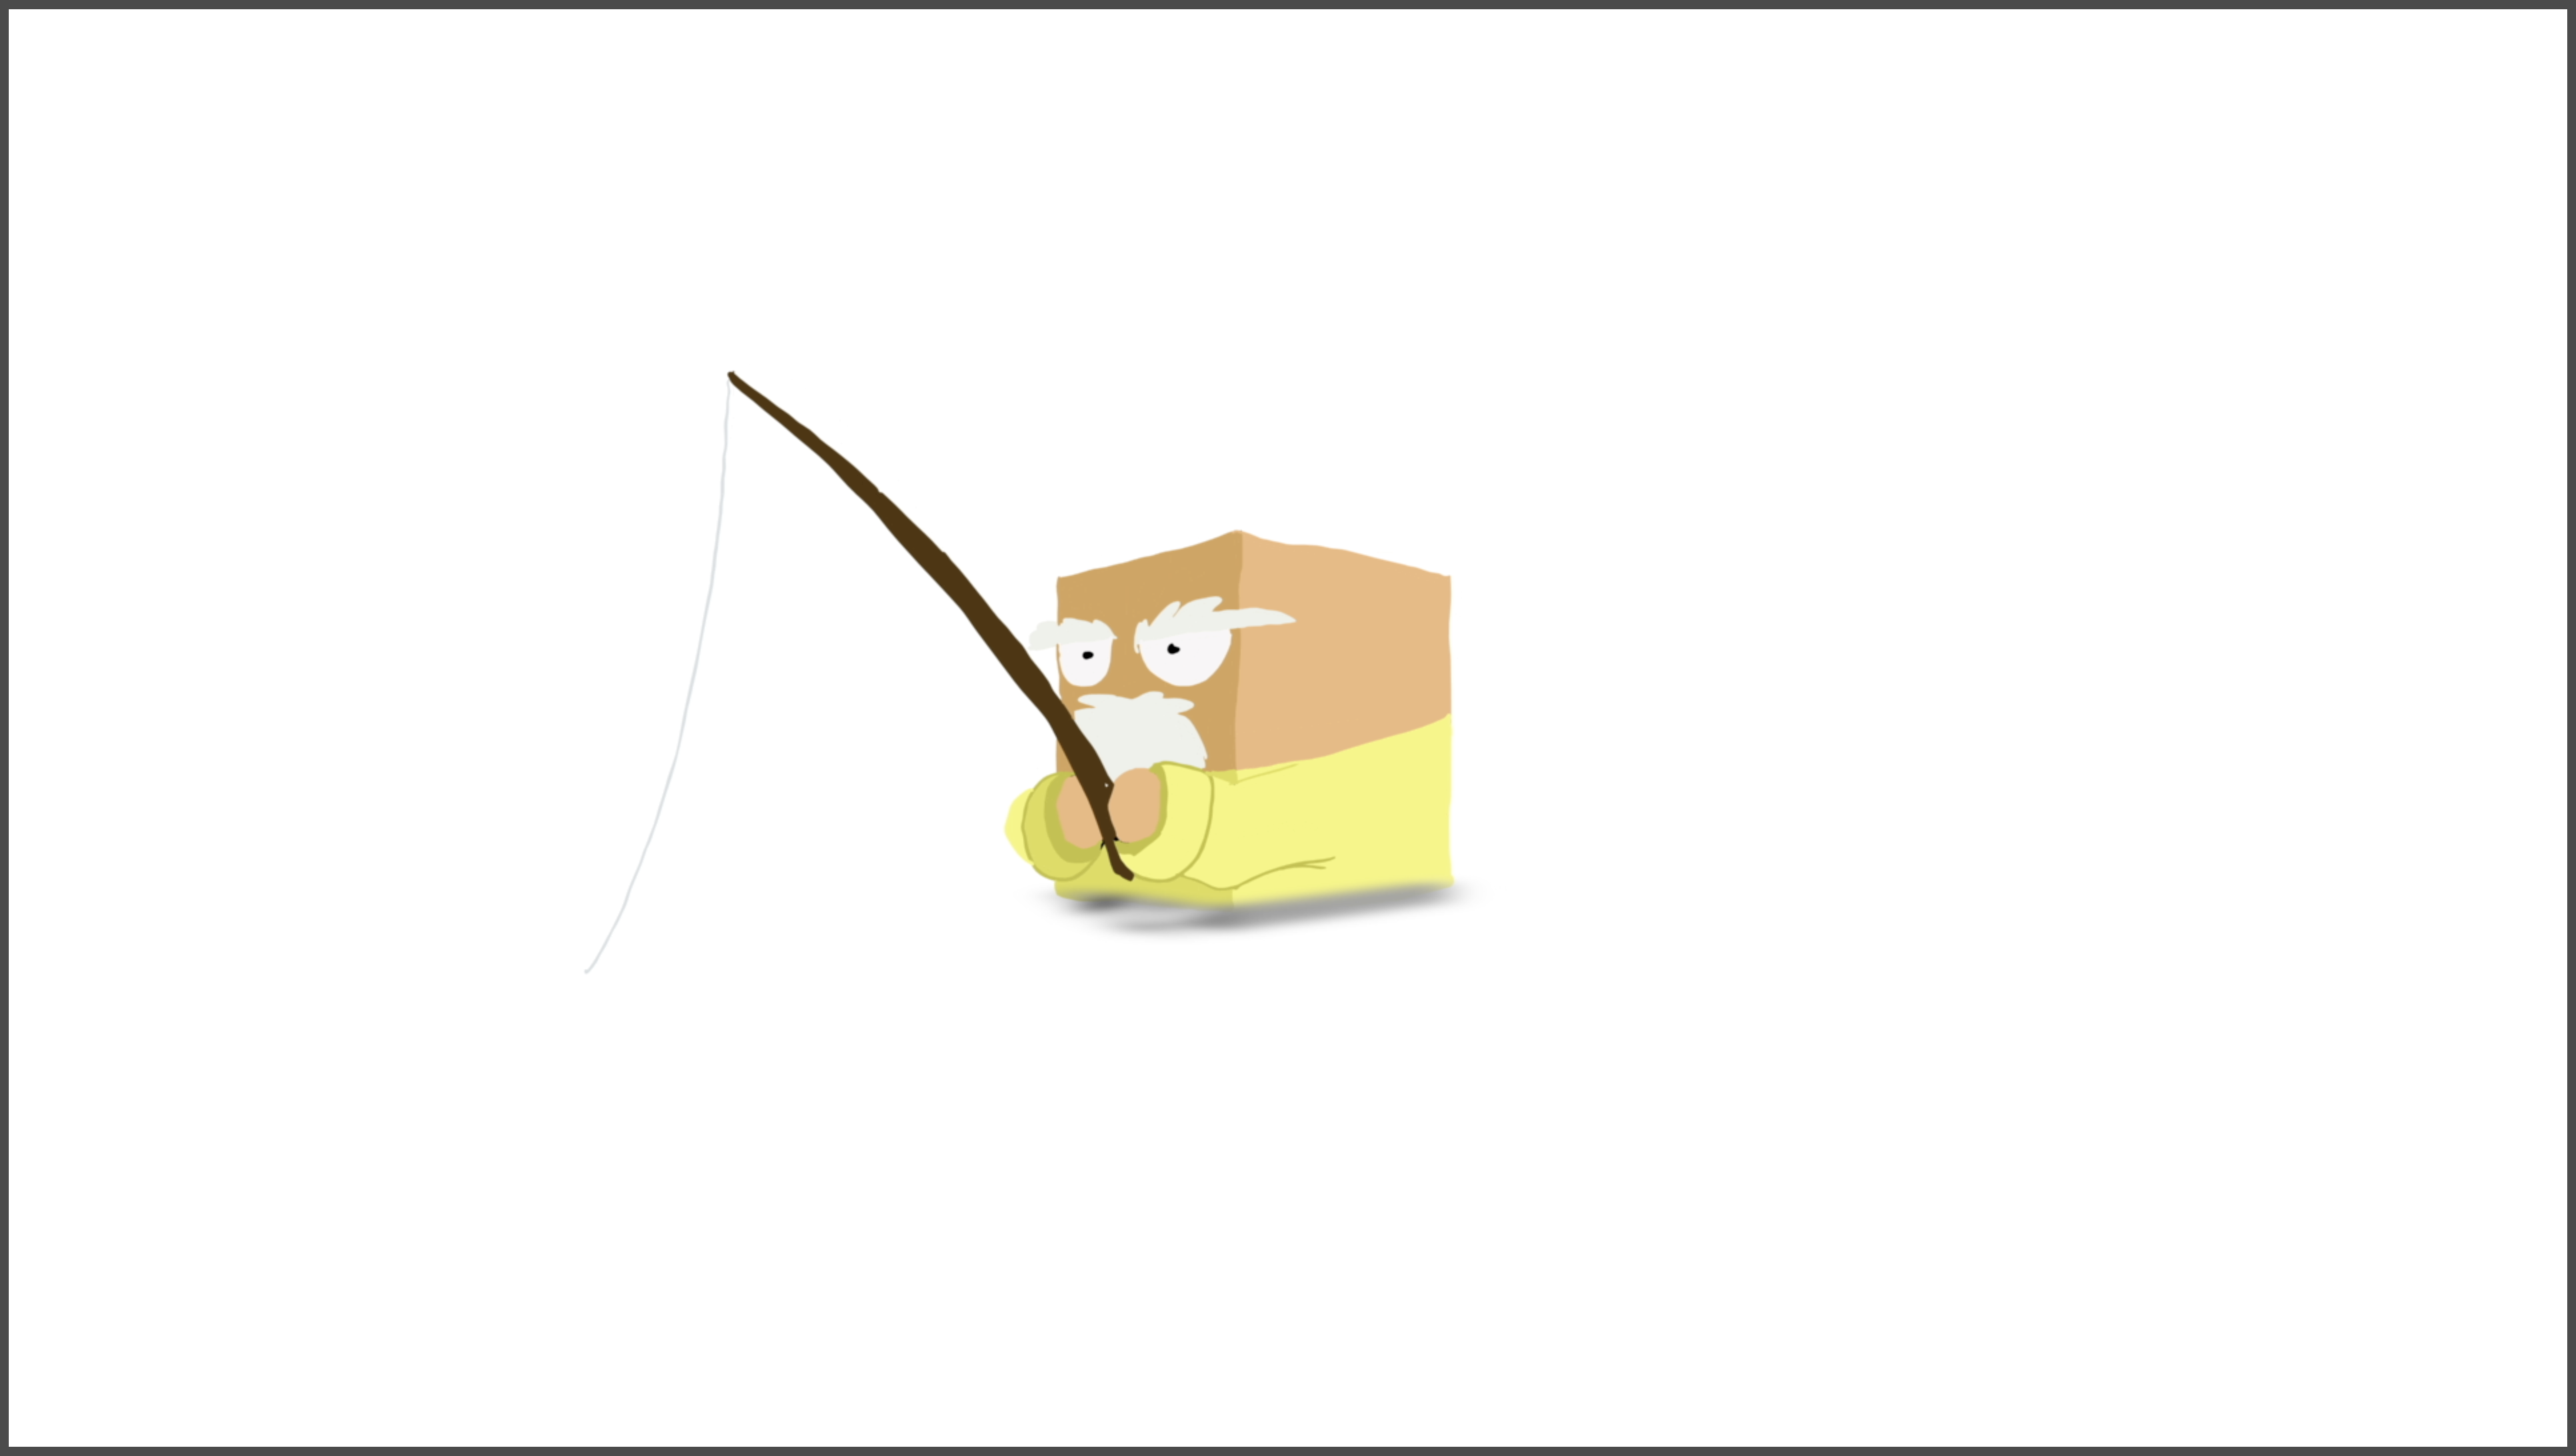
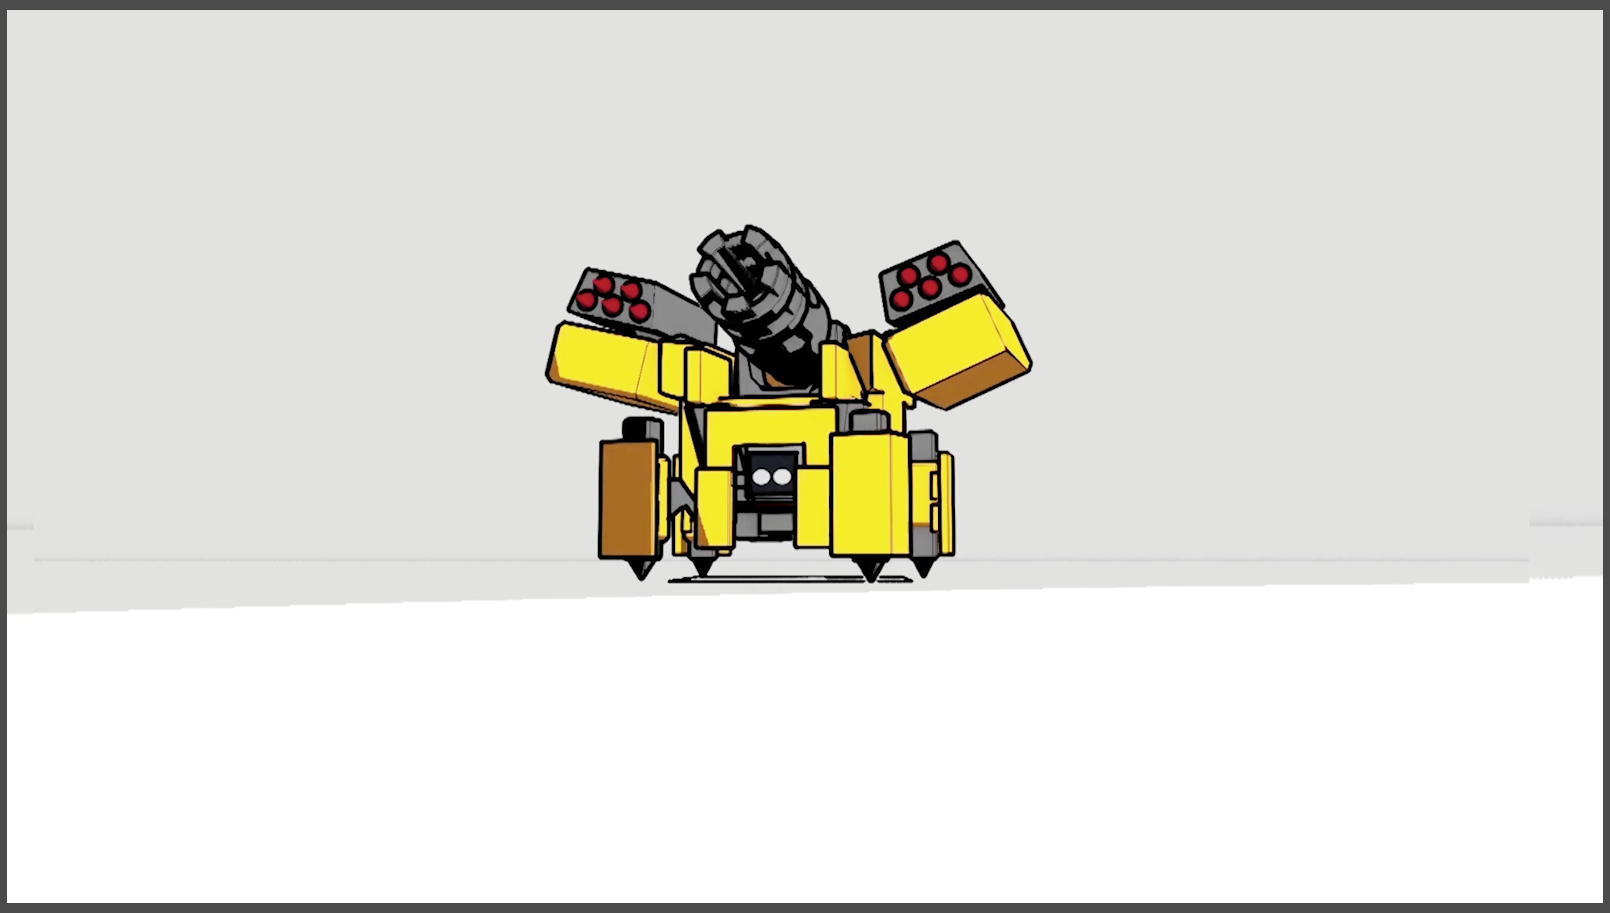
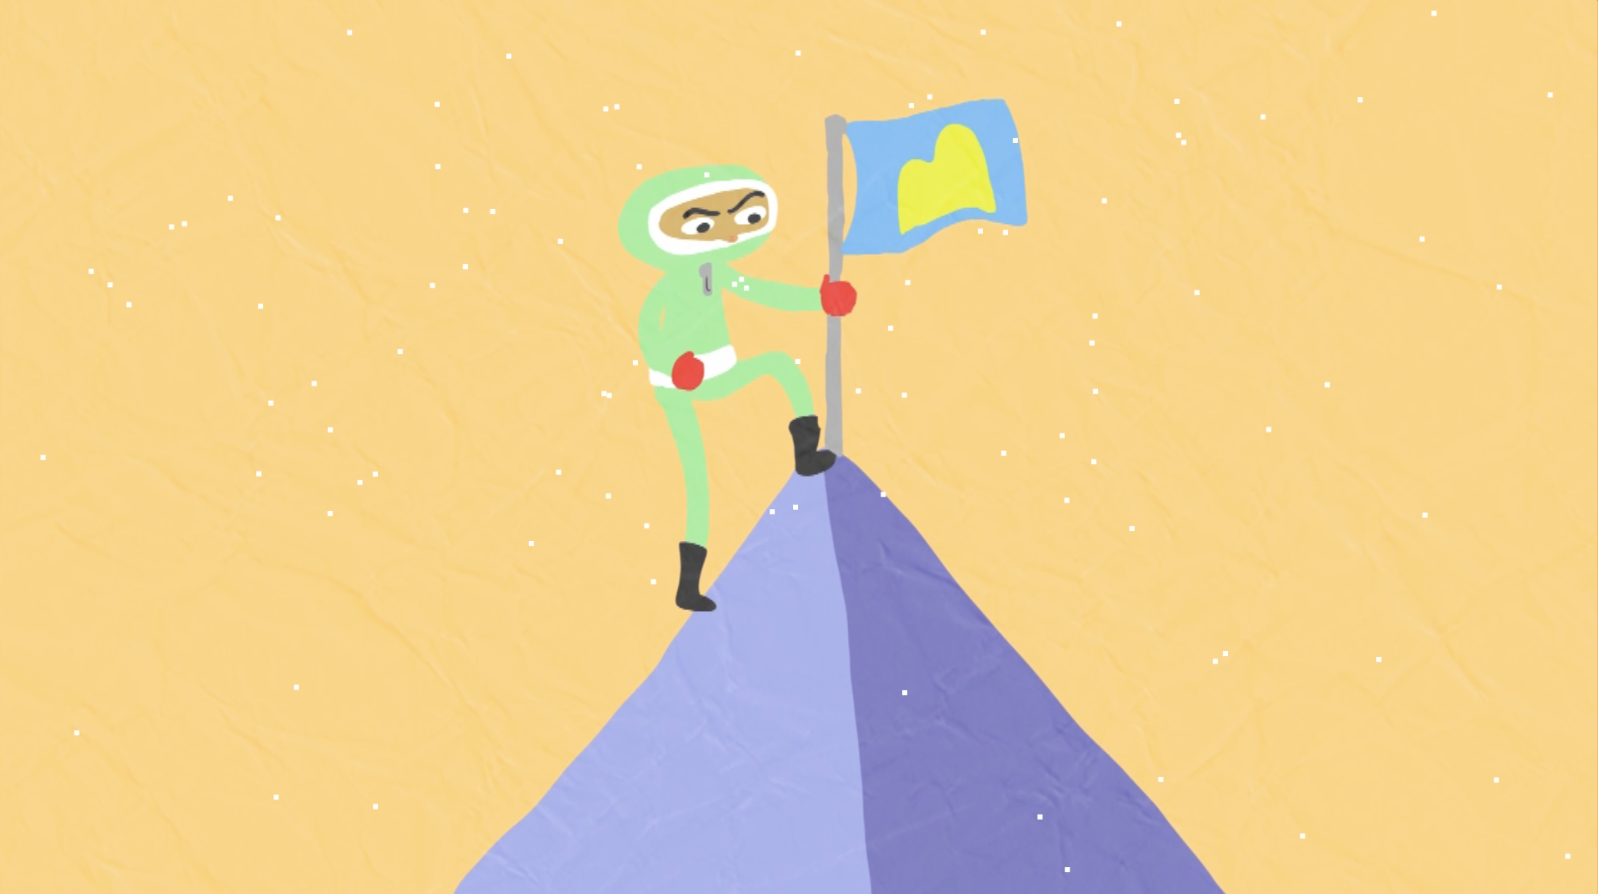
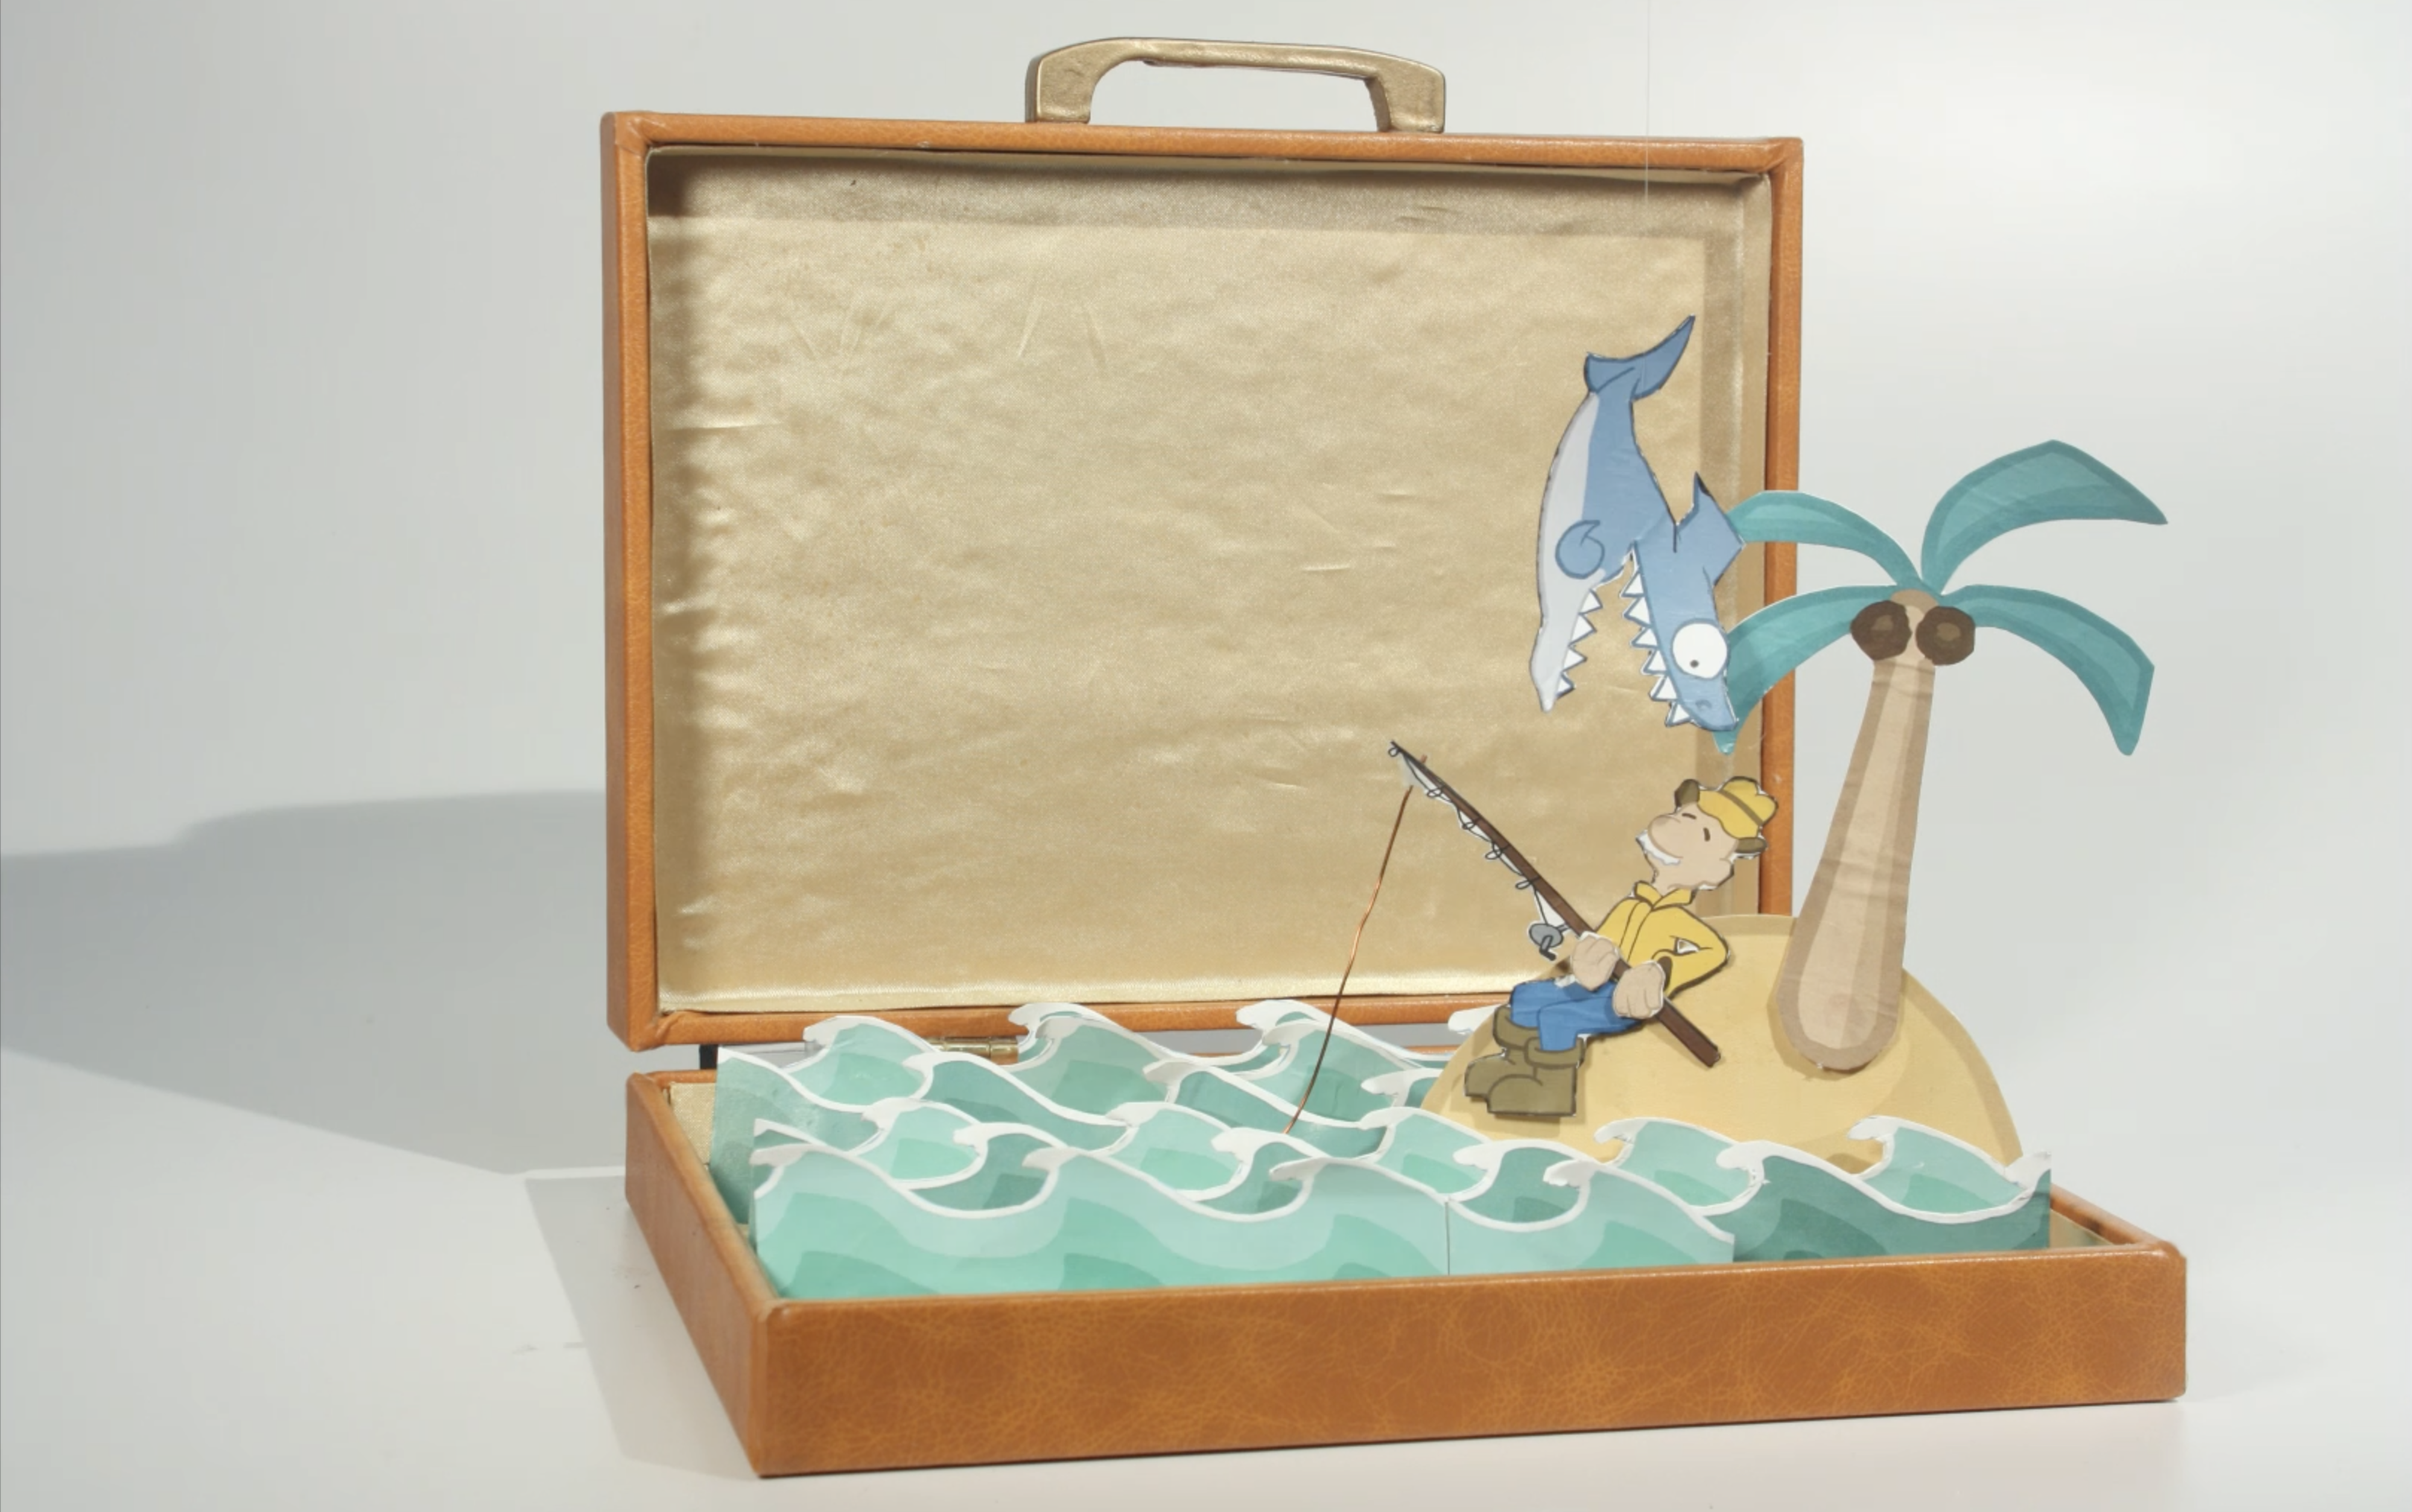
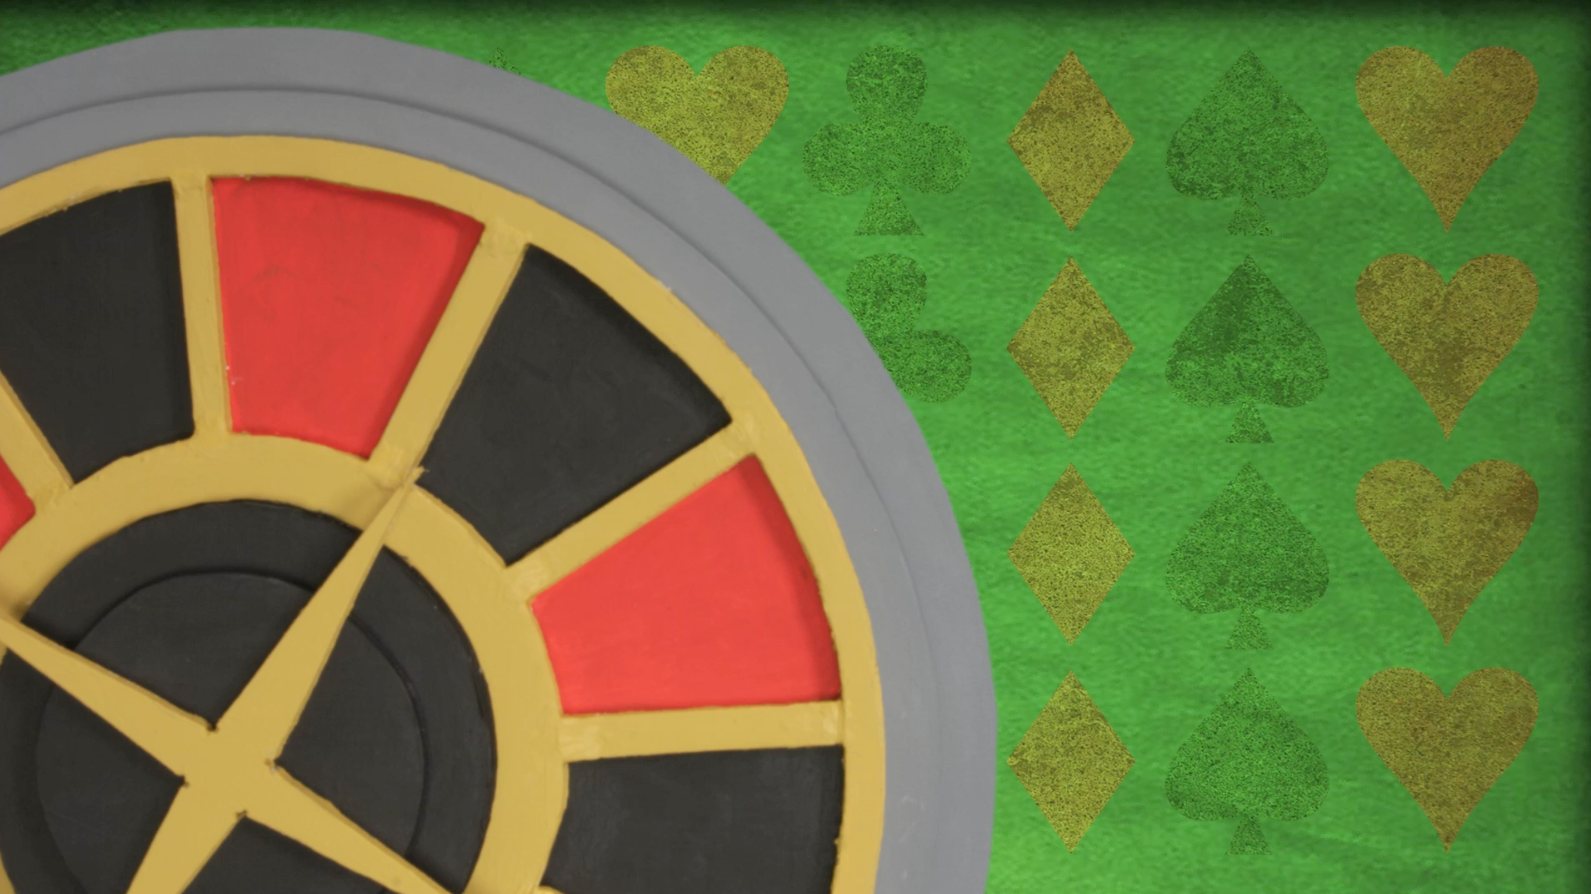
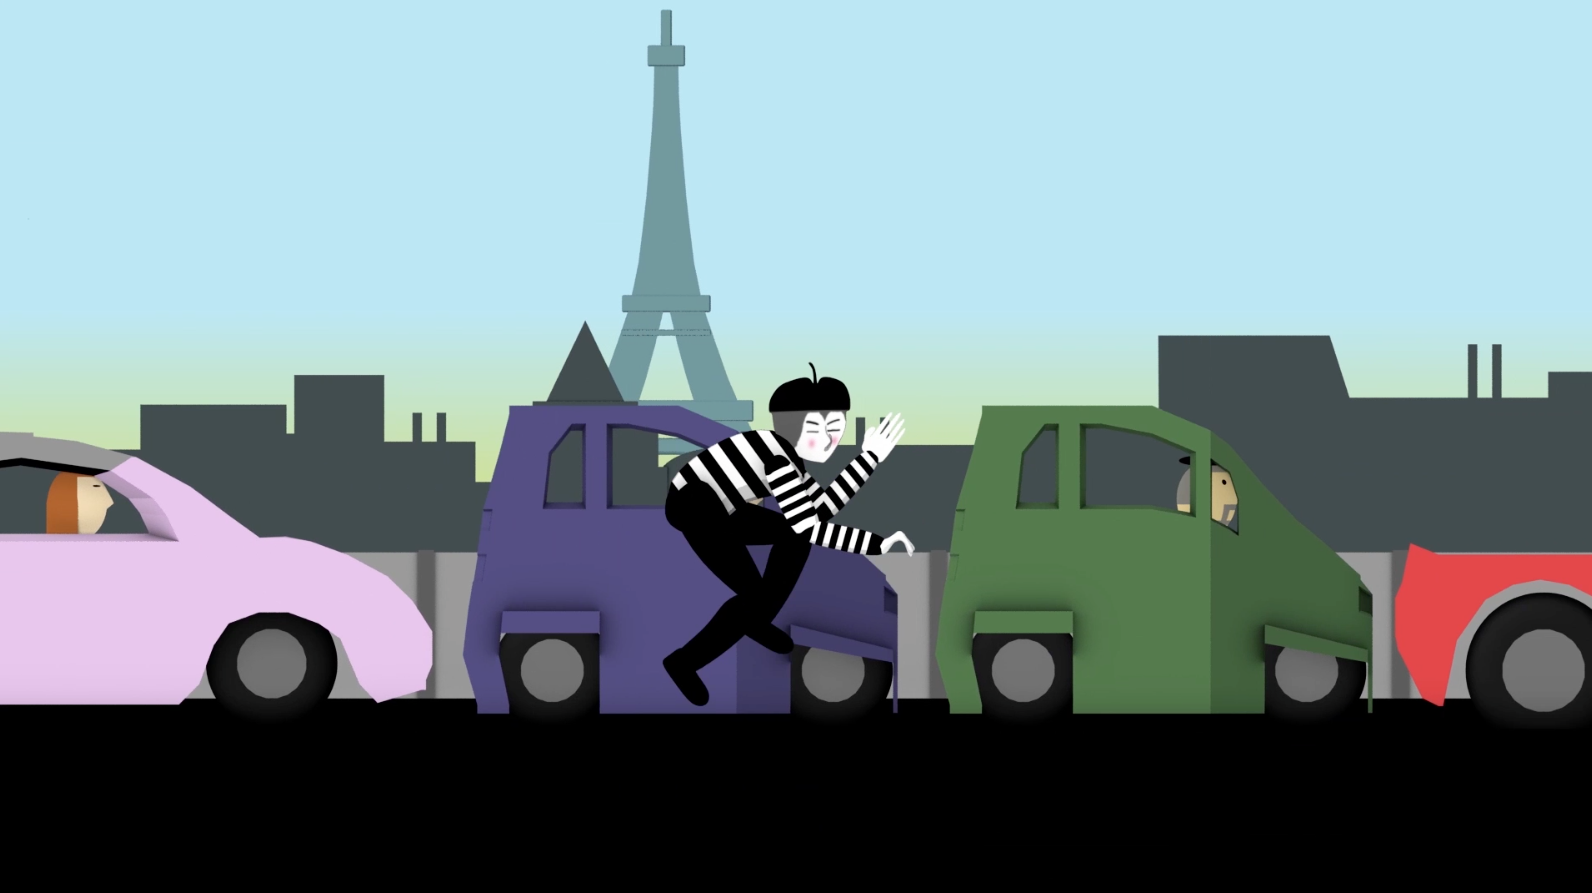
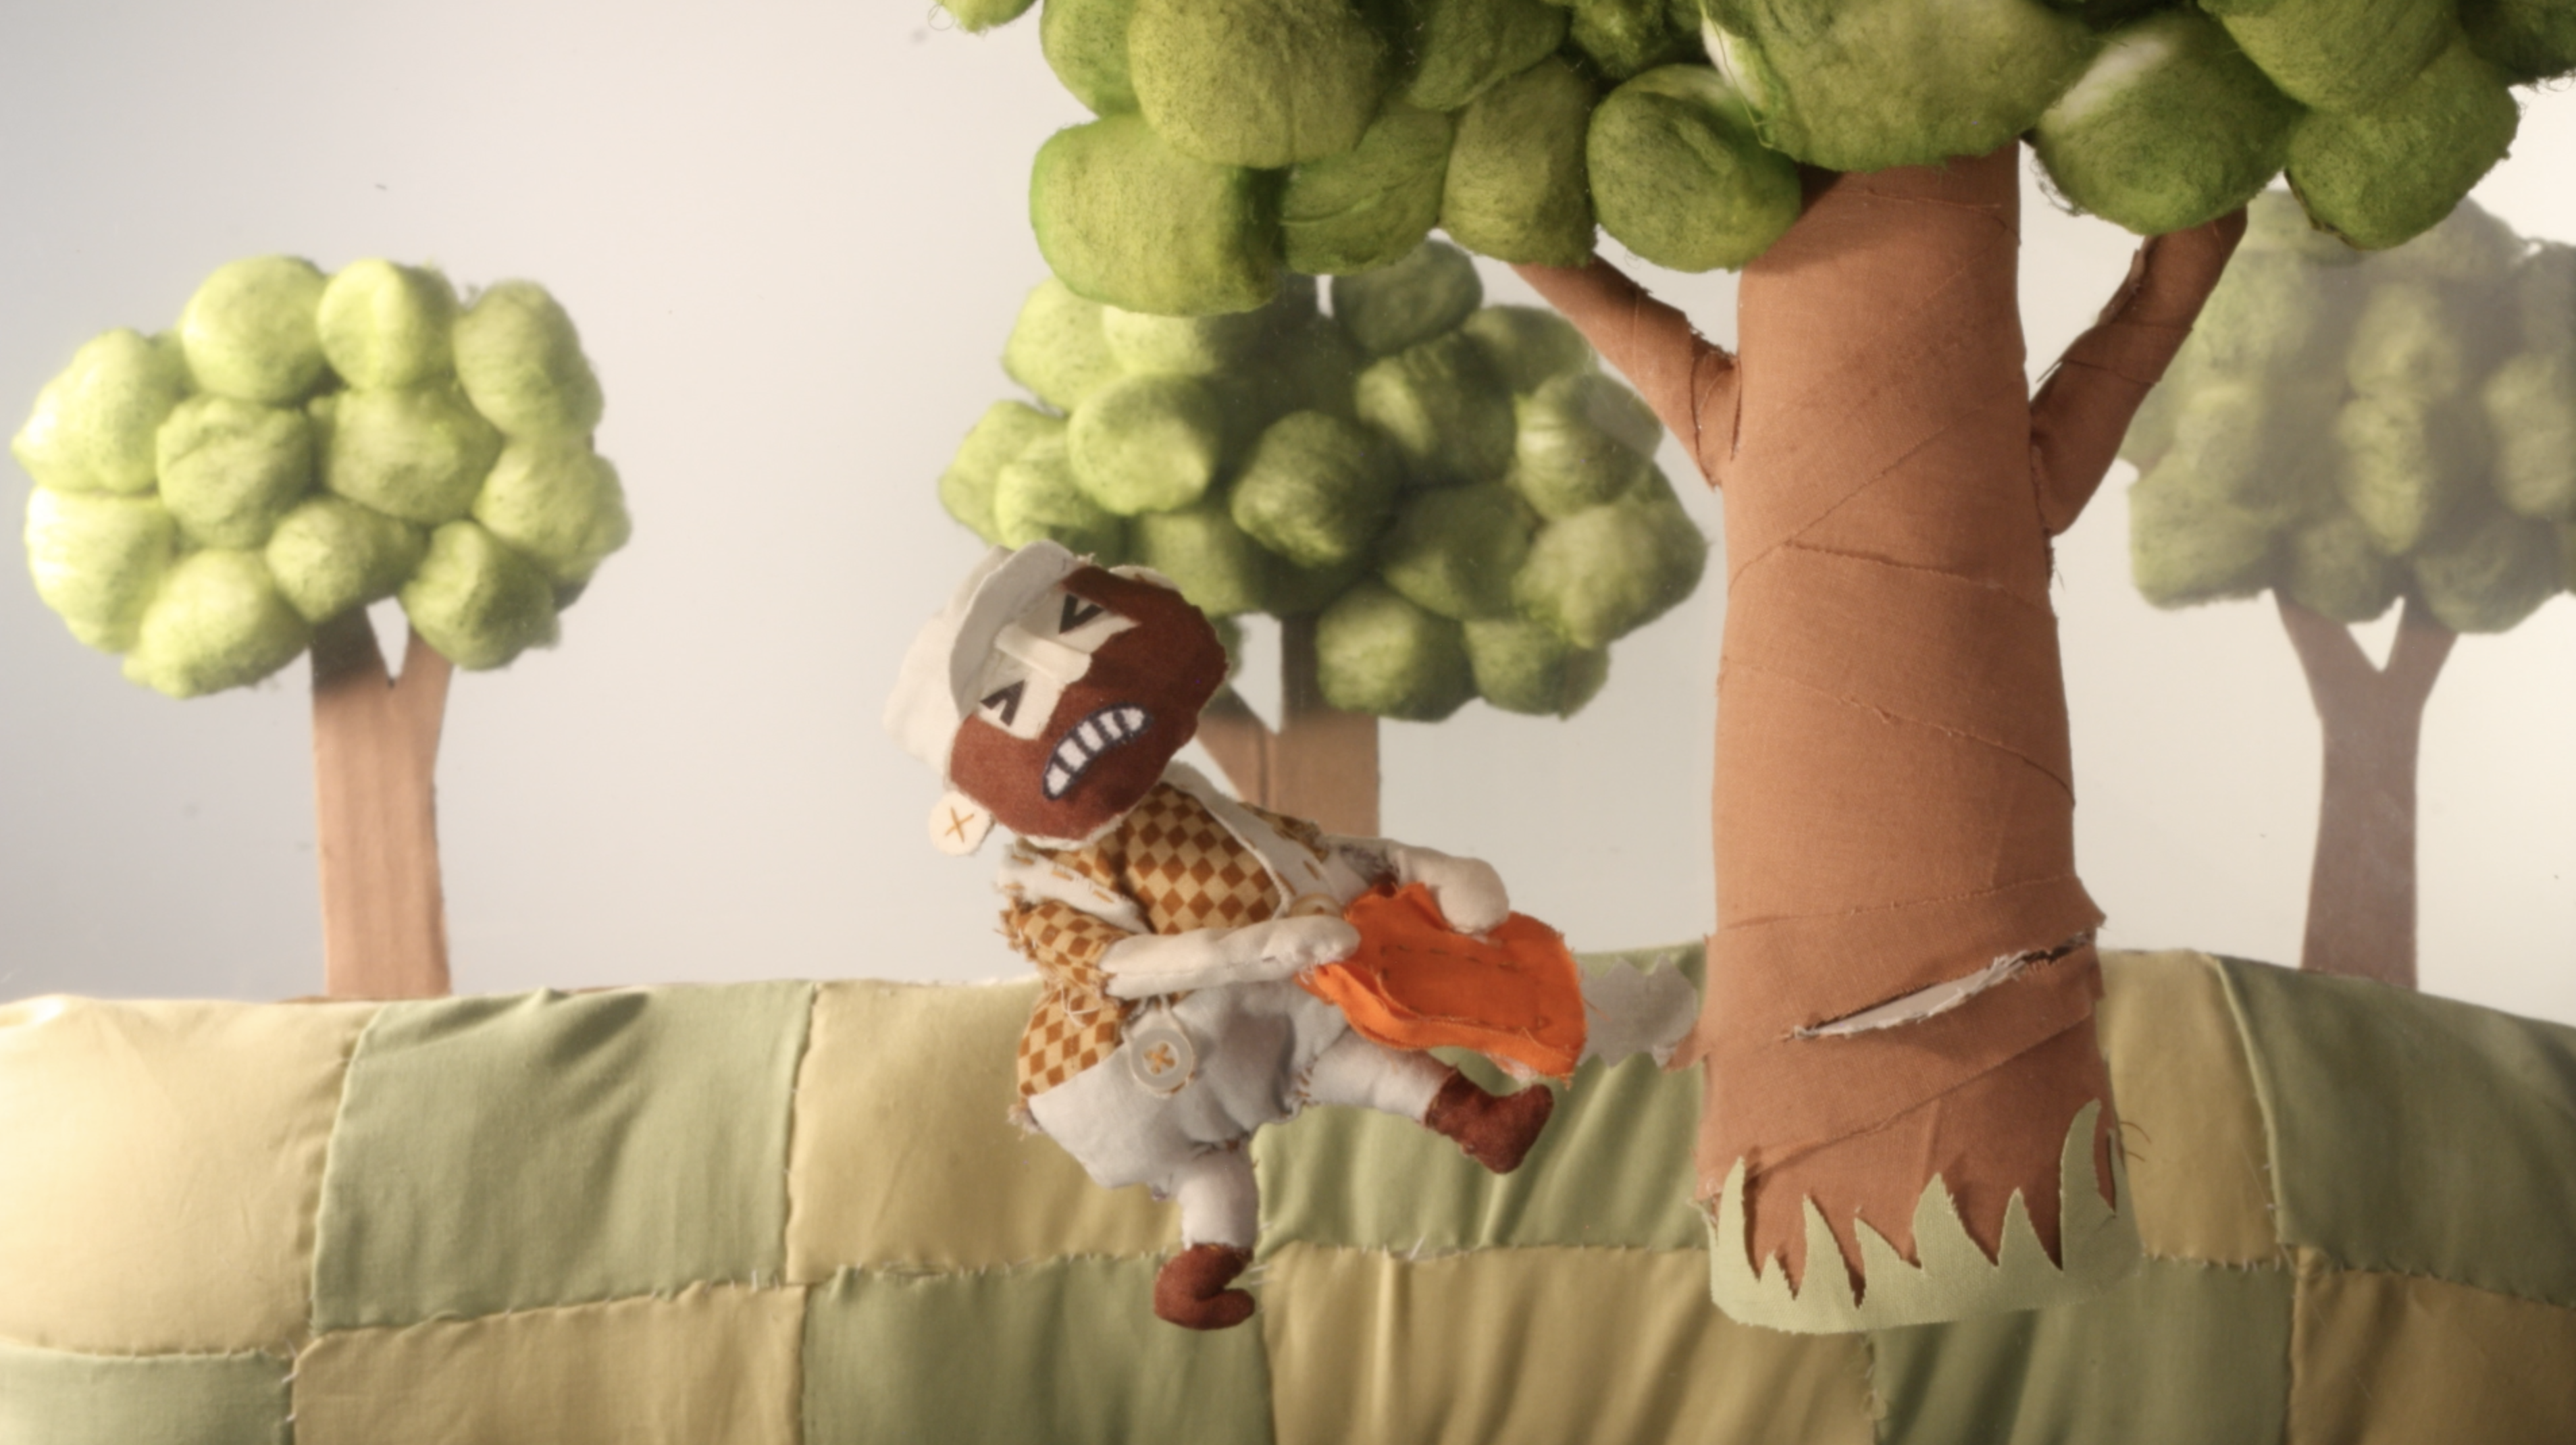
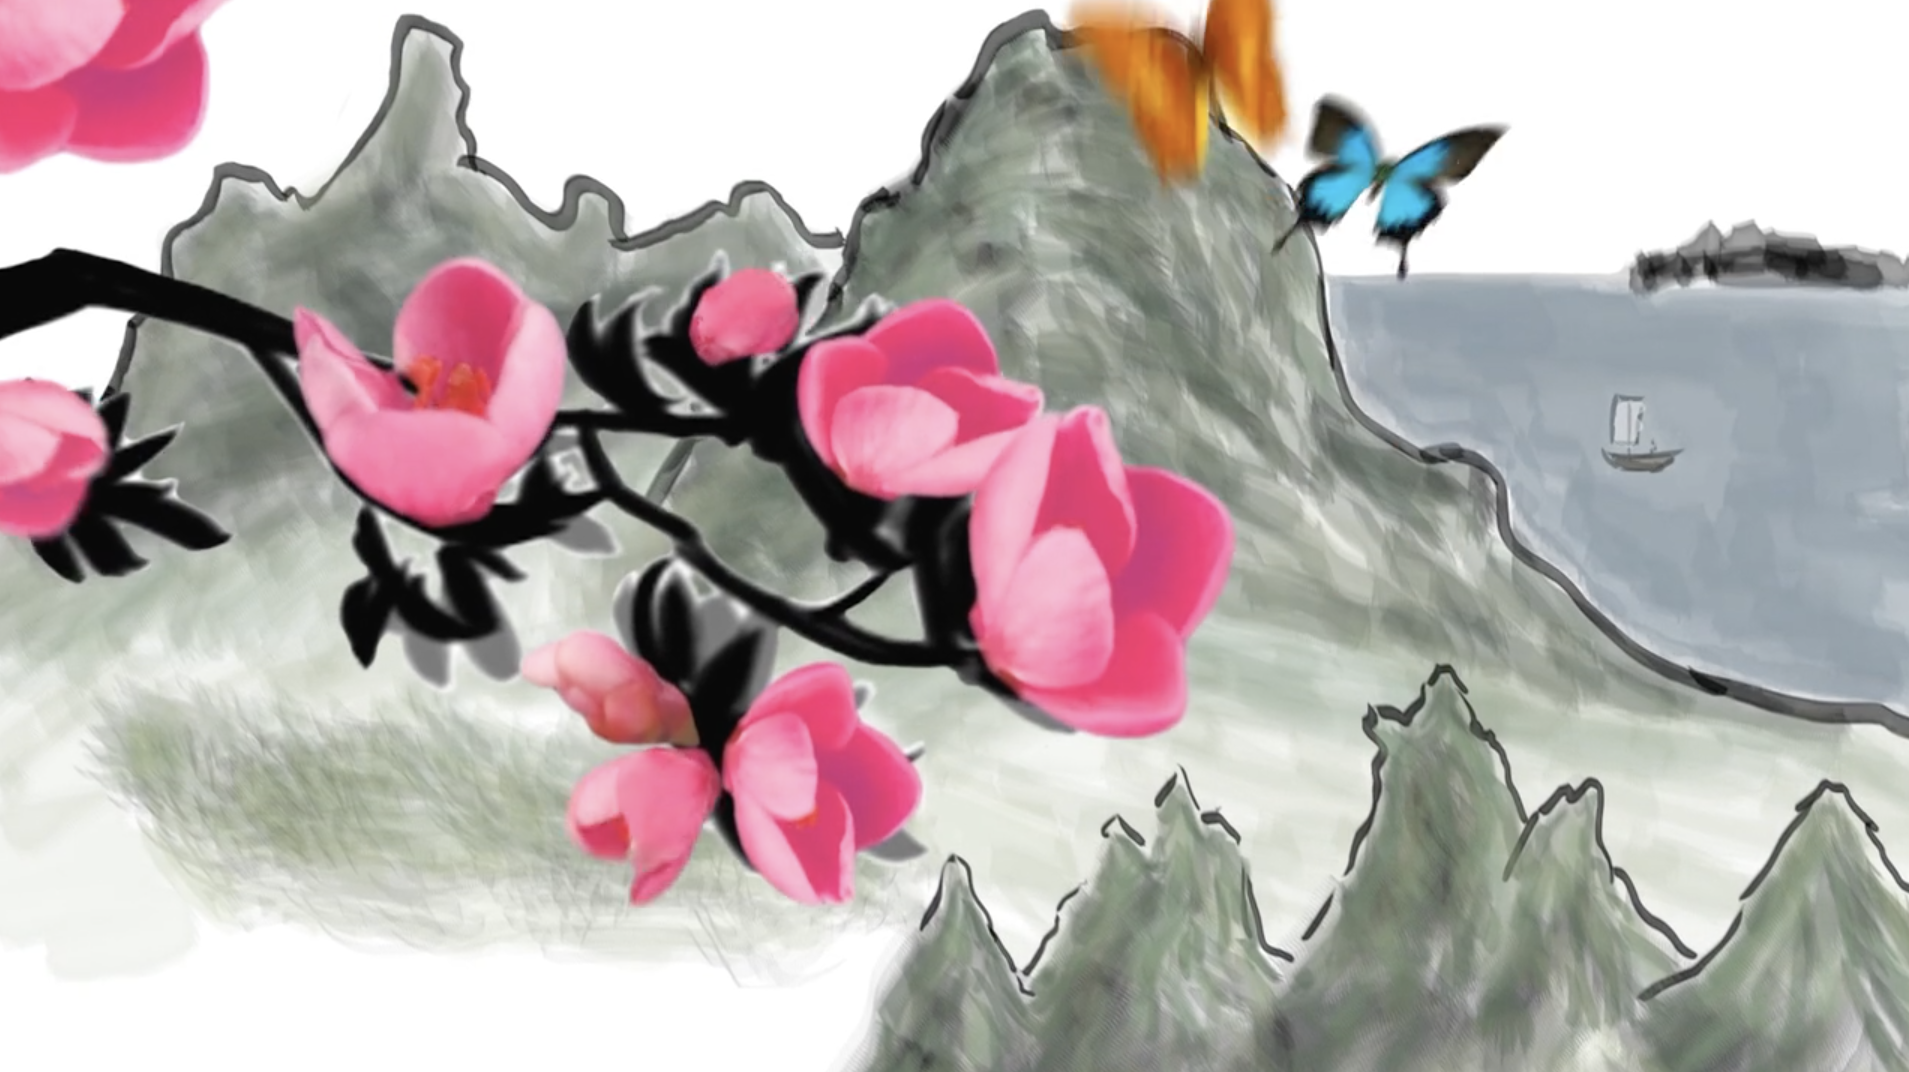
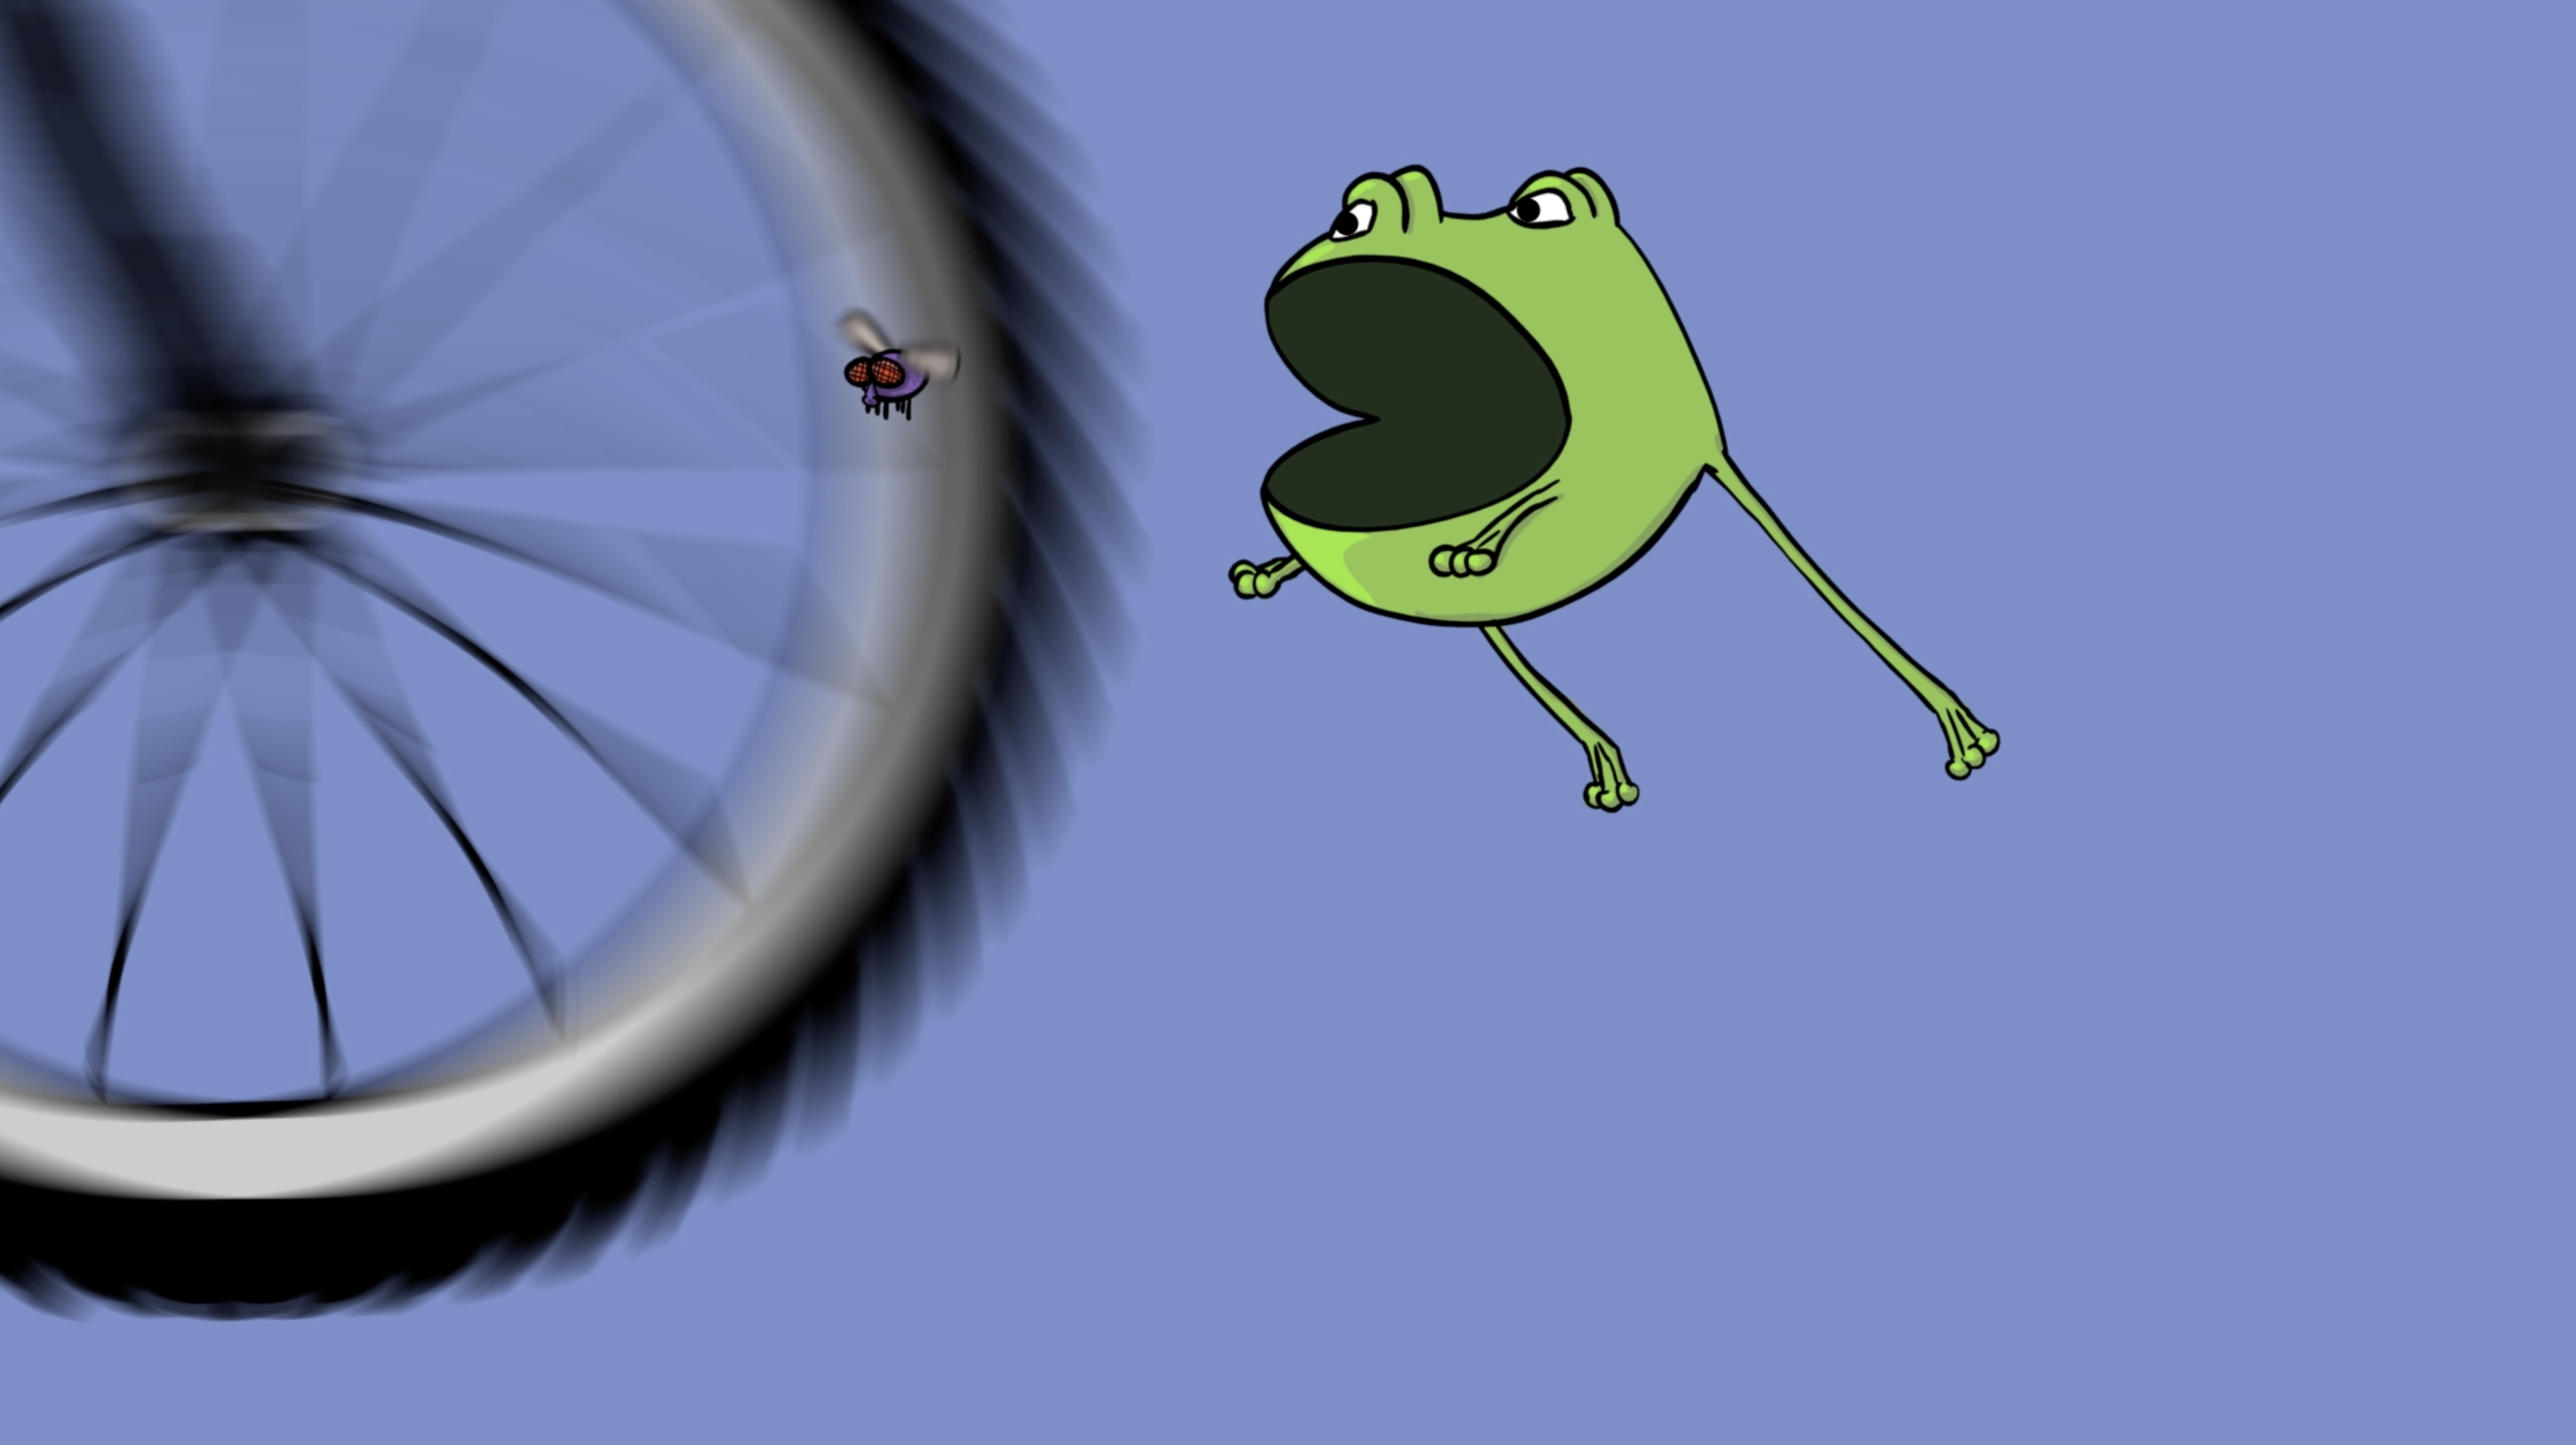
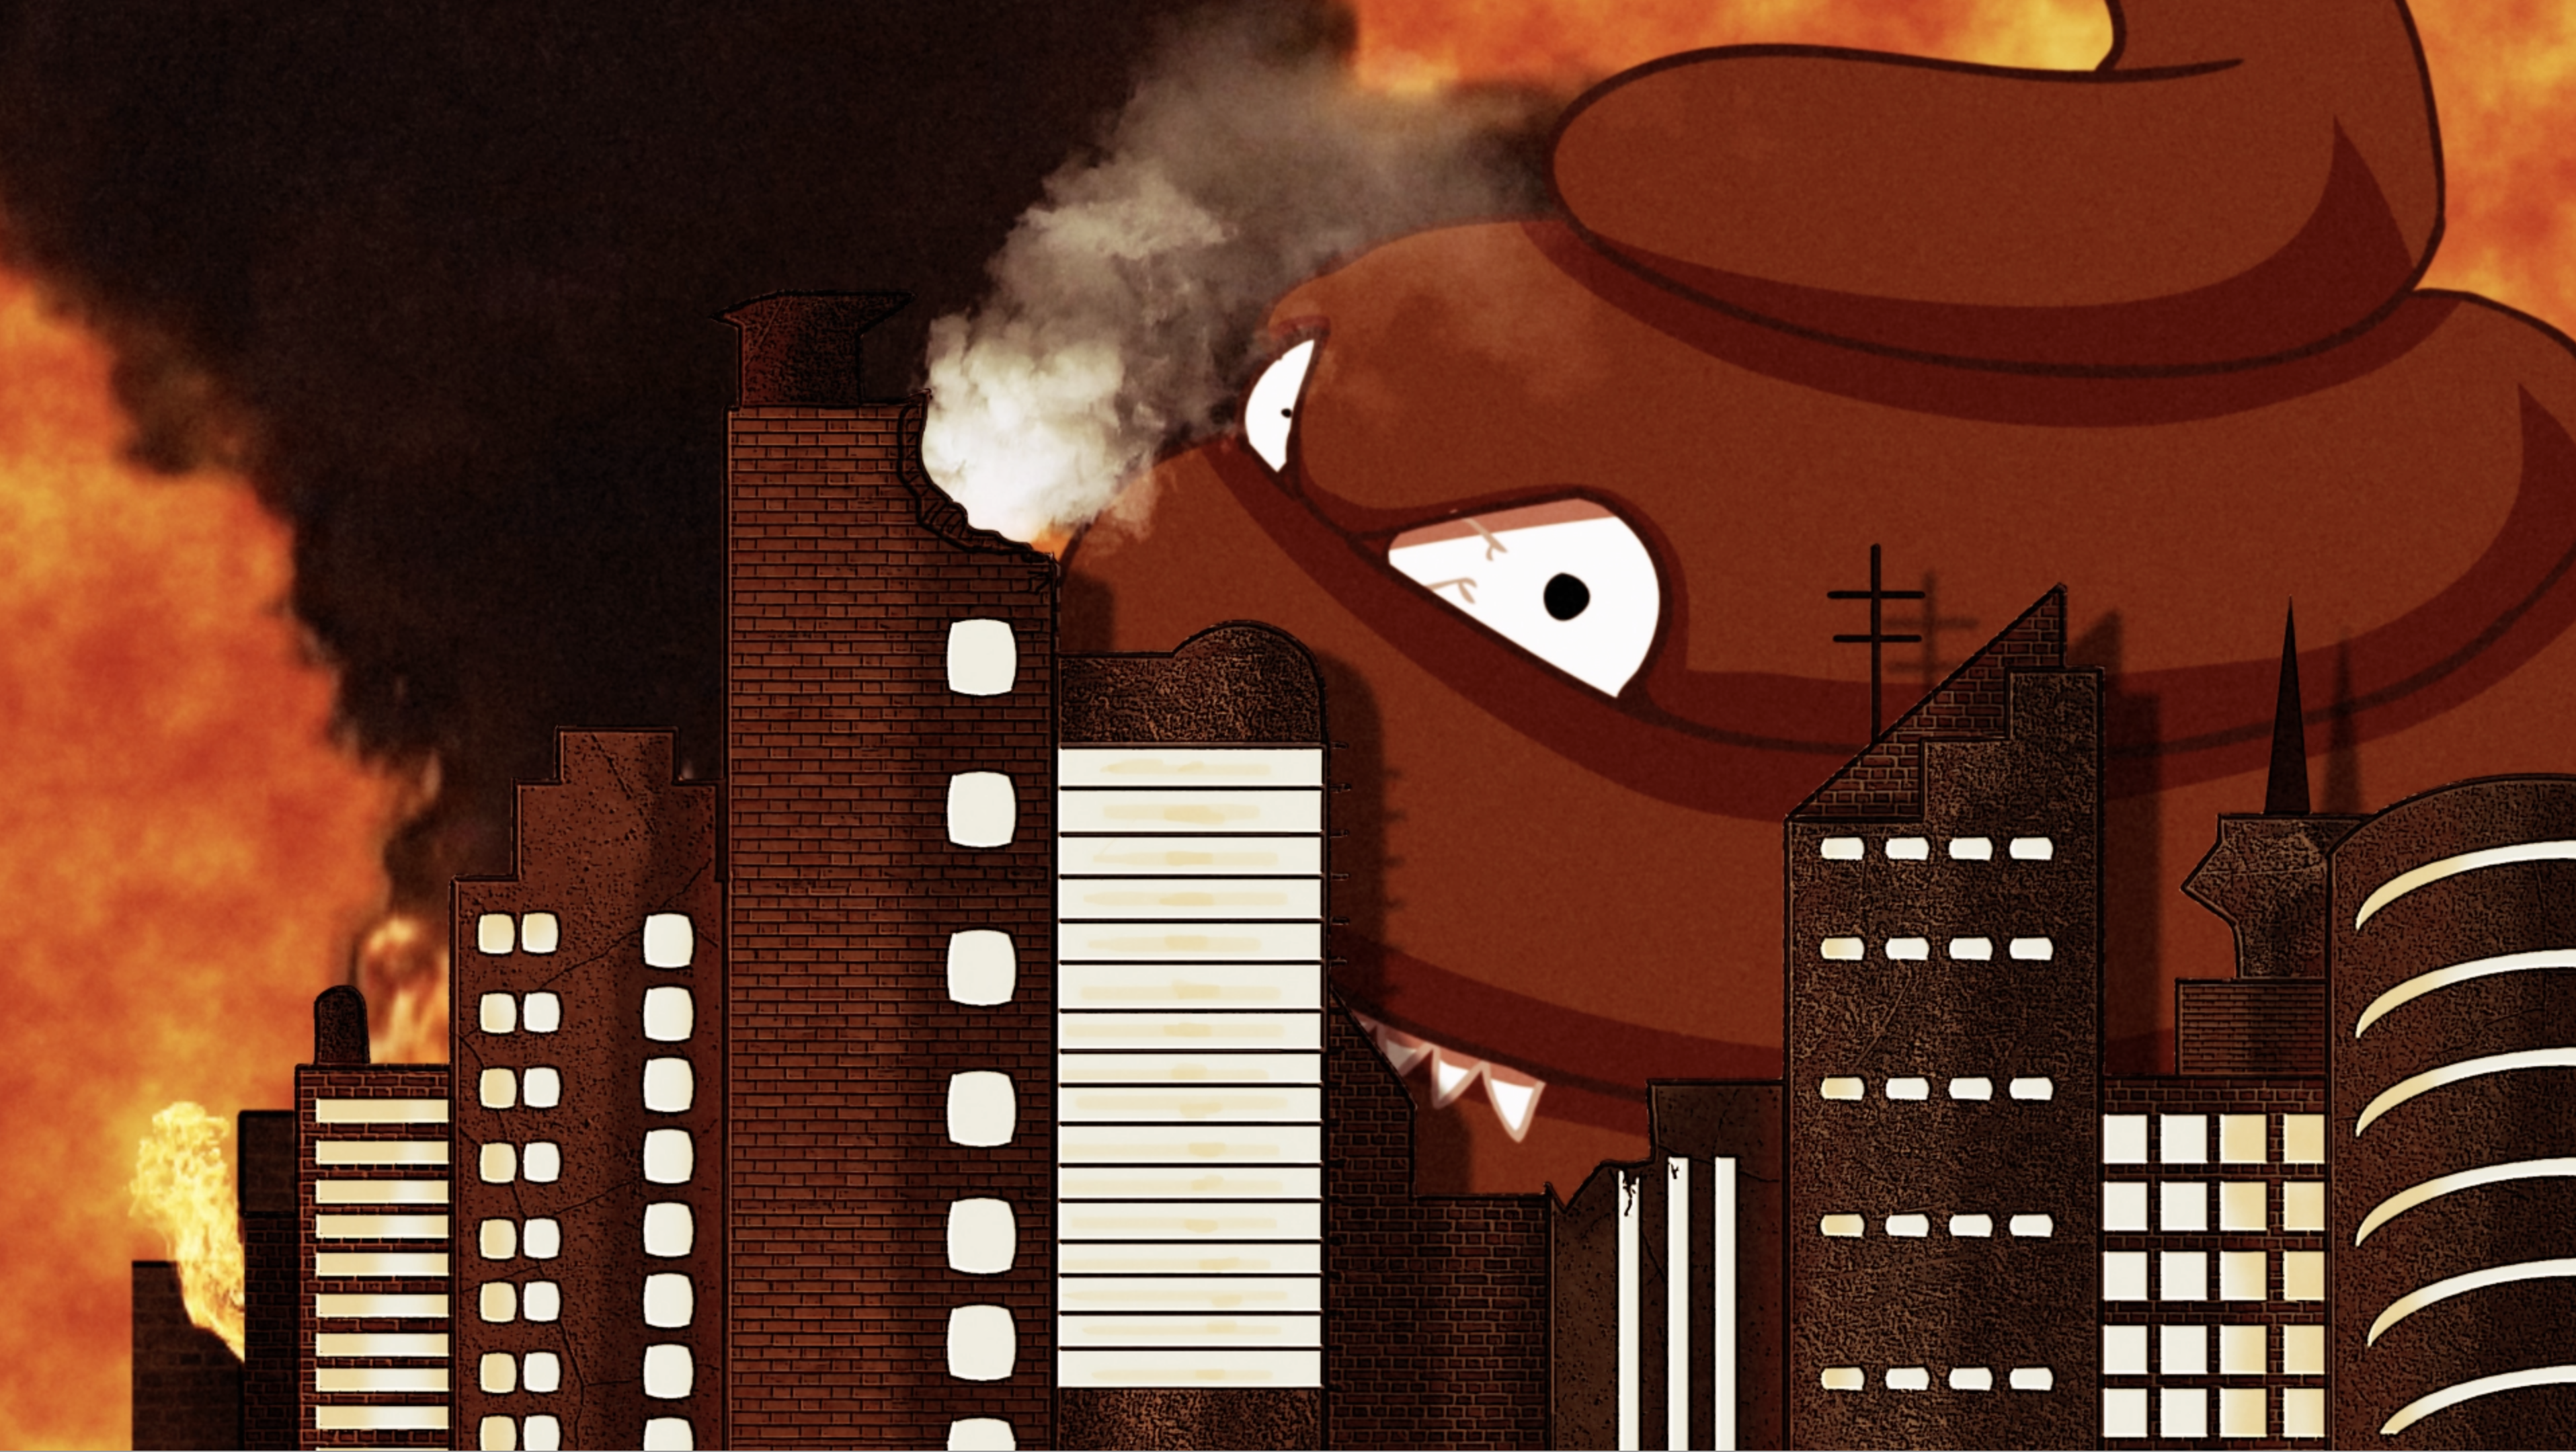
Click on examples below for a closer look.
B. SUPPORTING DOCUMENT - INSPIRATIONAL IMAGE, PROCESS STRATEGY & PRODUCTION ROLES (x3)
Each Pitch Sequence should be accompanied by a supporting pdf document containing the following:
1. One or two inspirational image - to help convey a general visual direction. These could be a frame grabs from a film with similar content and/or technique as to help convey the "look of picture" you are proposing.
2. A one-sentence process strategy - to help convey a technical direction. Help us understand the tools you are proposing to execute your concept. Will you be using "3D animation with toon-shade rendering"?, or "Compositing 2D Animated characters into a 3D Animated environment".
3. A breakdown of production roles per artist - proposing which artist will be performing which tasks. These should be primarily the larger roles like 2D character Animation, or 3D Modeling, Animation & Lighting, or After Effects Compositing. This breakdown should reflect your process strategy.
NAMING & SUBMITTING FILES:
Single PDF for each of the three pitches: Combine each 5-panel pitch and the supporting materials into a single PDF document.
simpsonH_flandersN_monster_01.pdf
simpsonH_flandersN_monster_02.pdf
simpsonH_flandersN_monster_03.pdf
Pitch-able Panels: Submit each 5-panel pitch sequence in it own folder
simpsonH_flandersN_monster_01 (folder)
simpsonH_flandersN_monster_02 (folder)
simpsonH_flandersN_monster_03 (folder)
Submitting to Basecamp: Submit all three to your respective Basecamp team folder.
Basecamp/420_dropBox/. . . Pitch Folder.
PITCHING TO CLASS & RECIEVING FEEDBACK:
Come to class ready to pitch all three of your proposals and receive feedback from your peers. Keep in mind that these proposals are a starting point for your project and are subject to change over the entire process. share over discord and offer up input for your classmates.


MILESTONE 2: ANIMATIC & MOOD BOARD
The second milestone is all about nailing the timing and cinematic presence of your project and refining your "look of picture".
A. ANIMATIC
The Animatic nails down timing and composition. It insures that your visual story beats not only engage cinematically but that they unfold with impact and clarity within the allotted time frame. The Animatic is more advanced than a typical Storyreel making use of moving cut-outs, replacement drawings and multiple layers to convey a higher level of design, cinematography, and pace. Typically animatics are black & white but color can be used strategically if necessary.
Animatics can be executed using a variety of media, including Adobe After Effects, Adobe Premiere, Toon Boom Storyboard Pro or even Toon Boom Harmony. 3D can be used in a limited capacity but often can slow down or encumber the process. The whole point of the Animatic is to move quickly while taking your project to the next level of engagement.
Audio is a must! Preliminary audio (or scratch audio) plays a huge part in establishing timing and conveying a limited but film-like experience.

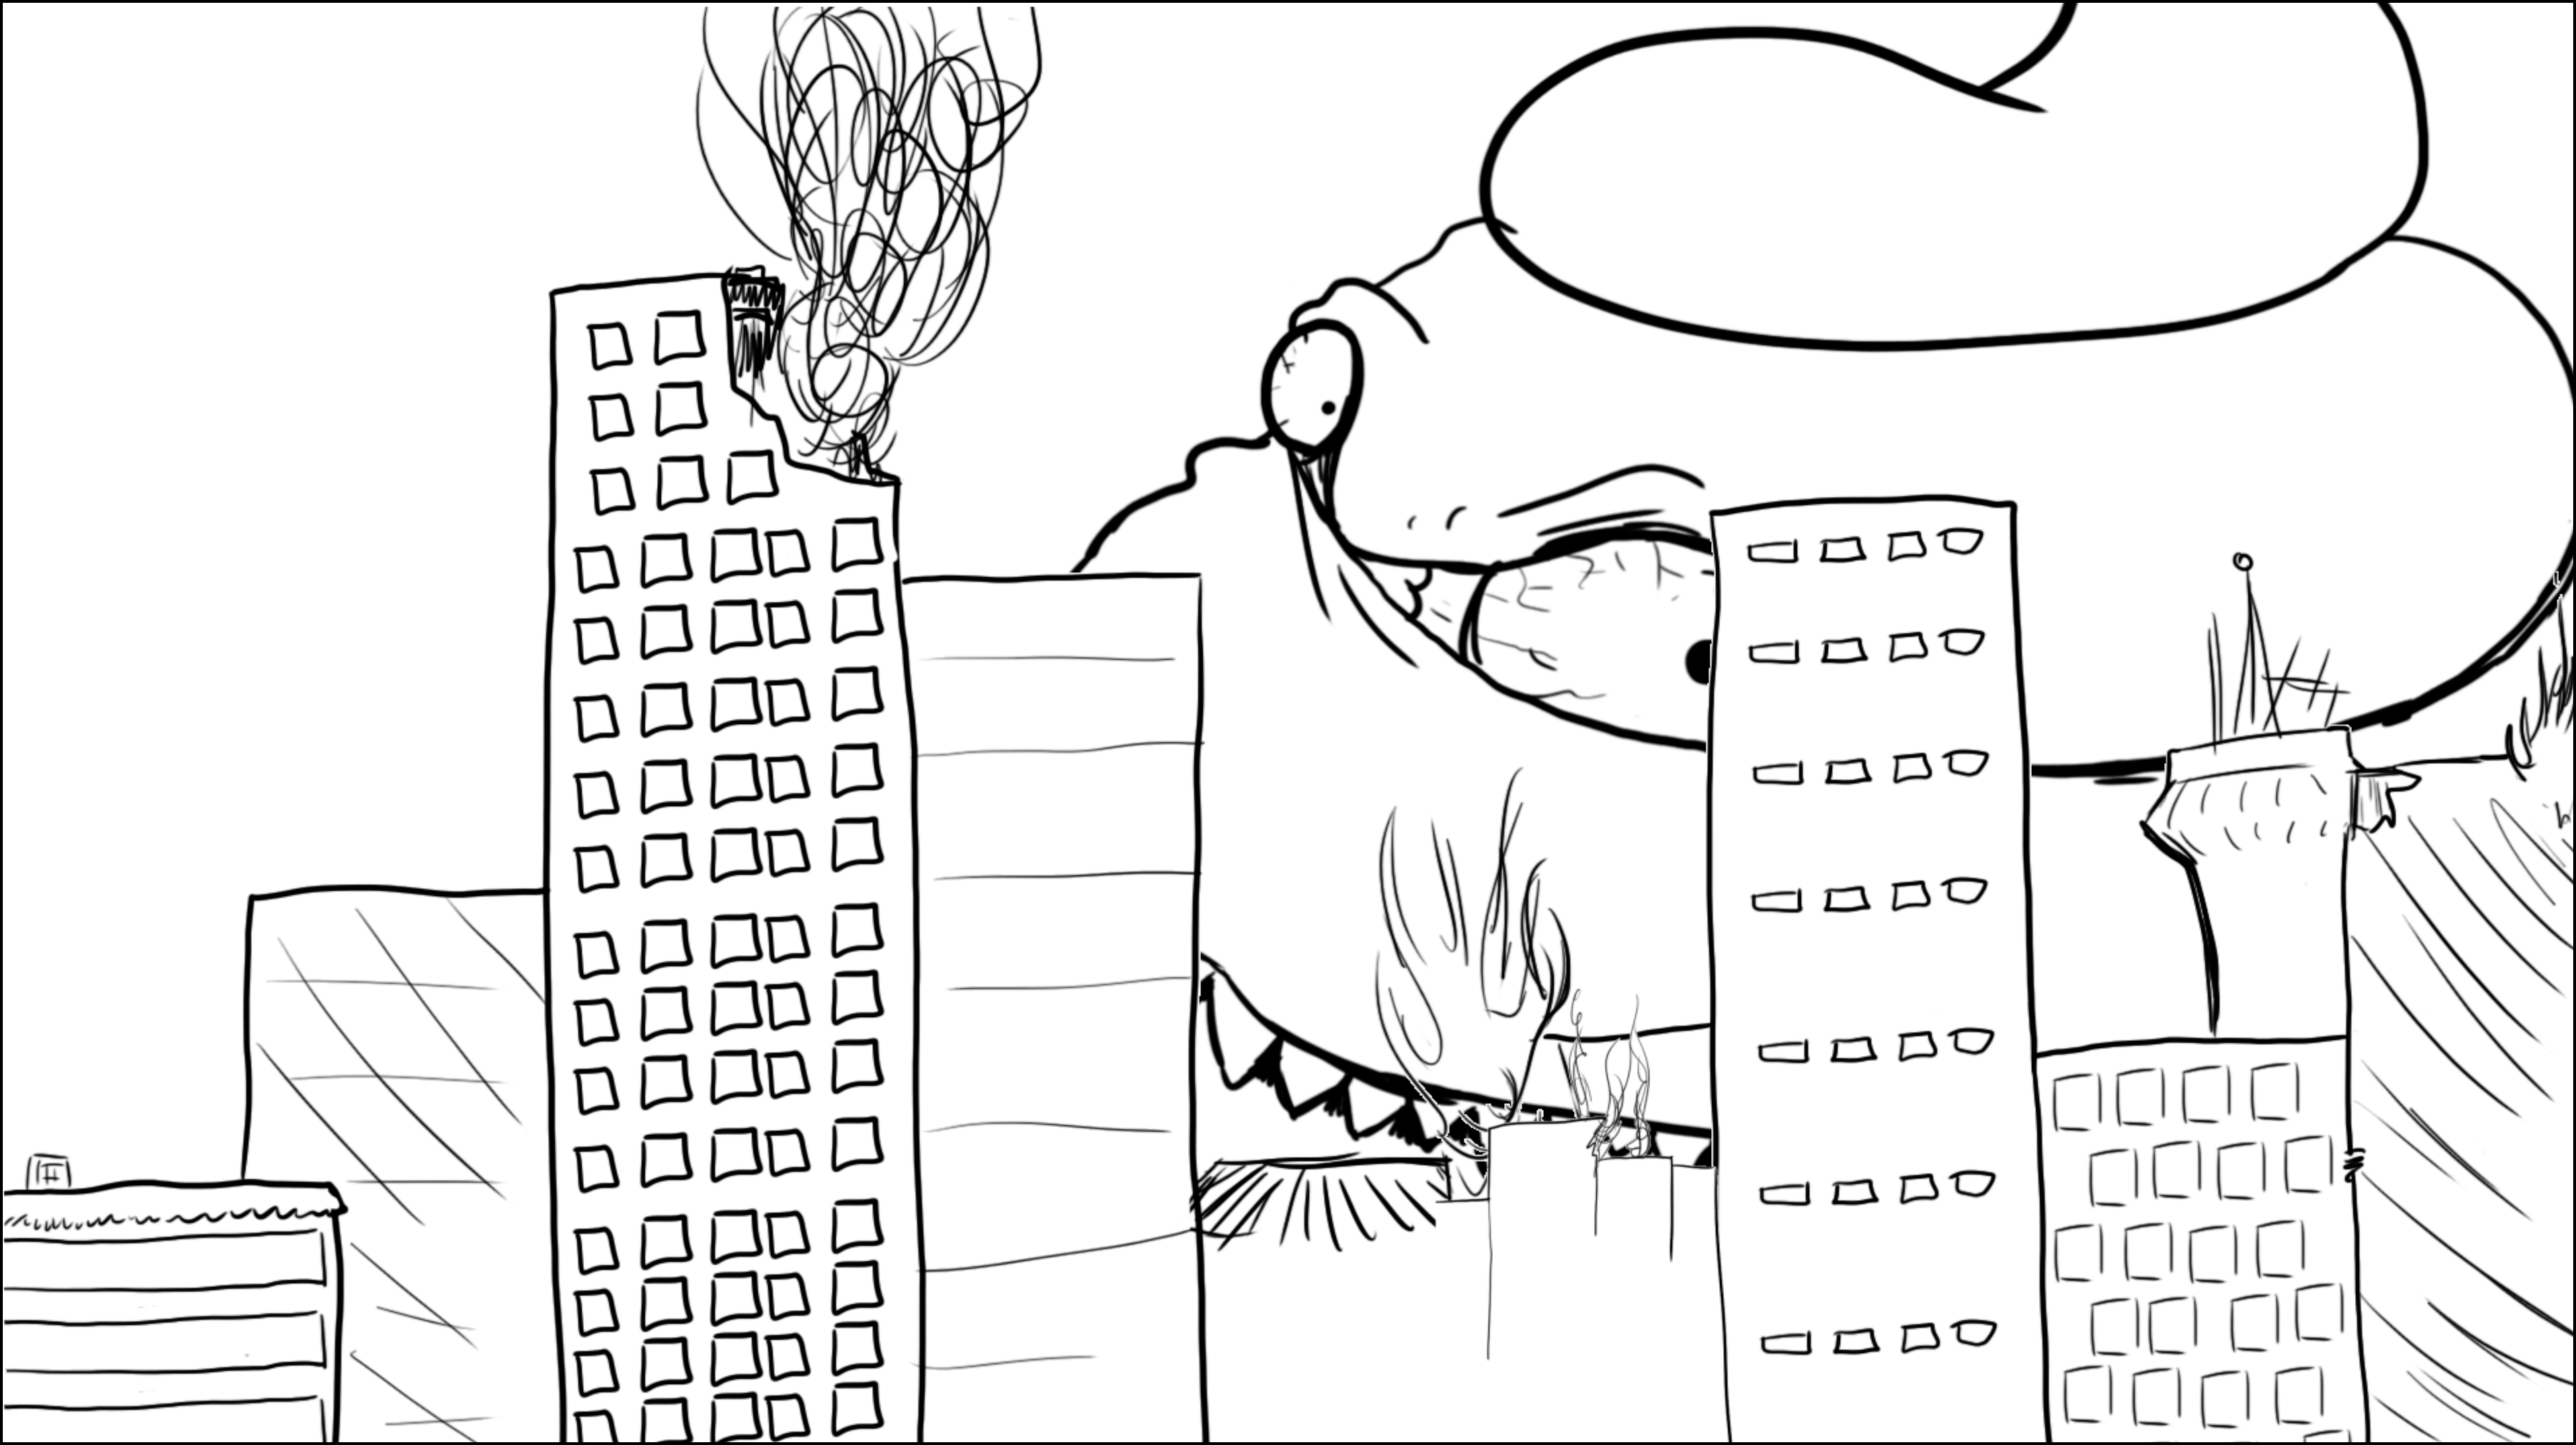
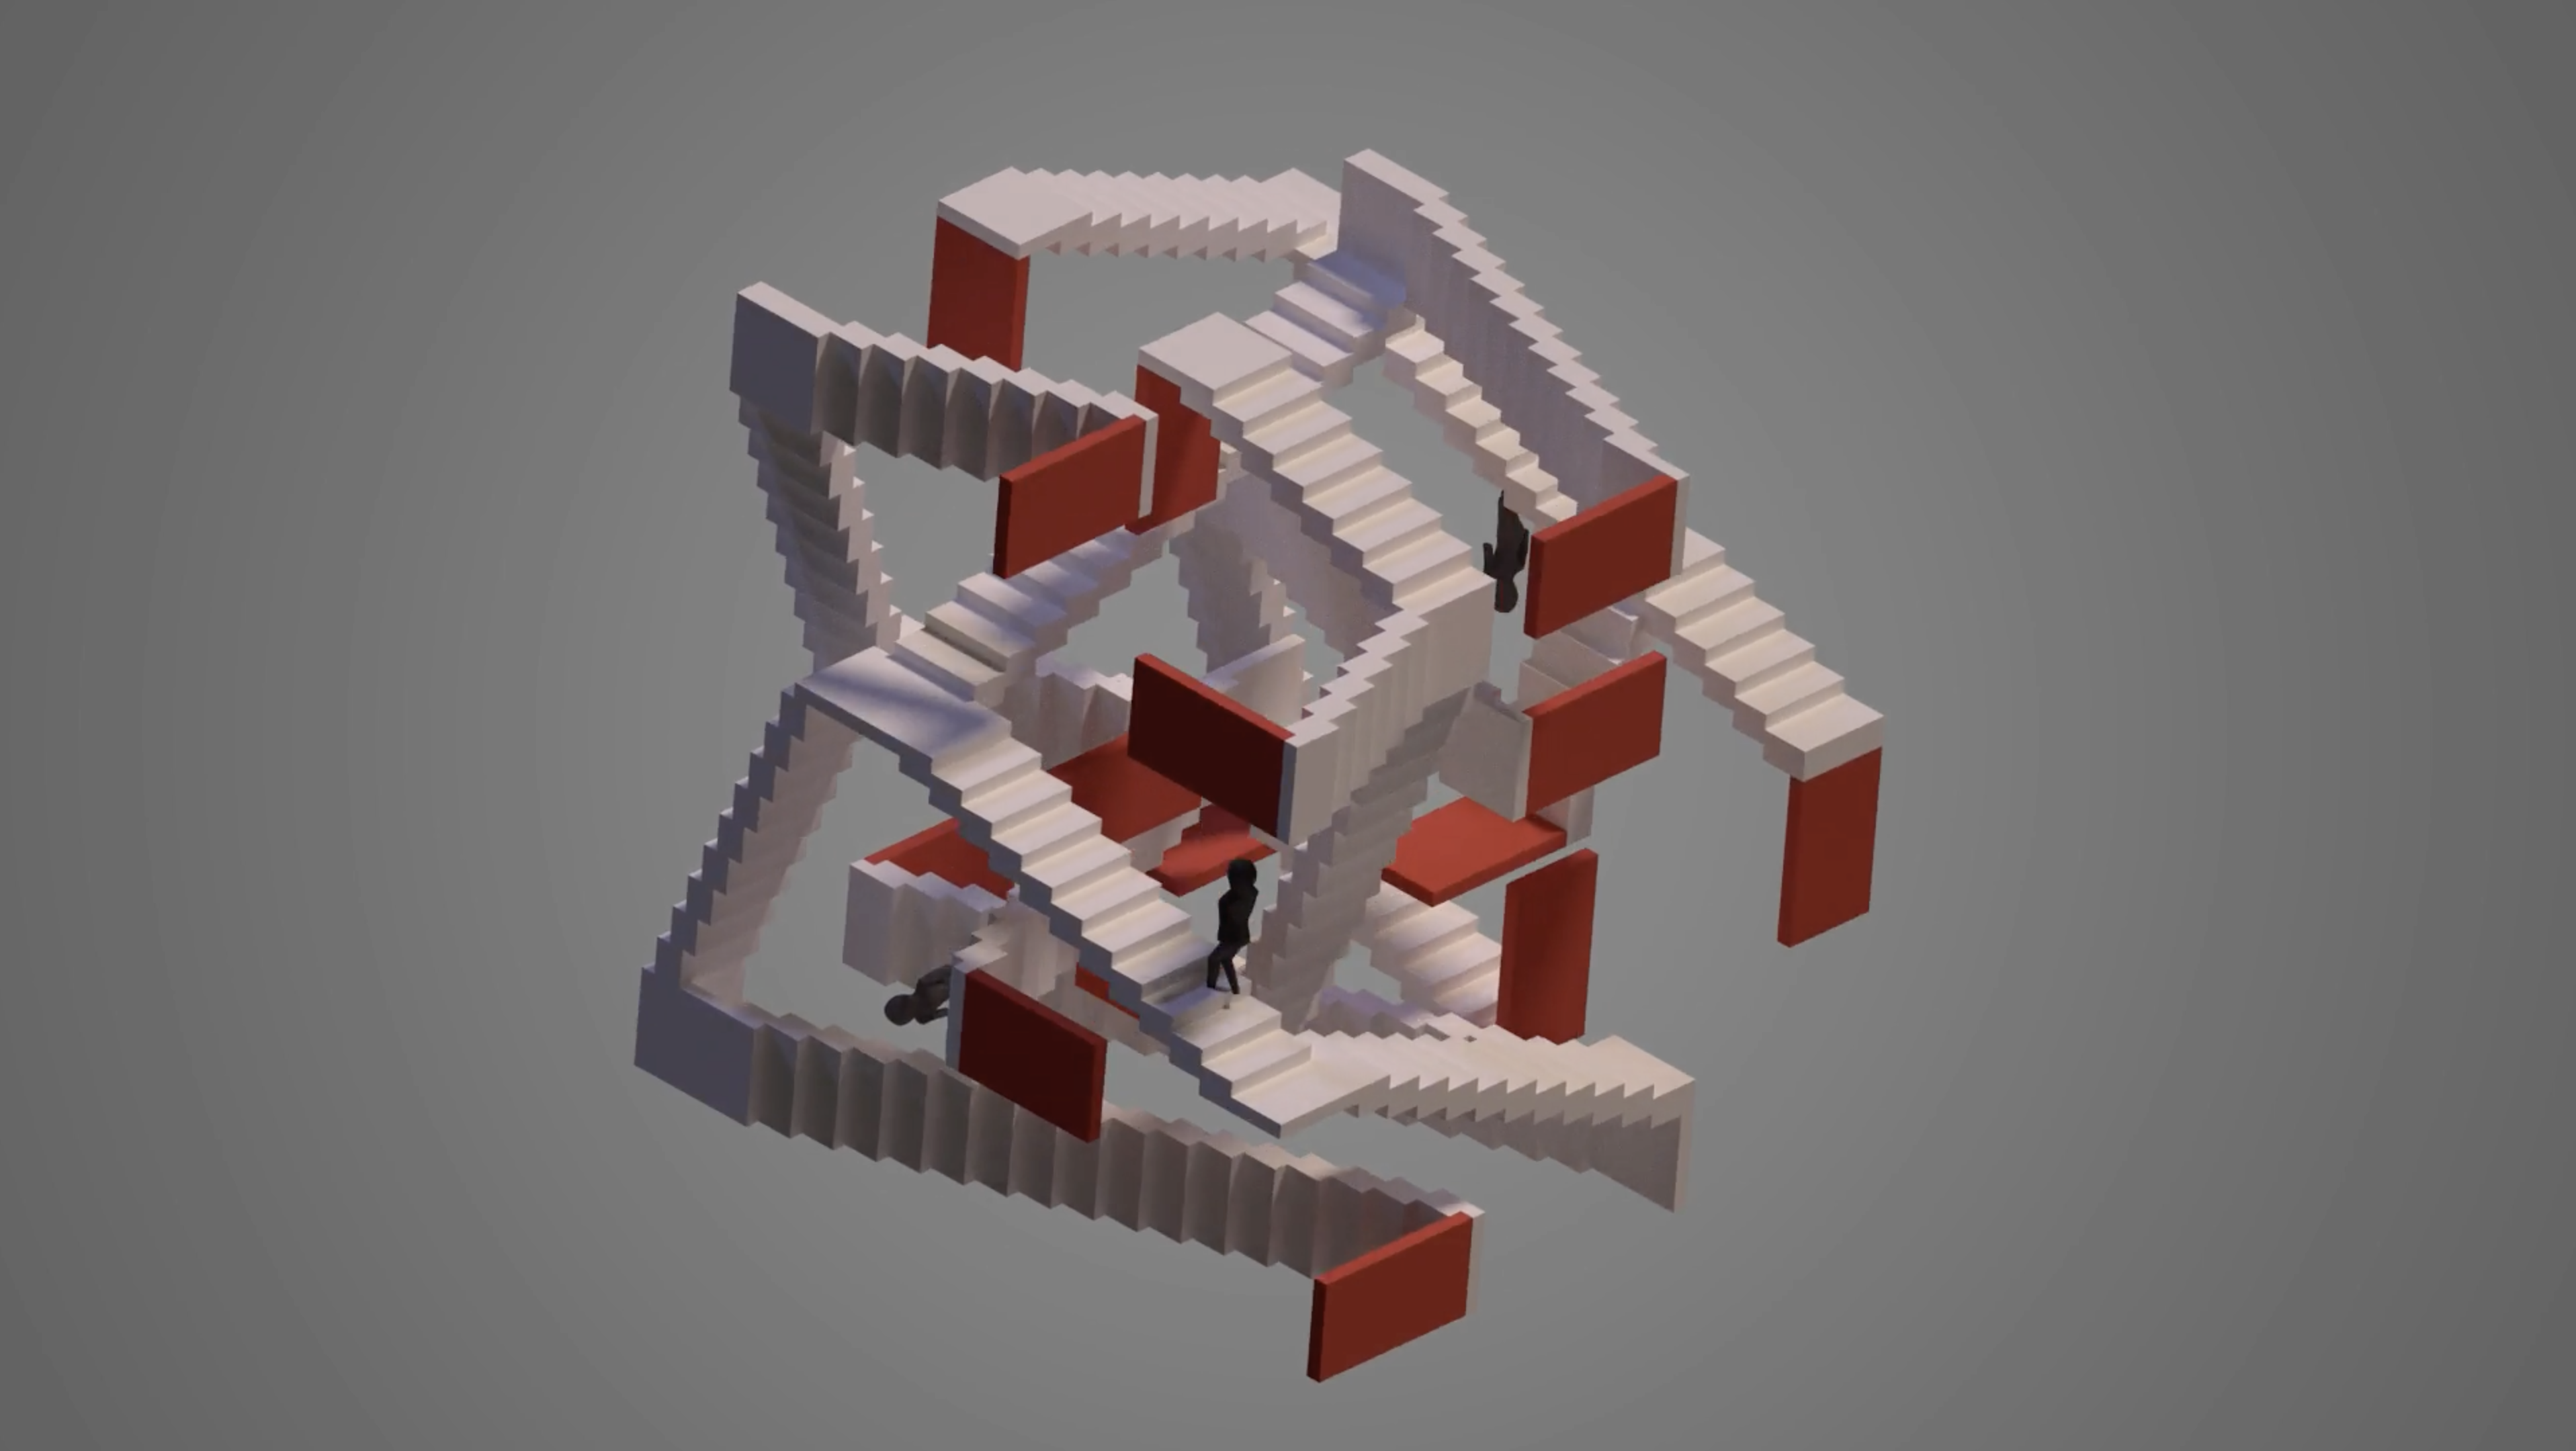
Click on examples above for a closer look
Specs for Animatic:
- Scratch Audio
- Conveys key action beats and basic cinematography
- Black & white with strategic use of color as necessary
- Export at Full HD 1920 x 1080 H264 compression
B. MOOD BOARD
The Mood Board builds on the inspirational images you gathered for your Pitch Milestone only now your research into design color and mood will be more focused to establish a singular visual direction for your piece. The Mood Board should consist of color swatches, frame grabs, illustrations and concept art form existing works arranged in a way that will convey the overall mood of the piece you are proposing. If there is a mood progression in your project be sure that this is represented in your Mood Board.
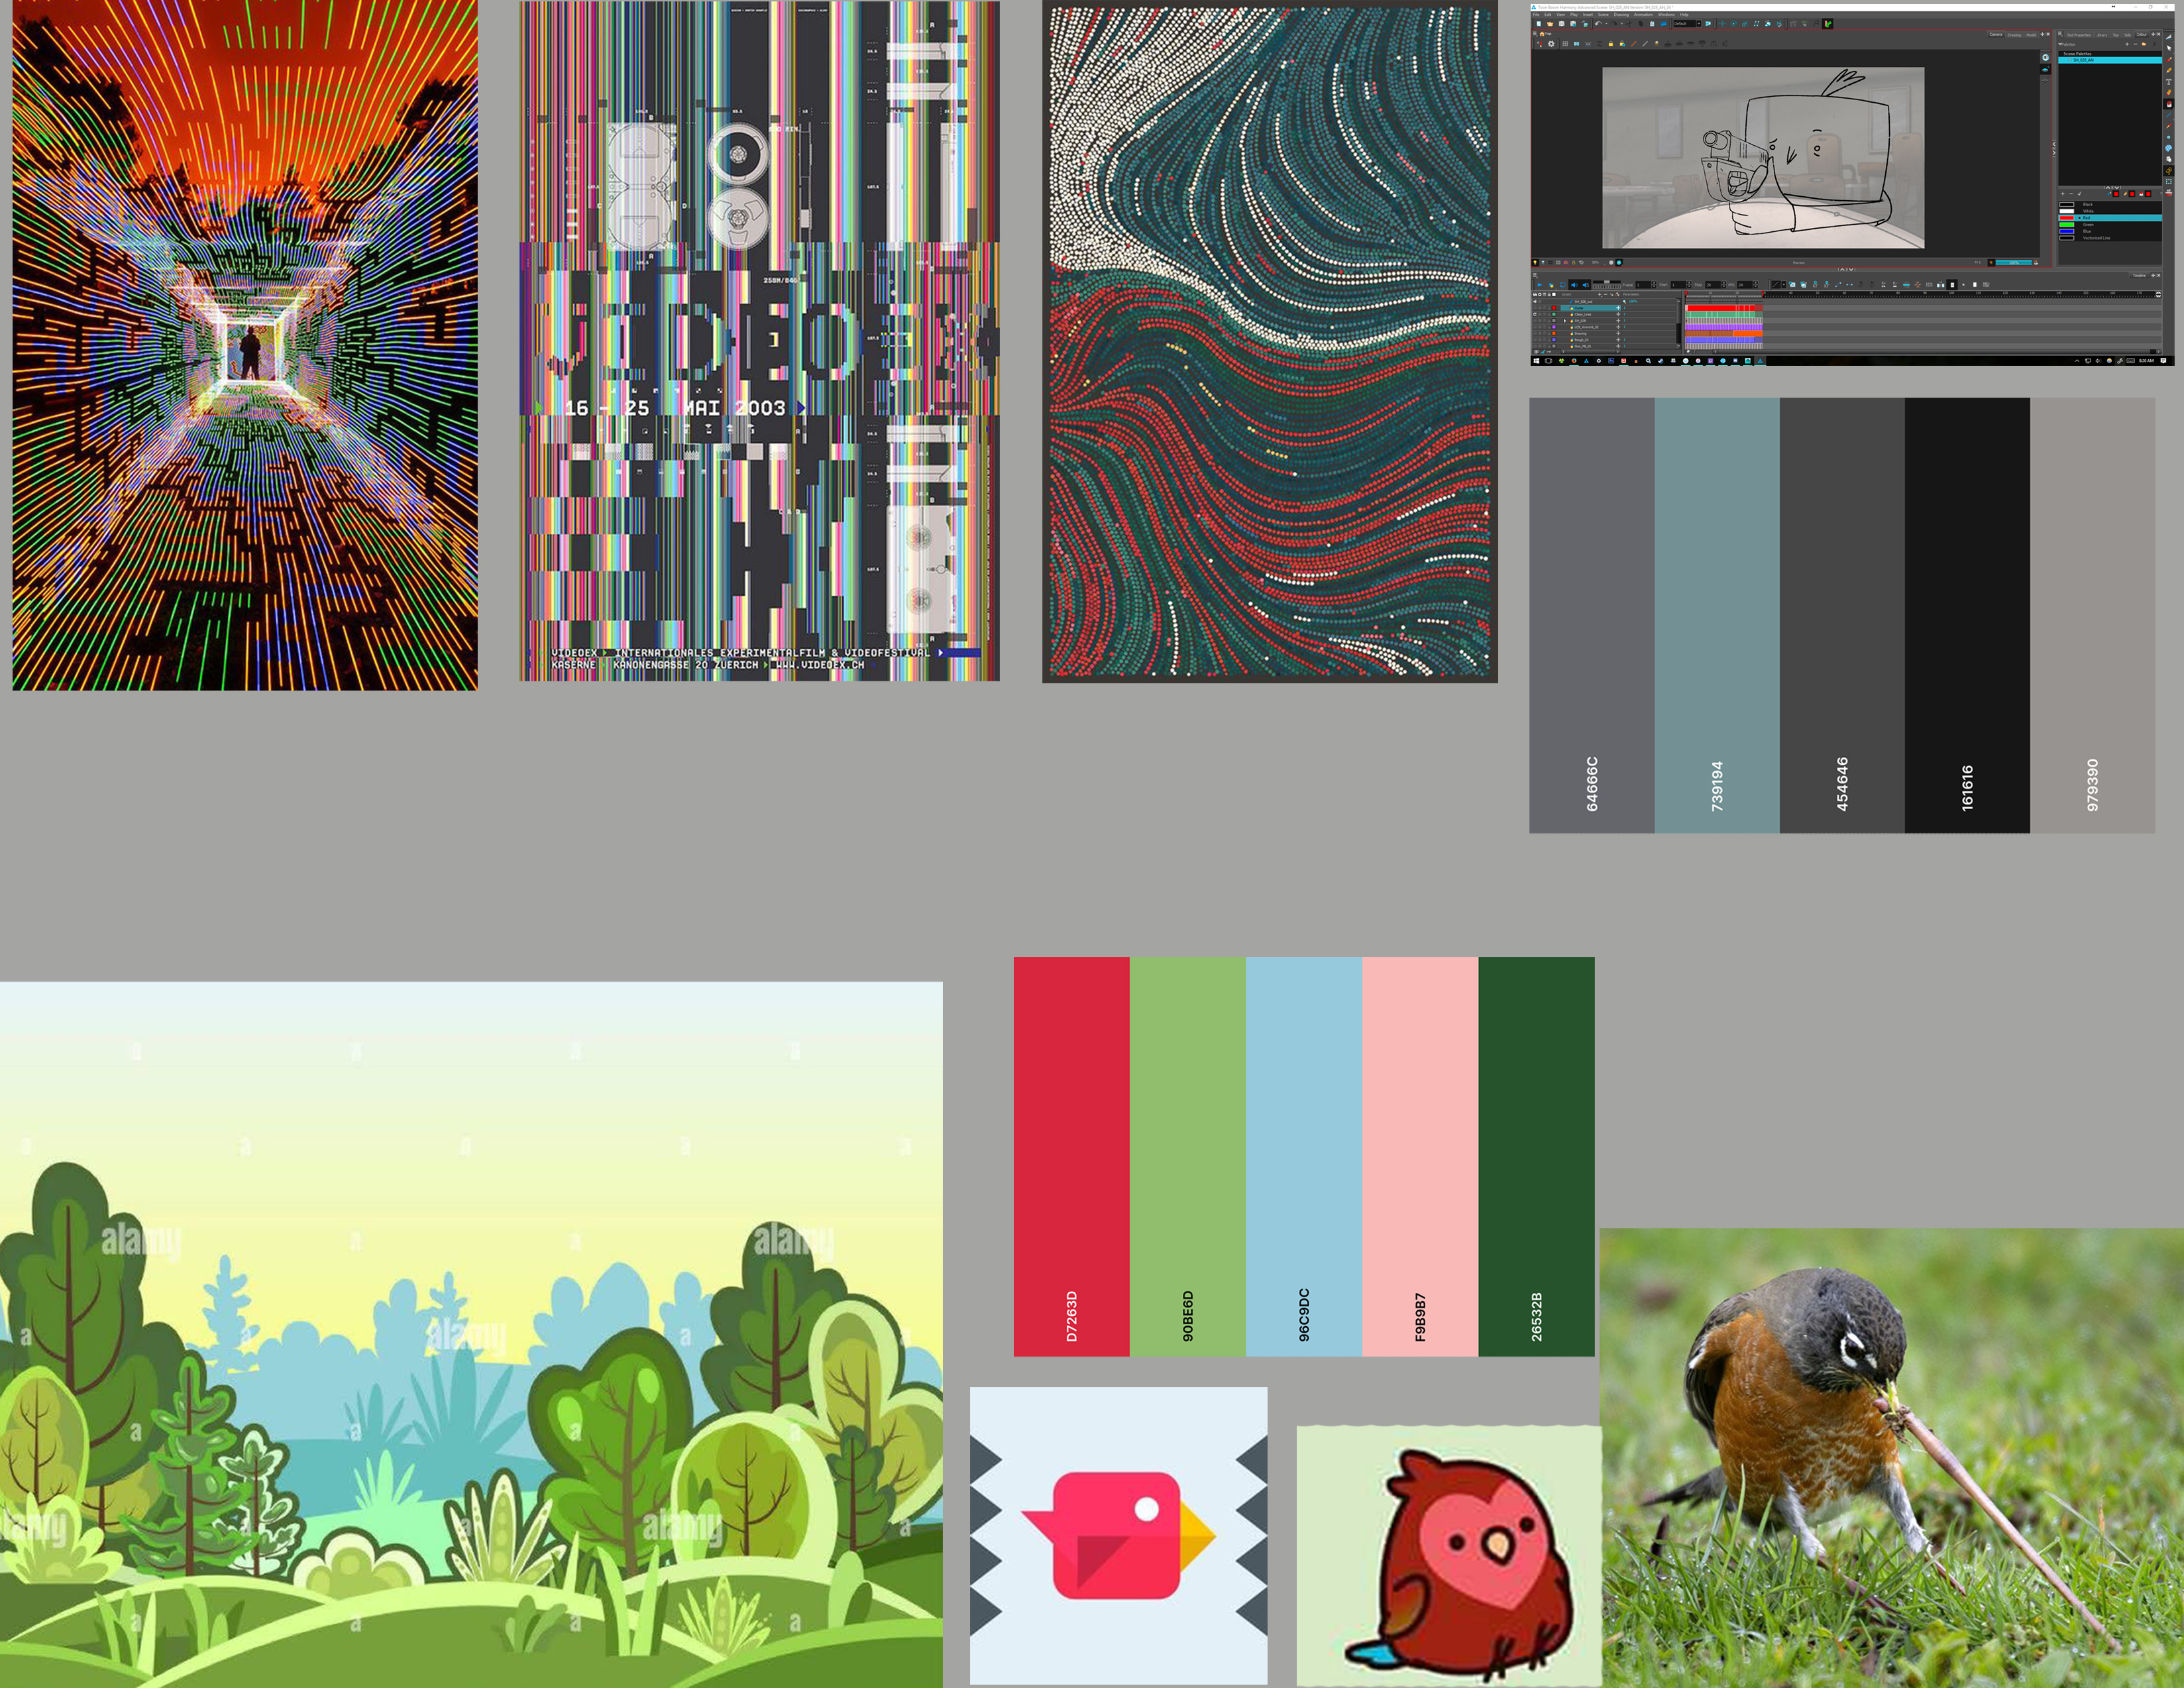
Click on examples above for a closer look.
Specs for Concept Art:
- A collection of no less than 12 images that images that convey a singular visual direction for your project.
- Images should be arranged in such a way that they are easy to read and conveys an overall mood or progression of moods.
- Combine all artwork into a single PDF file
NAMING & SUBMITTING FILES:
Animatic: simpsonB_flandersN_Square_Animatic_011318.mp4
Mood Board: simpsonH_flandersN_Square_Mood Board.pdf
Submitting to Basecamp: Submit both your Animatic and Mood Board PDF as separate files to Basecamp/420_dropBox/. . .

MILESTONE 3: LAYOUT REEL & COLOR CONCEPT
The third milestone is all about building technical strategies and resolving any outstanding questions you may have about moving forward into production. A huge return on this process is not only a visual sense of what the piece may look like in its final form, you also get a fairly concrete idea of what it will actually take to pull it off. Think of it as a dress rehearsal for the final film.
A. LAYOUT REEL
The Layout Reel is like a working scale-prototype of your final film. Layout stands in the gap between development and production laying the technical and aesthetic foundation for the production milestone to come. Working to scale in the actual production medium allows the Layout artist to compose the scene with technical accuracy, anticipating physical (and material) limitations for the final production. It is also an opportunity to solve the many potential production problems that could arise further down the pipeline.
The Layout Reel, set to final timing, establishes the role of the camera and its relationship to the elements in the scene. The tools you'll have at your disposal will vary according to your chosen medium. These tools may include various lens choices, multi-plane layers, temporary lighting and effects, character blocking and even key character poses.
One final return from the Layout process is a complete inventory as to what you will need to pull off a finished production. Done well, Layout sets the rest of the pipeline up for an incredibly smooth execution.
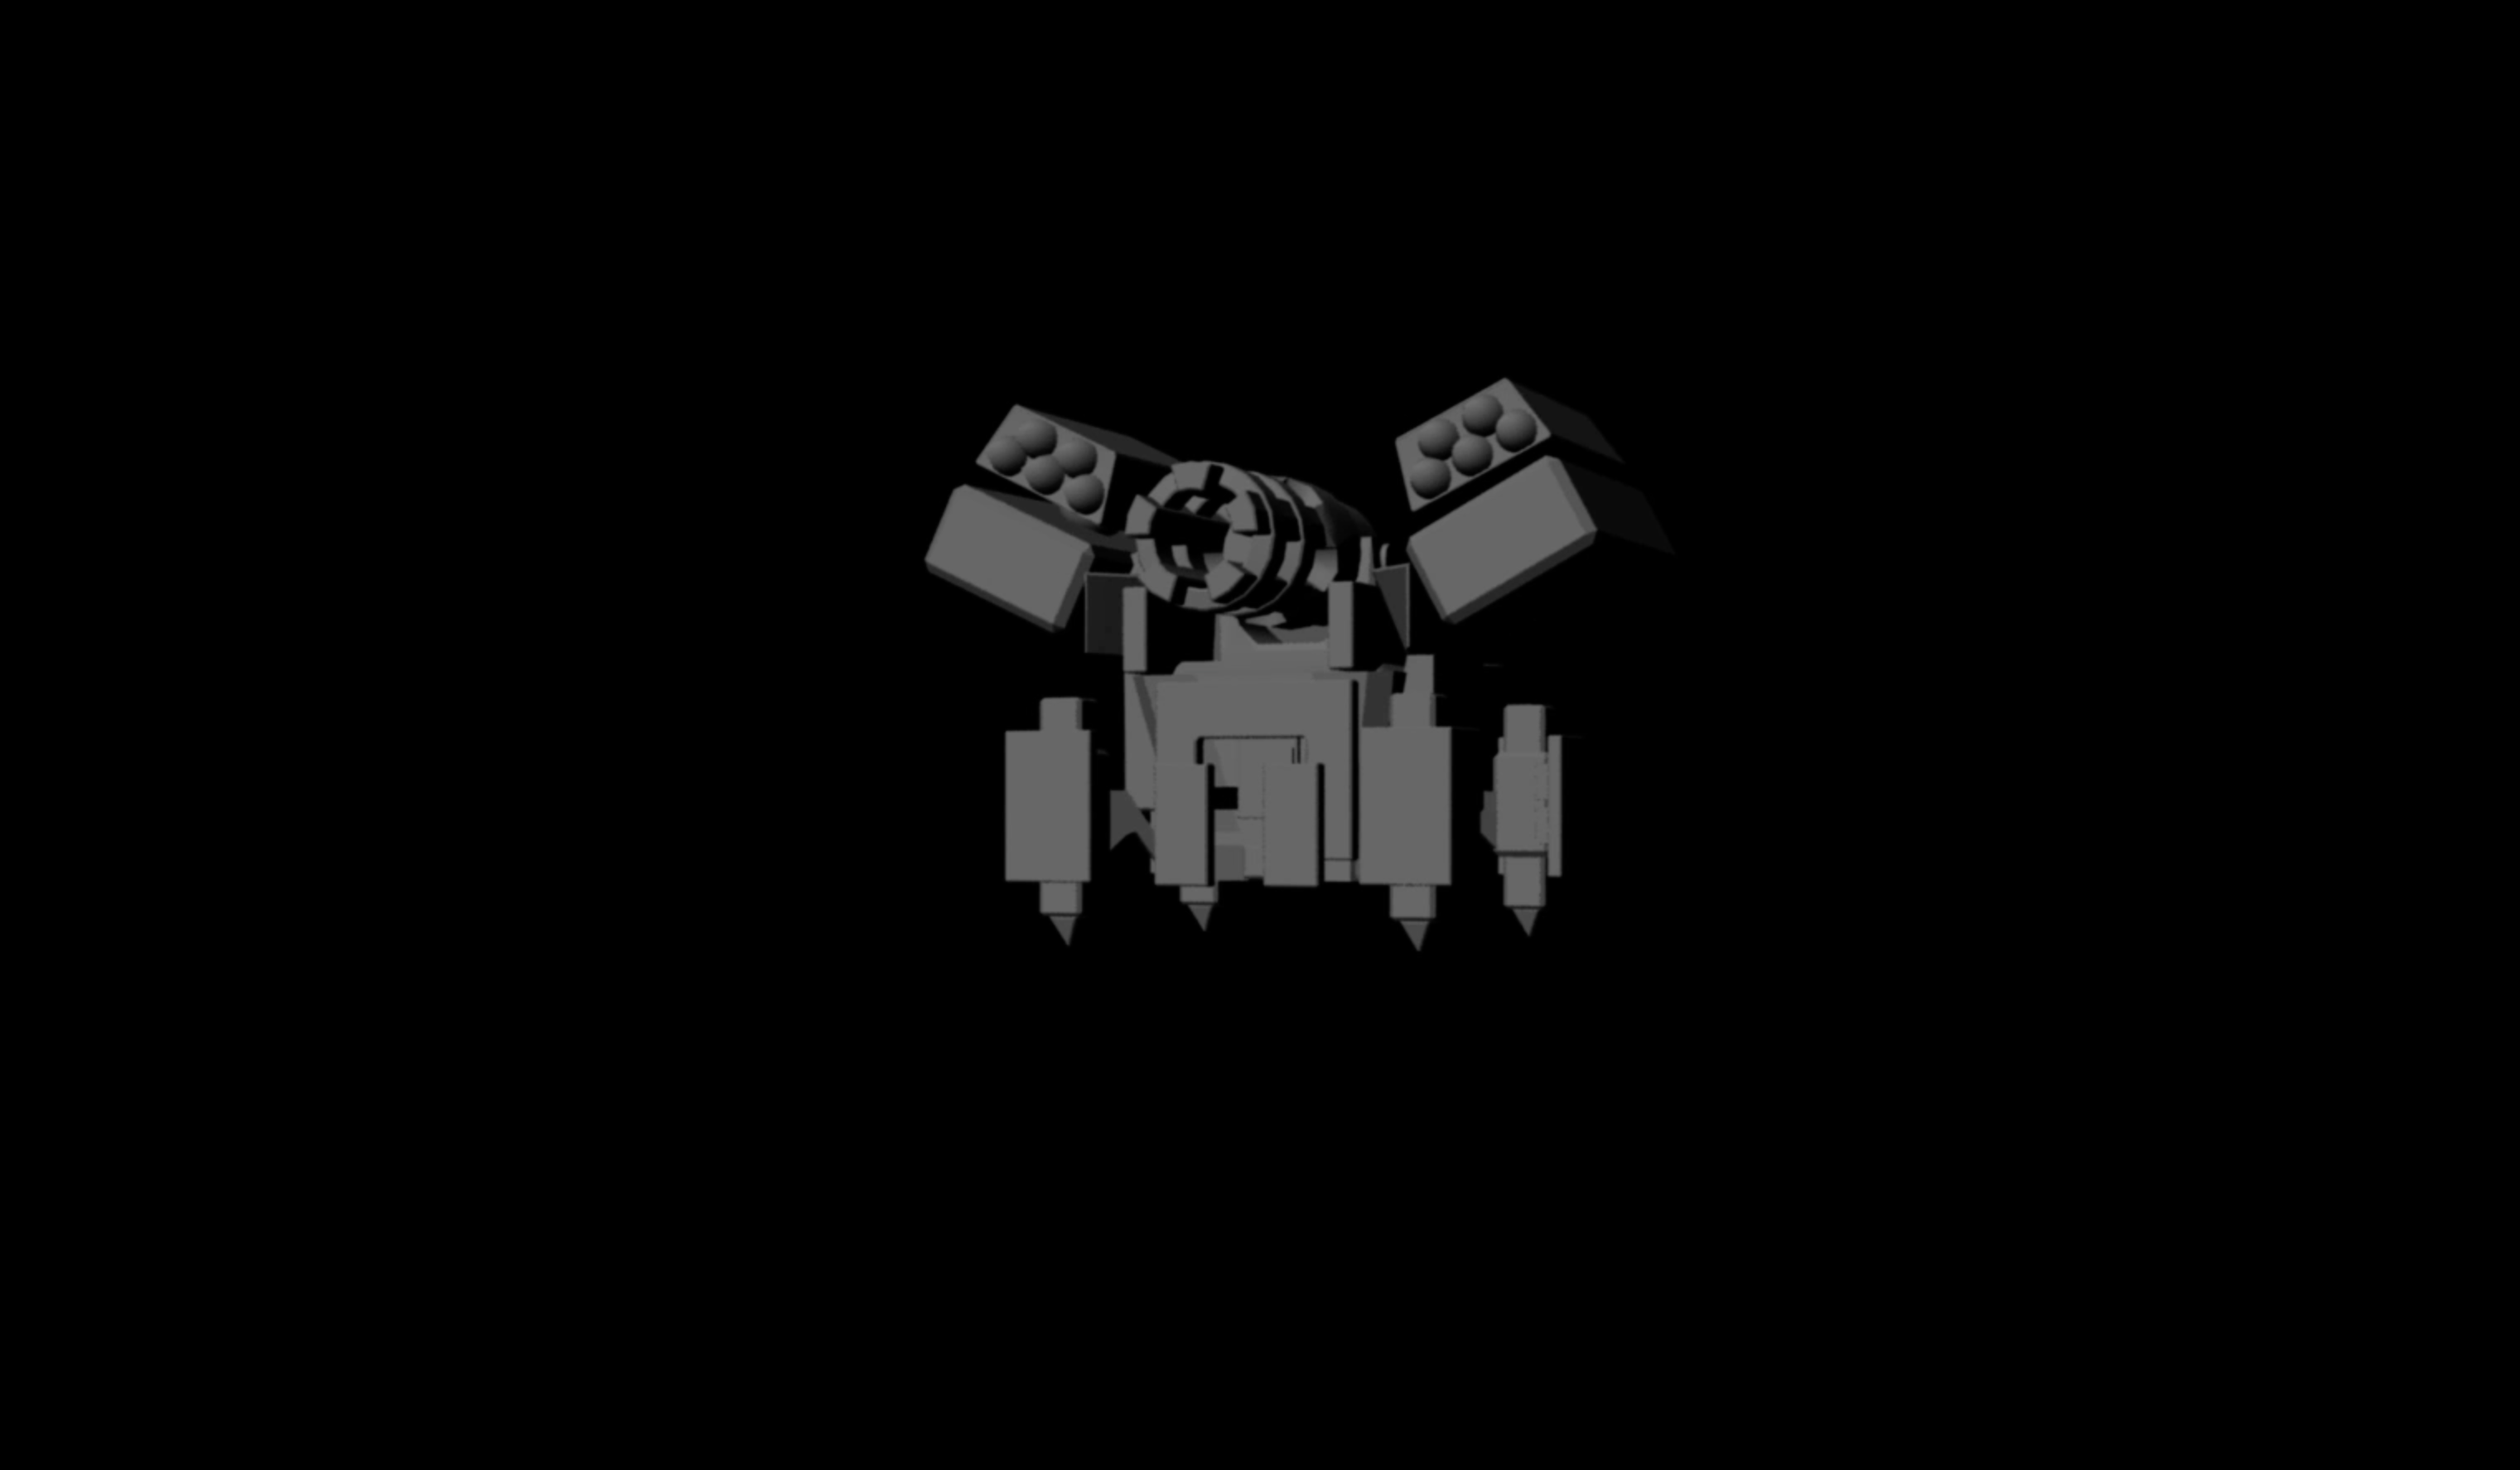

Click on examples above for a closer look and notice the different choices animators made in layout to nail down their process before heading into the final shoot.
Specs for Layout Reel:
- Work to scale in the actual medium of choice
- Solve potential technical and pipeline issues
- Include Scratch Audio
- Export movie at full HD 1920 x 1080 H264
B. COLOR CONCEPT
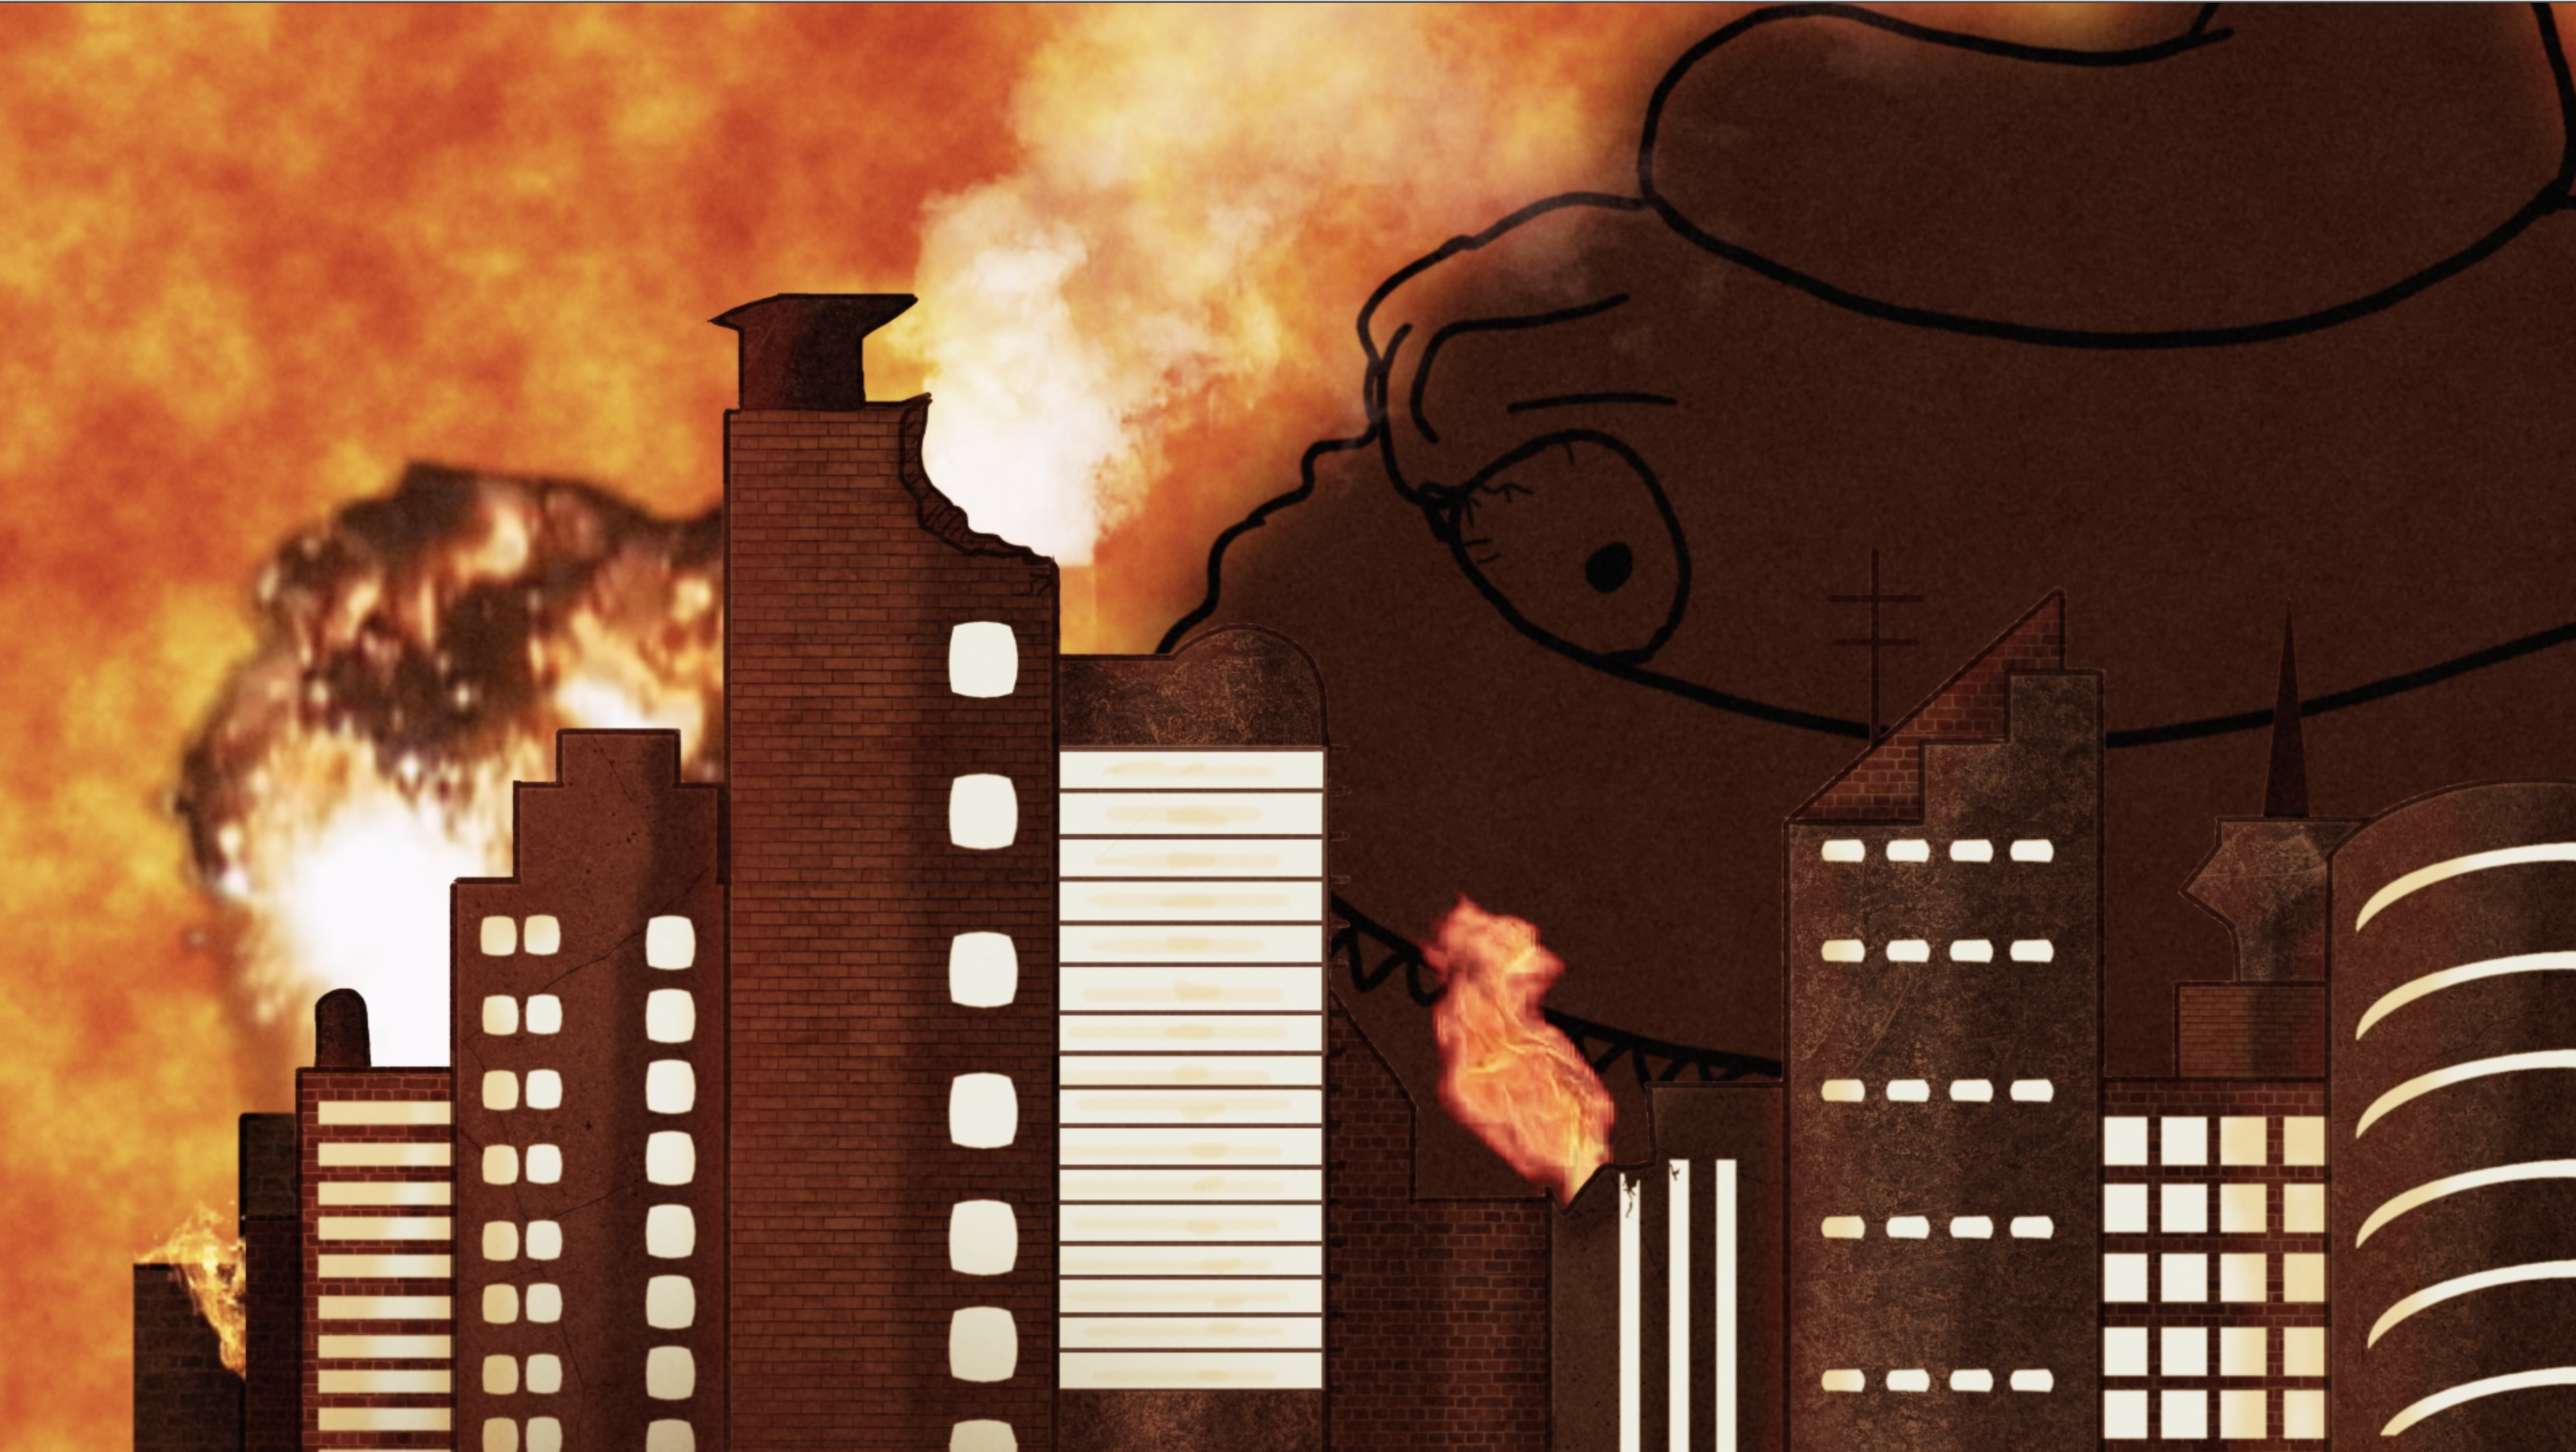
Color Concepts are an exploration into the "look of picture". Use this process to determine how color and visual style will be used through the arc of your piece. Use your exploration time wisely, as you will need one image for each significant color shift in your progression. Focus on the cinematic beats themselves, avoiding the detailed exploration more suitable to longer-form animation (ie, character color breakdowns, etc.). It would not be uncommon to render each of the beats in full progressive color.
If you are using traditional media, now would be a good time to start experimenting with actual materials.

Click on examples above for a closer look
Specs for Concept Art:
- Between 3 and 5 Color Concept images that best reflect the visual style as it progresses through your project.
- Concept images should be no less than 2-3K in size.
- Combine all artwork into a single PDF file.

NAMING & SUBMITTING FILES:
Layout Reel: simpsonH_flandersN_Square_Layout_021718.mp4
Color Concept: simpsonH_flandersN_Square_Concept.pdf
Submitting to Basecamp: Submit both your Layout Reel and Color Concept to Basecamp/420_dropBox/. . .
