THE GREATEST RACE II: MULTI-PLANE SCENE BUILDING AND ANIMATION
For this half of The Greatest Race assignment we will be building side and front views of an environment from a part of the world of your choosing. We'll also use the process of Scene-building (or Layout) to place multiple Flying Machines in our scenes utilizing z-depth to create the maximum cinematic experience in both views and ultimately aniimate anda single leg of the race.
1. "Around the World" Environment Research
2. Design Environments Side and Front View
3. Layout - Build Multi-plane Scenes and Block in Flying Machines
4. Animate - Refine Primary Animation
5. Revise Animation & Add Visual Effects in Harmony
6. Final Edit - Add Audio FX in Premiere

Spend some time researching iconic locations that you would like your featured leg of the race to take place in. It could be anything from the Himalayan Mountains, to 19th century Paris, to flying over the Taj Mahal. Whatever it is, choose an iconic location that an attentive viewer would be able to recognize. Something that lends itself to interesting multi-plane possabilities utilizing distinct foreground, mid-ground and background layers.
While you do not need to confine yourself to "real-world" environments, even fantasy enviroments should be grounded by historical research.
One Pintrist Page: Create a Pintrist Page called Around the World. No less than 30 pins.
Two Research Pages:
- Narrow the search from your Pintrist pages choosing two possible environments.
- Select 5 views of each environment and compose them on a single page.
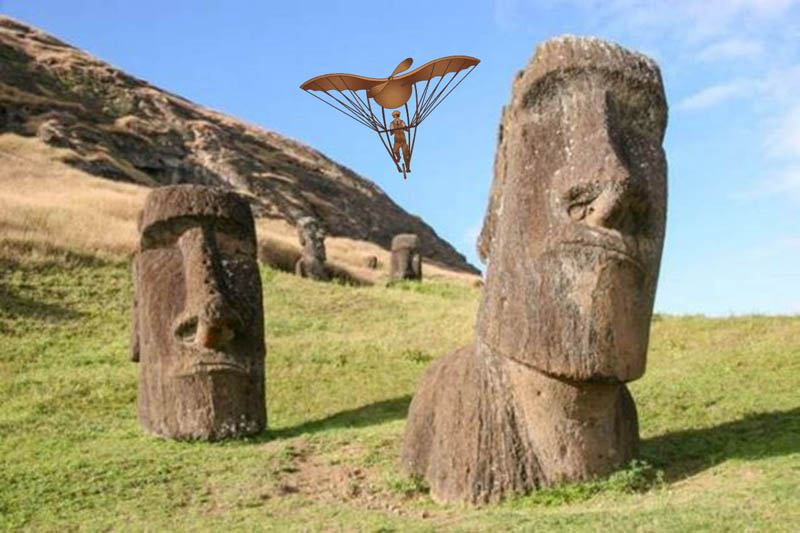
- Export Layout Images from Harmony for both views your flying machine (.png files) and use Photoshop to paste them into each of the environment views.
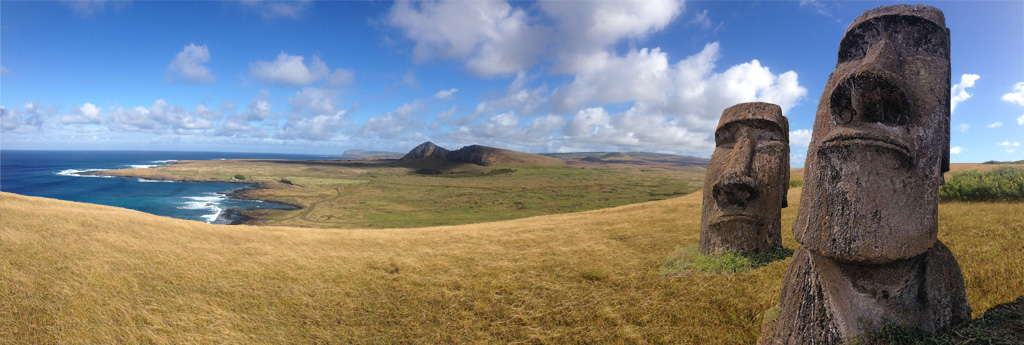
Examples:
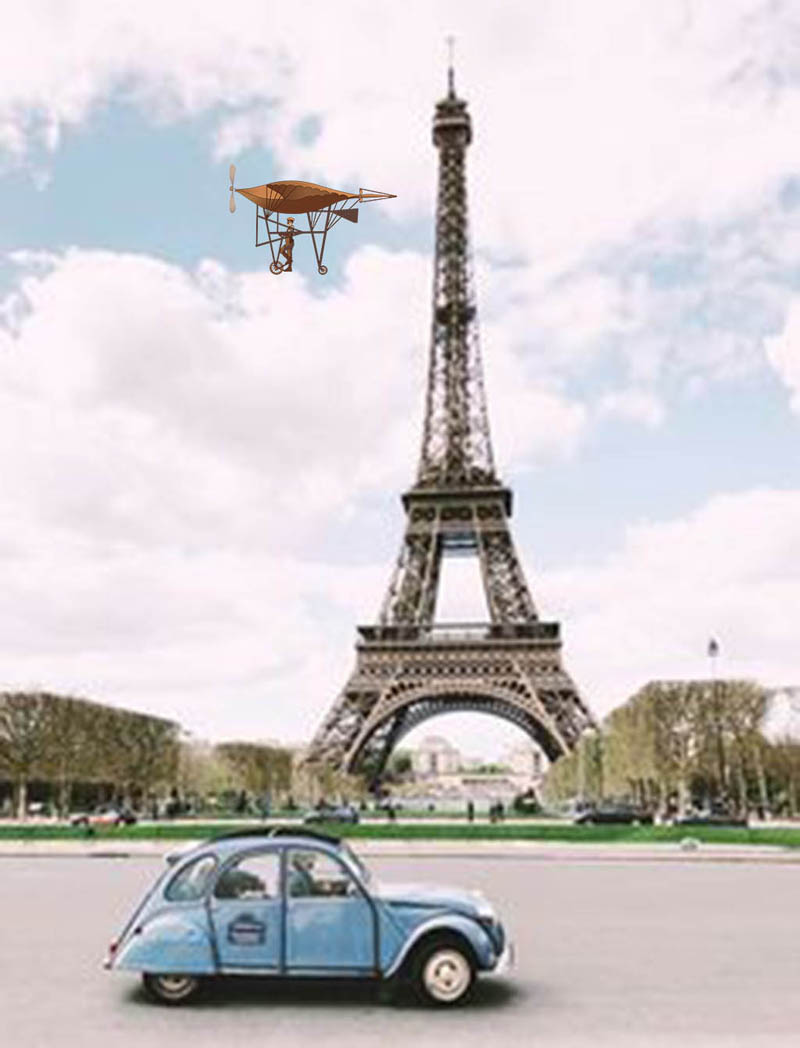
Naming:
simpsonb_research01 - easterIsland.jpg
simpsonb_research02 - parisFrance.jpg
2. DESIGN MULTI-LAYERED ENVIRONMENTS - FRONT & SIDE VIEWS
Create two seperate Photoshop files based on the same location, each one containing a multi-layered environment for your flying ships to navigate. Each background file will need to be organized speifically for importing multiple layers directly into Harmony.
Front View: Make sure your image is large enough in case we want to crop in. I recommend at Approximately 6000 x 3400 px
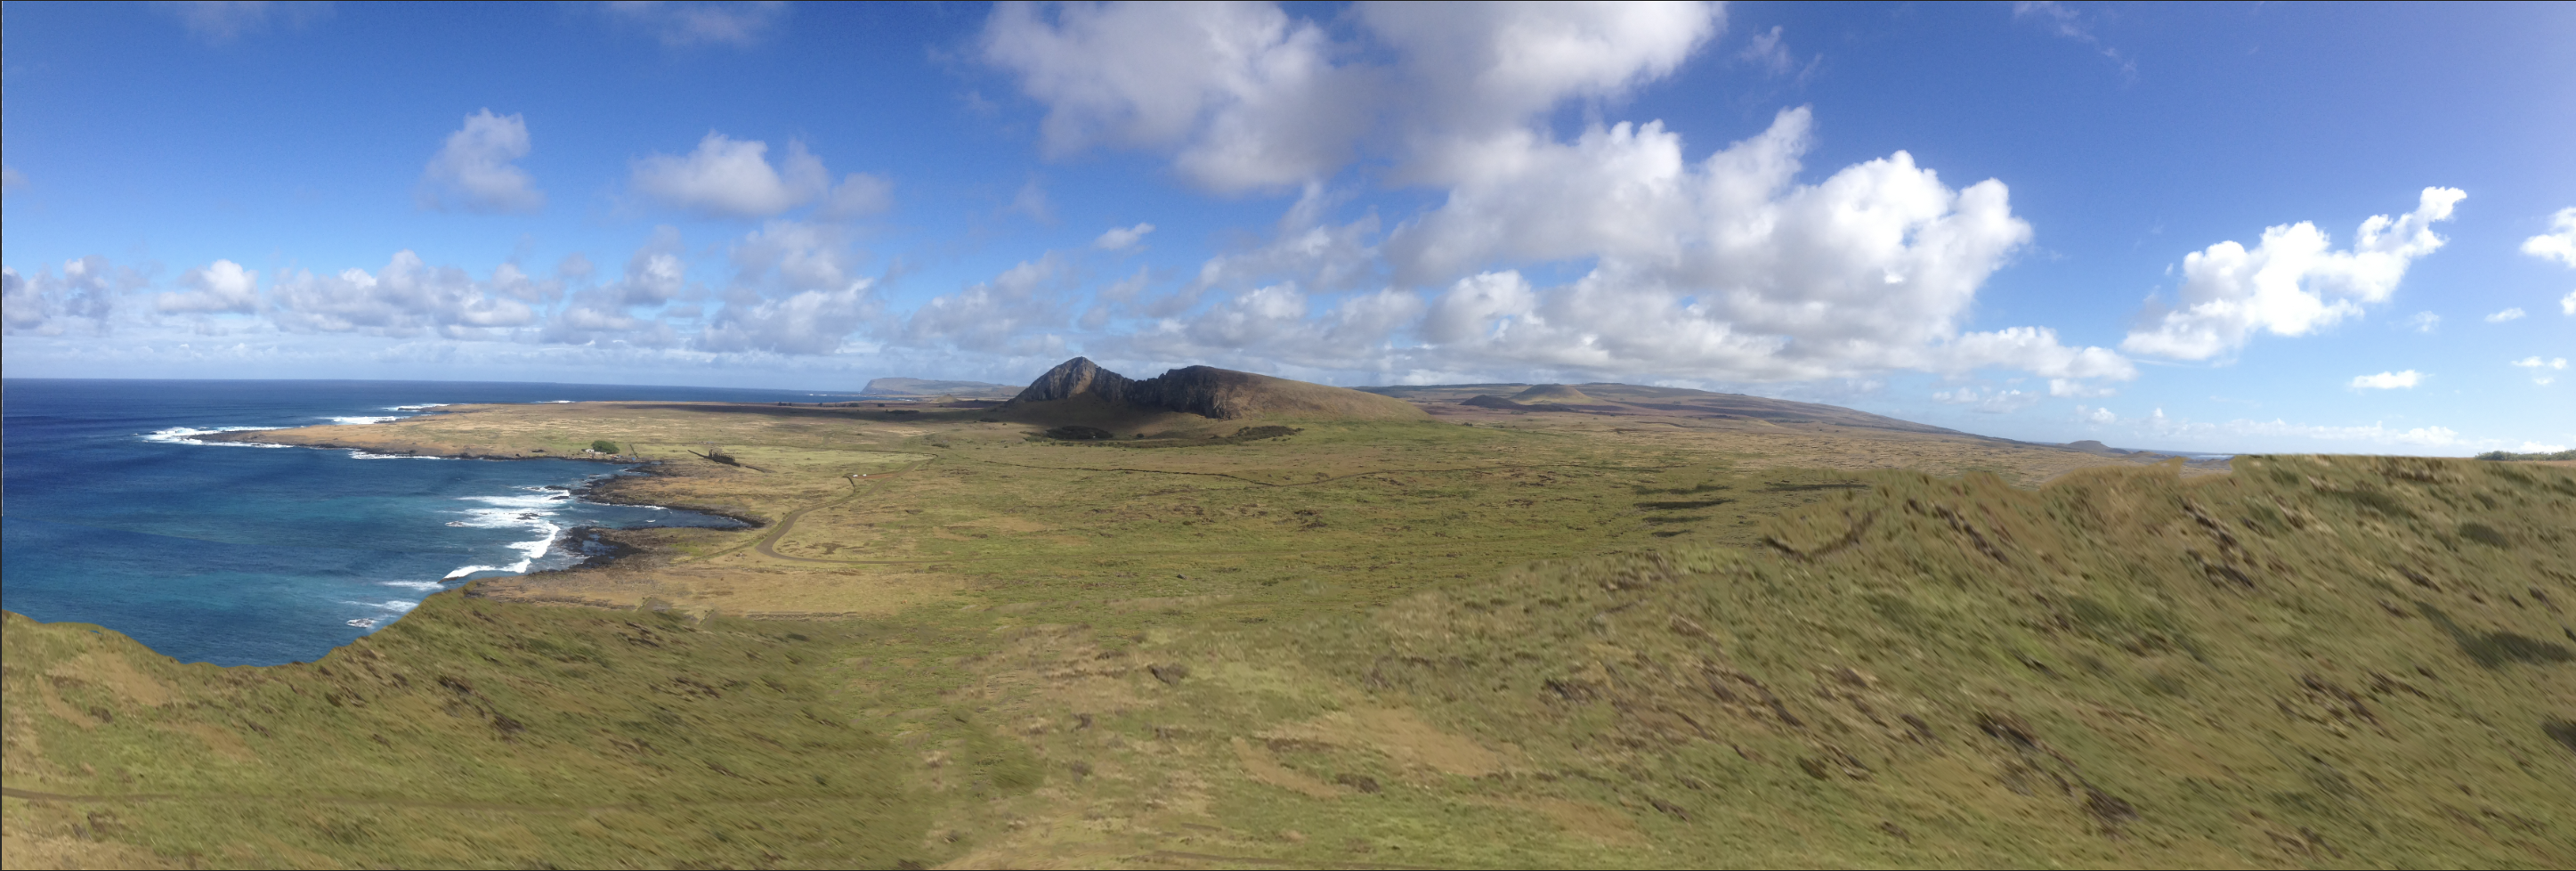
Side View: Two- to Three-field Pan
Depending on how far you want your flying ship to travel you can choose between a two- or three-field panorama background. Your image must be at least 2000 pixels wide per field and 1100 pixels high to accomadate for the 1920 x 1080 scene resolution. The example below is a two-field pan. This means my image demensions had to be at least 4000 px wide and 1100 px tall.
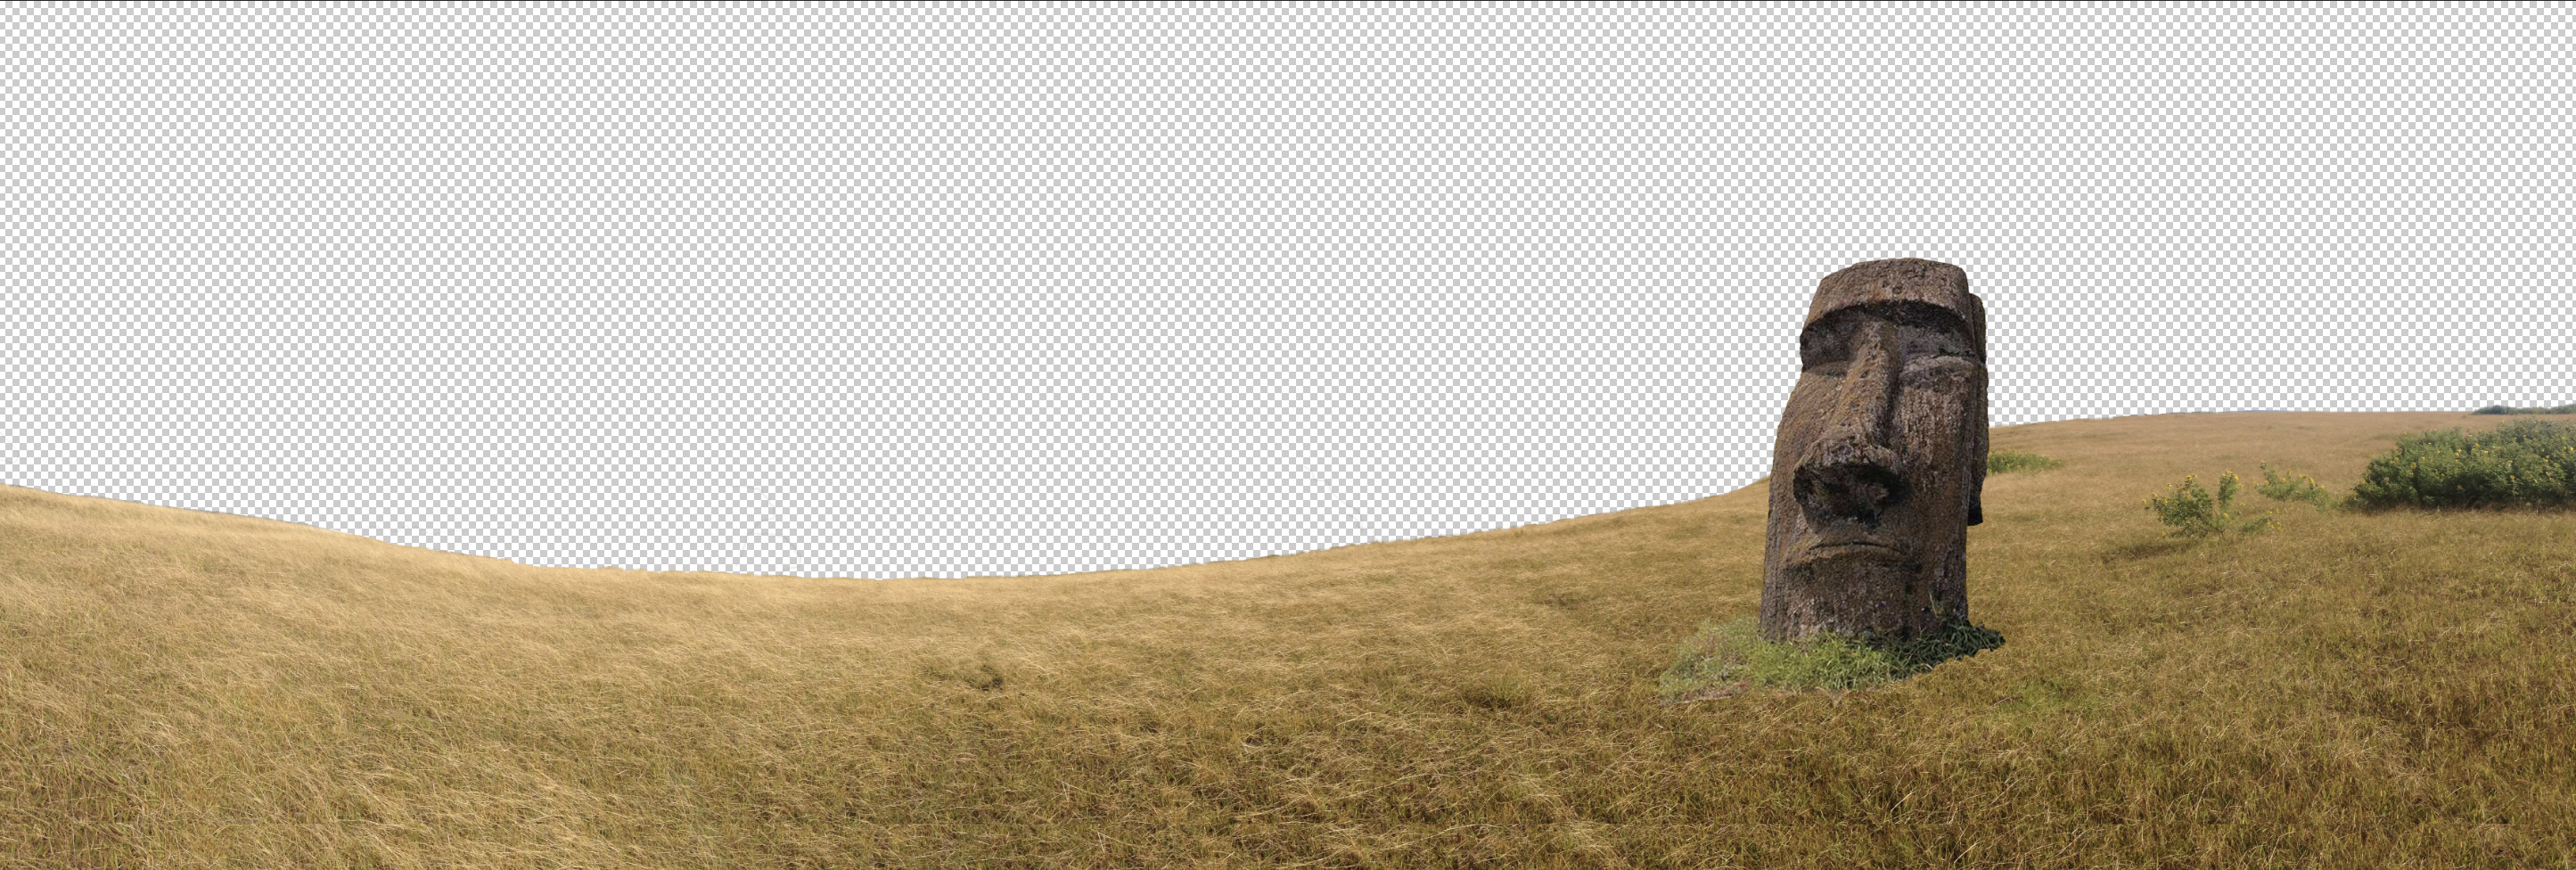
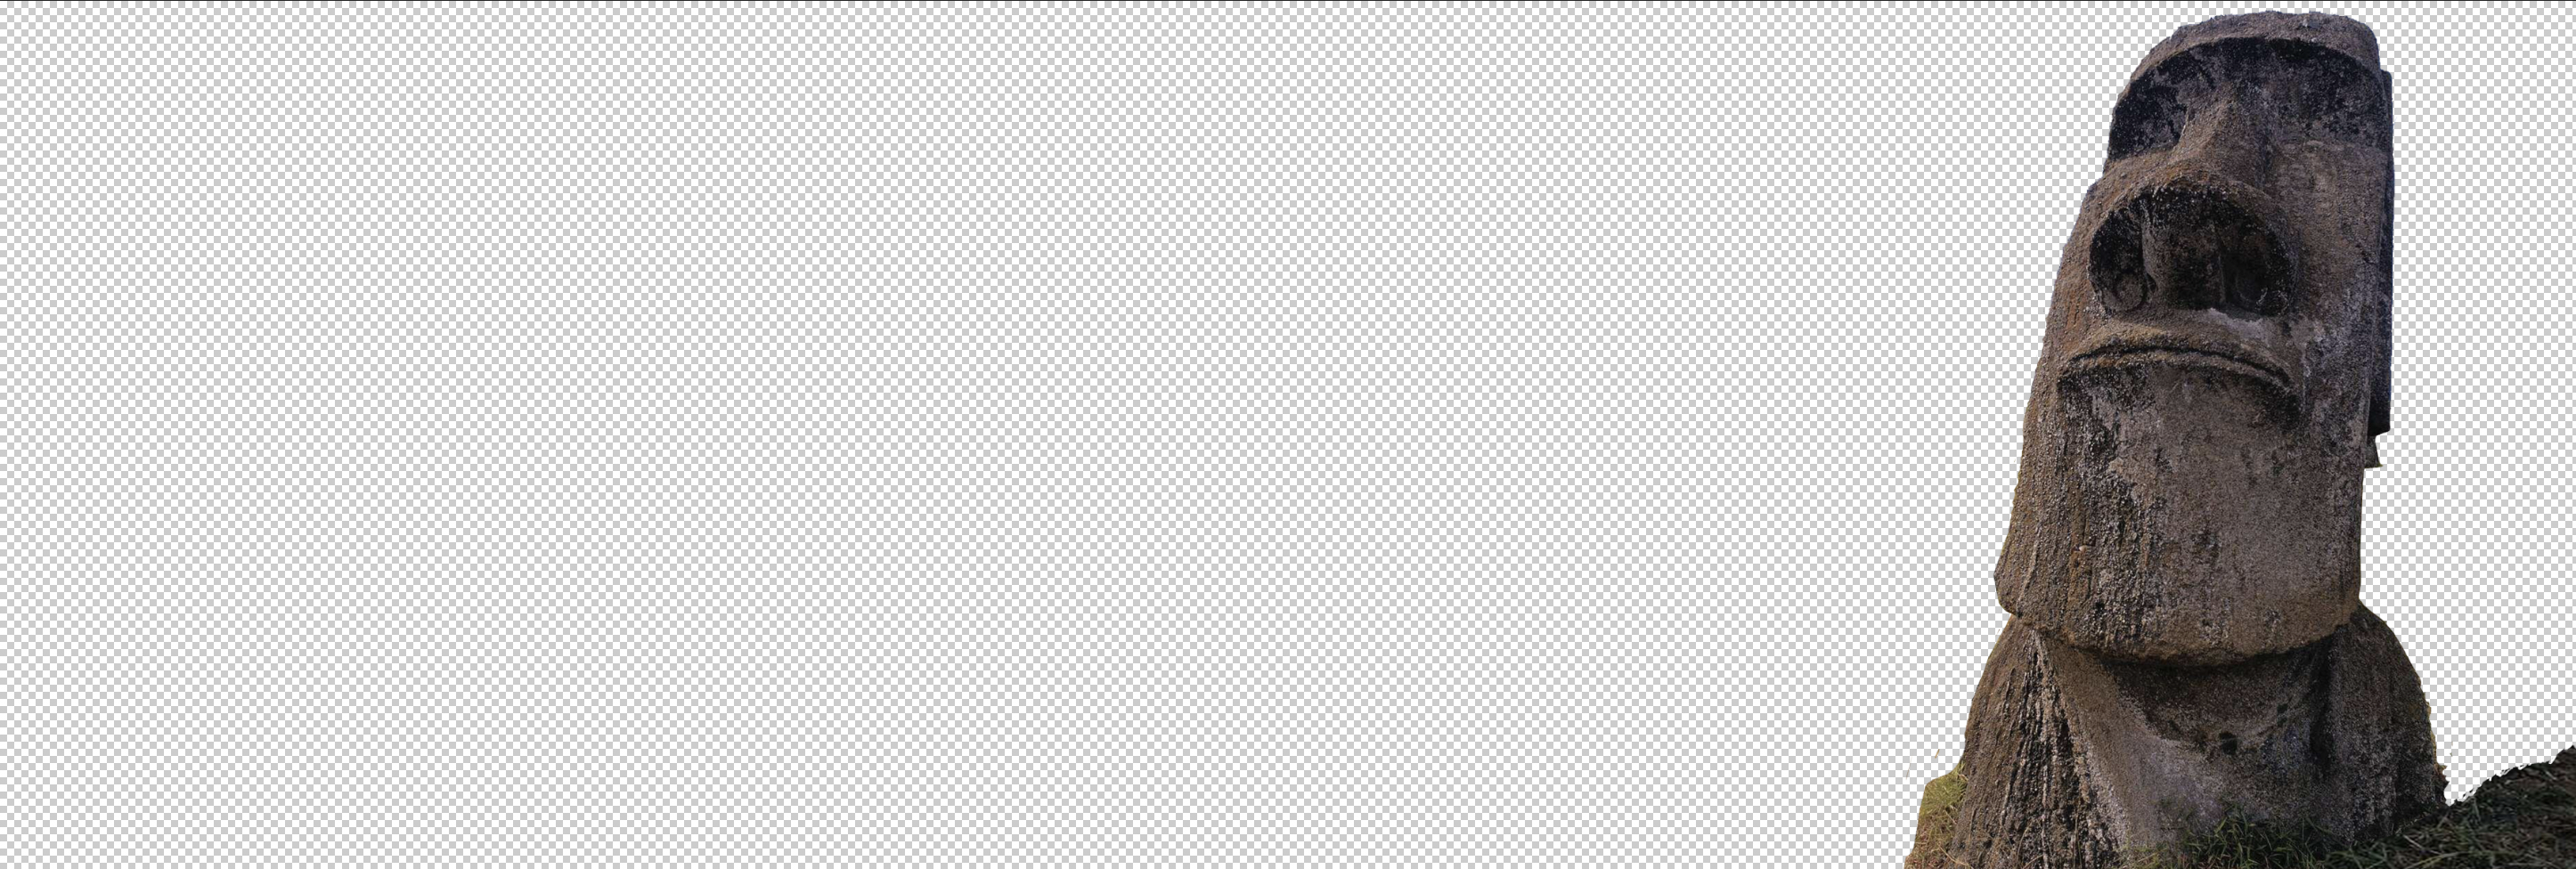
Each view should contain a Background, Mid-ground and Foreground layer. Be sure that the MG and FG layers are suspended on an alpha channel.
Save as a single .PSD File
3. LAYOUT - BUILD MULTI-PLANE SCENES & BLOCK IN FLYING MACHINES
A. Watch these Toon Boom Tutorials before you begin.
Importing Photoshop Images - 6 min
Animating the Camera - 5 min
Creating a Multiplane Layout Based on a Storyboard - 30 min
Toon Boom Exchange Library Tutorial - 12 min
B. Build your Multi-plane scene in a New Harmony Project.
Start with a new Harmony project file. 1920 x 1080 120 frames.
Import your Side View .PSD into multiple Layers. Be sure your Photoshop Side View file layers are compressed to basic layers and named accordingly; FG, MG and BG.
Create a simple camera pan from one side to the other. Then, using the Maintain Size tool in the Top View (animation off), distribute your environment layers to create parallax in your camera move. Set Camera Peg to Path Position in Layer Properties.
C. Import Flying Machine from the Flying Machine TPL Library on Basecamp.
1. Create a TPL Share Library in your local Project folder and download Flying Machine.tpl files from the Basecamp Flying Machine TPL Library.
2. Open the Library Panel from inside Harmony and browse to the local TPL Share Library.
3. Drag the Flying Machine.tpl file into your timeline
4. Turn off the "Animate" setting in Harmony and use the Transform tool on the Master Flying Machine peg to place and scale your Flying Machine in the scene.
5. Check the Flying Machine Master Peg in Layer Properties to make sure it is set on to Path Animation. Turn on the "Animate" setting in Harmony and set key frames on the master peg to animate your FM in the direction of the camera for the duration of the scene.
6. With the Master Peg selected, turn on the controls function so you can see your animation path.
Render a movie of your scene and repeat process in a new Harmony Project for the Front View. Post both movies to the discord channel for review.
Naming:
simpsonb_greatestRace_side_Layout.mp4
simpsonb_greatestRace_front_Layout.mp4
Once you have completed the rough animation for the front and side view it's time to refine the motion and add any visual effects that would enhance your final scenes.
Name and date and post both movies to Discord for review.
Naming:
simpsonb_greatestRace_side_021122.mp4
simpsonb_greatestRace_front_021122.mp4
5. REVISE ANIMATION & ADD VISUAL EFFECTs IN HARMONY
Use the following tutorials for a basic overview of using Effects Nodes in Harmony:
Node Library View 10min
Adding Effects 15min
Connecting Effects 15min
Previewing Effects in Render Mode 5min
Playing Back Effects 5min
Export you final scene at 1920 x 1080
6. FINAL EDIT - ADD AUDIO FX IN PREMIERE
Import both front and side view movies into Premiere and add sound effects and choose a score that best suites the character of your flying machine. Render a movie and post to the Discord channel.
Naming:
simpsonb_greatestRace.mp4
Once you are finished Zip your entire project file structure. Name and date the zip file and submit to Basecamp 320 Dropbox along with your combined movie files.
Naming:
simpsonb_flyingMachine_030422.zip
simpsonb_greatestRace.mp4
Stephan Leeper 2021/CMU Animation