PROJECT SUMARY: A ONE-MINUTE STORYREEL BASED ON A PERSONAL MEMORY
A. PERSONAL MEMORY - SNAPSHOTS
B. PERSONAL MEMORY - STORY BEATS
C. THUMBNAILS "ACTION BEATS": SHOT NUMBERS & SCENE BREAKS
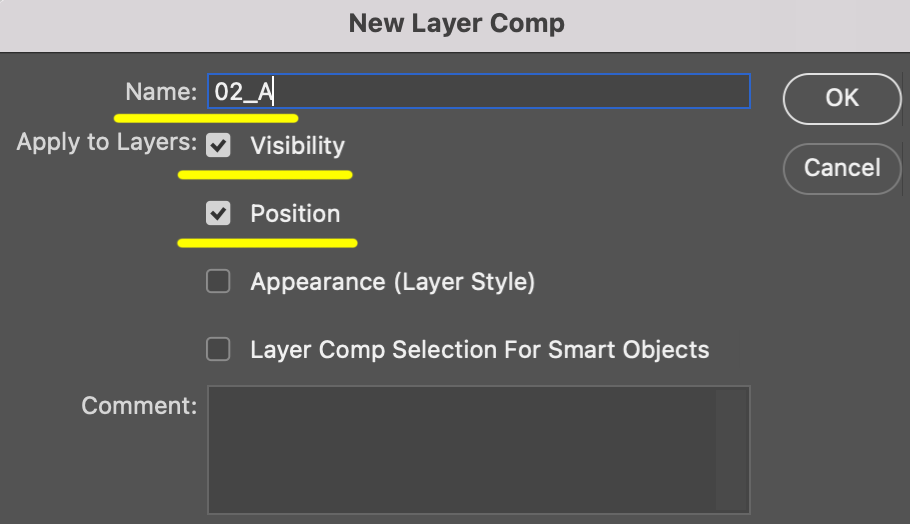
D. SCENE BUILDS: LAYER COMPS IN PHOTOSHOP
E. CAMERA MOTION: BUILD A SINGLE CAMERA MOVE
F. STORYREEL - FIRST DRAFT "ROUGH CUT"
G. STORYREEL - FINAL REVISION AND SUBMIT
A. PERSONAL MEMORY - SNAPSHOTS (6 panels on a single page)
Create at least 6 thumbnail drawings, each representing a personal memory. Try to recall moments from different periods of your life; summer vacations, family outings, holidays and even traumatic events. Consider everything from small moments, to fleeting memories, to life-changing events. Is there a moment that you would go back and change? These are all fair game.
Keep in mind that memory is a wonderful editor and doesn't always record things exactly as they happened. Often memory amplifies what is most important or veils things we're not ready to discuss openly. Once you choose the memory . . . like any good storyteller, you decide just how you want to present it. :-)
Example:
Workflow: Work small, and in stages.
Stage 1: Think of this stage as the brainstorming process where the drawings are primarily meant for "your eyes only". Quickly sketch out as many memories as you can think of (nine if you can swing it, six at a minimum). These don't need to be pretty but they should give you a nice collection of memory "snapshots" to choose frome.
Stage 2: This stage is more about the presentation. Choose six of the sketches that stand out to and clean them up to show to the rest of us. One trick I use is to use the erasor to "push back" or "ghost" the original sketch, and then go back in with the pencil to strengthen your lines and silhuoettes. You may even add some shading to add drama and clarity.
We're not looking for great illustrations but your drawings should communicate quickly and clearly.
Stage 3: Finally, arrange your images on a single page in Photoshop and post a list them to Basecamp. of captions, one for each image, when you submit your snapshots. Something that could give us some insight into the story behind the snapshot.
Submission:
- Drawings should be well composed, easy to read and named properly.
- Name your file and upload as a single jpg to Basecamp.
- Include caption titles either directly on the image or posted underneath.
Naming: simpsonB_memory_snapShots.jpg
B. PERSONAL MEMORY - STORY BEATS (9-12 thumbnails)

Based on feedback and personal interest, choose one of your Snapshots as the inspiration to create a simple storyline based on that personal memory.
For our immediate purposes a story can be anything with a beginning, middle and end. Dedicate three panels to each and you've done it! Use the extra panels if you need to draw out a moment or clarify an event. If you find you have more than you need, feel free to edit them down. Save the extras because they may come in handy.
These images are what we call Story Beats. They signify the major moments in your story. Later on we'll add panels to help with continuity.
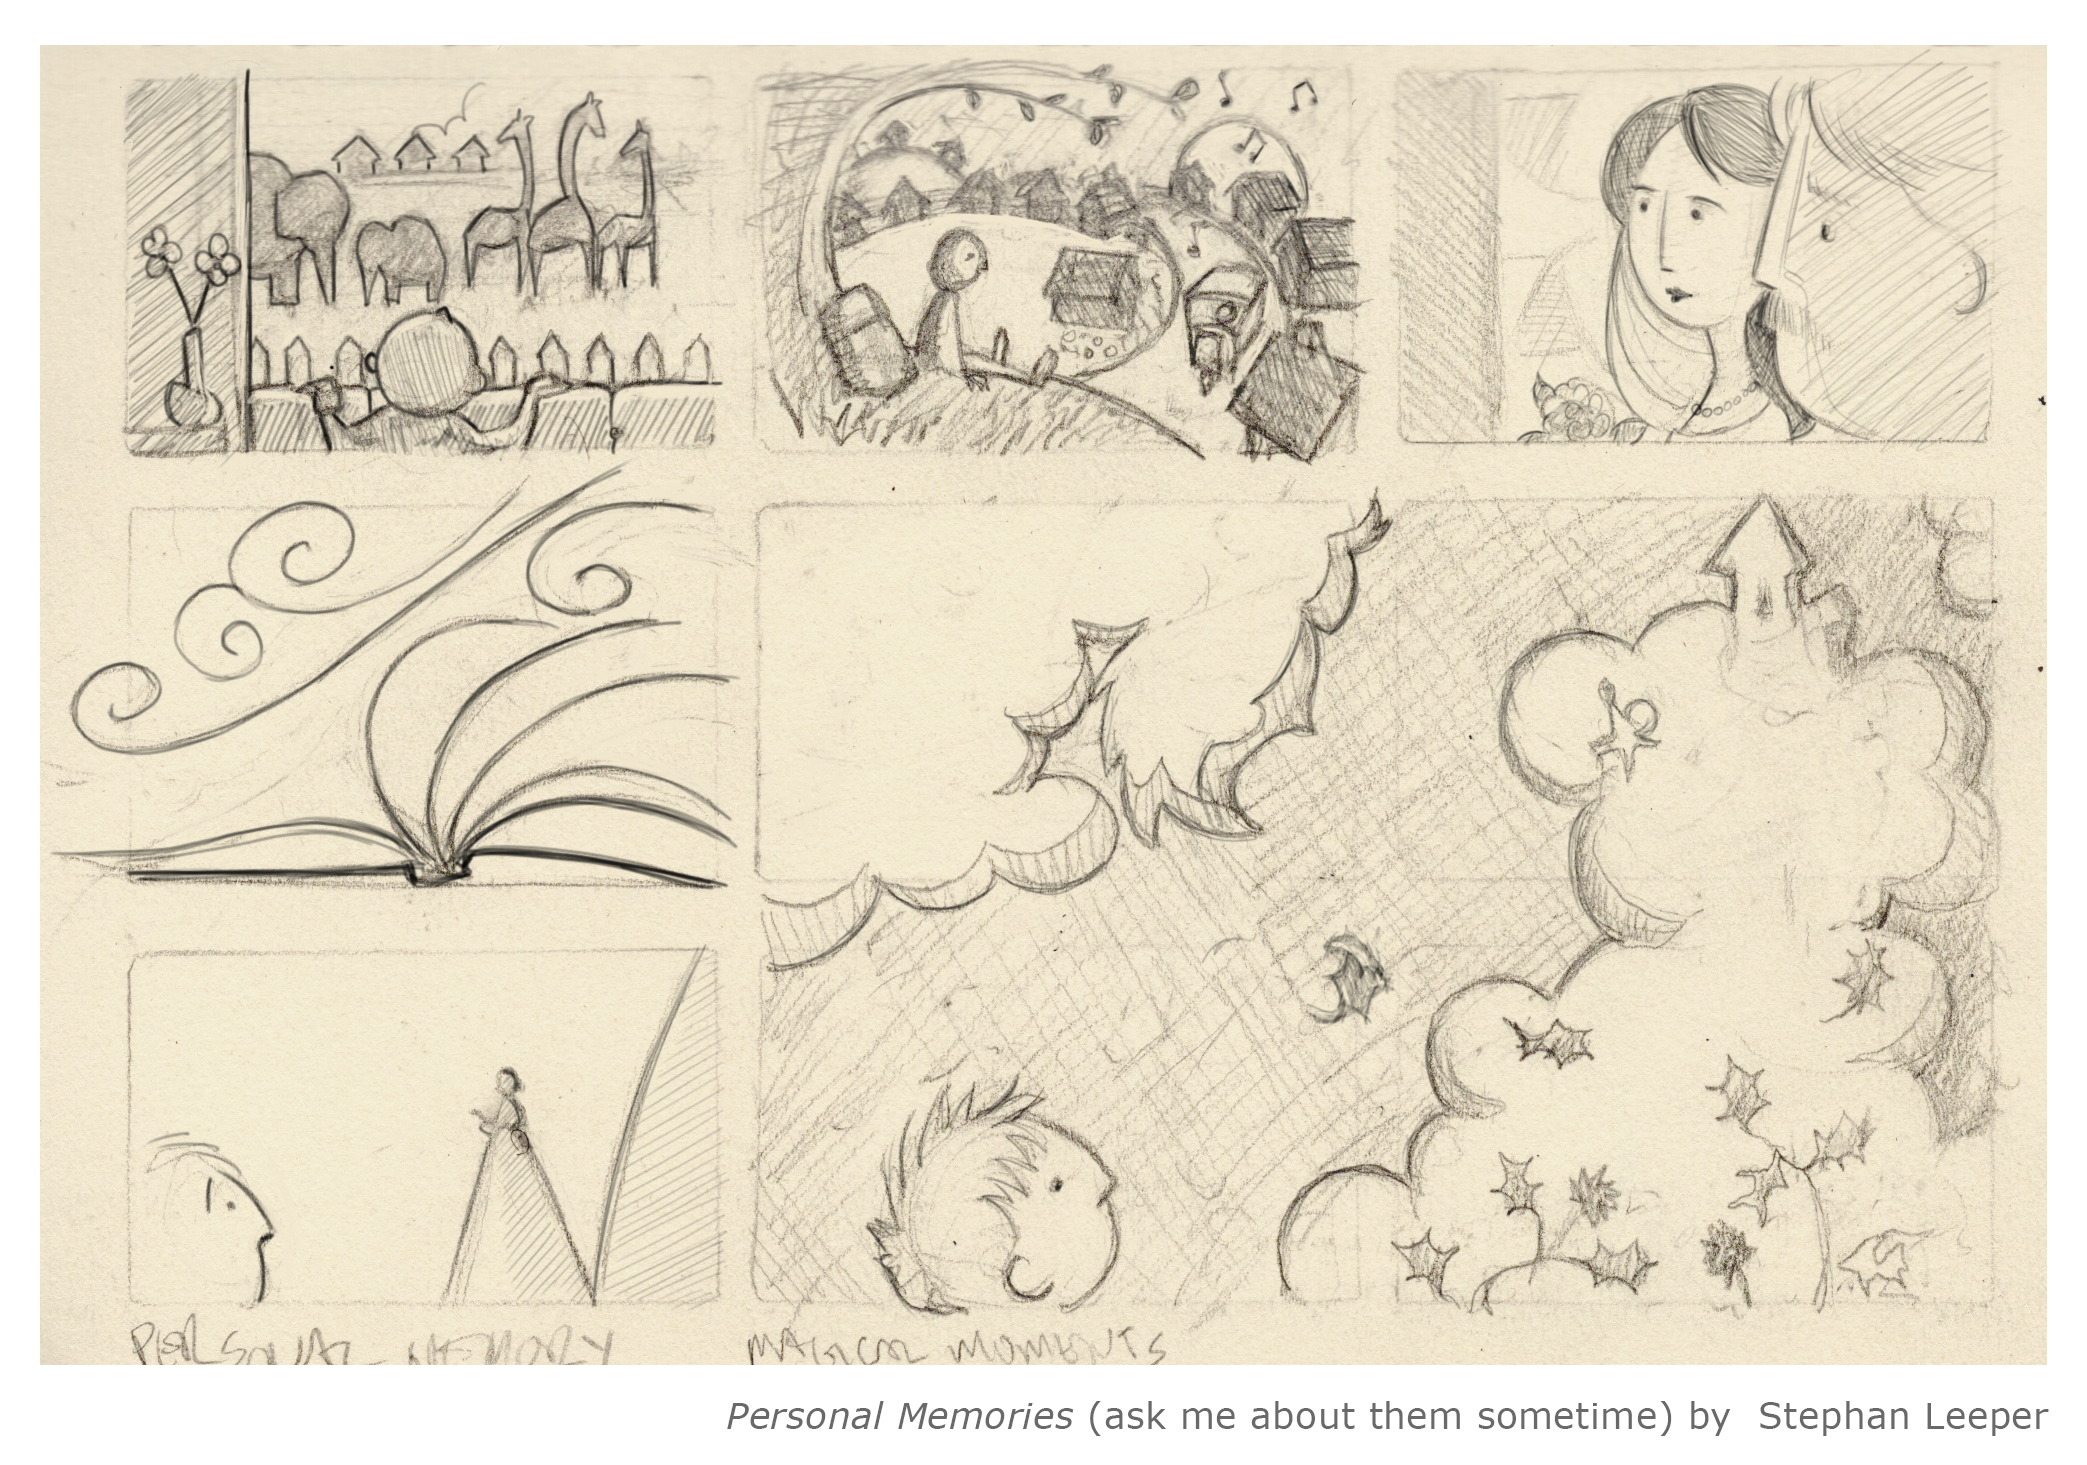
Example 1:
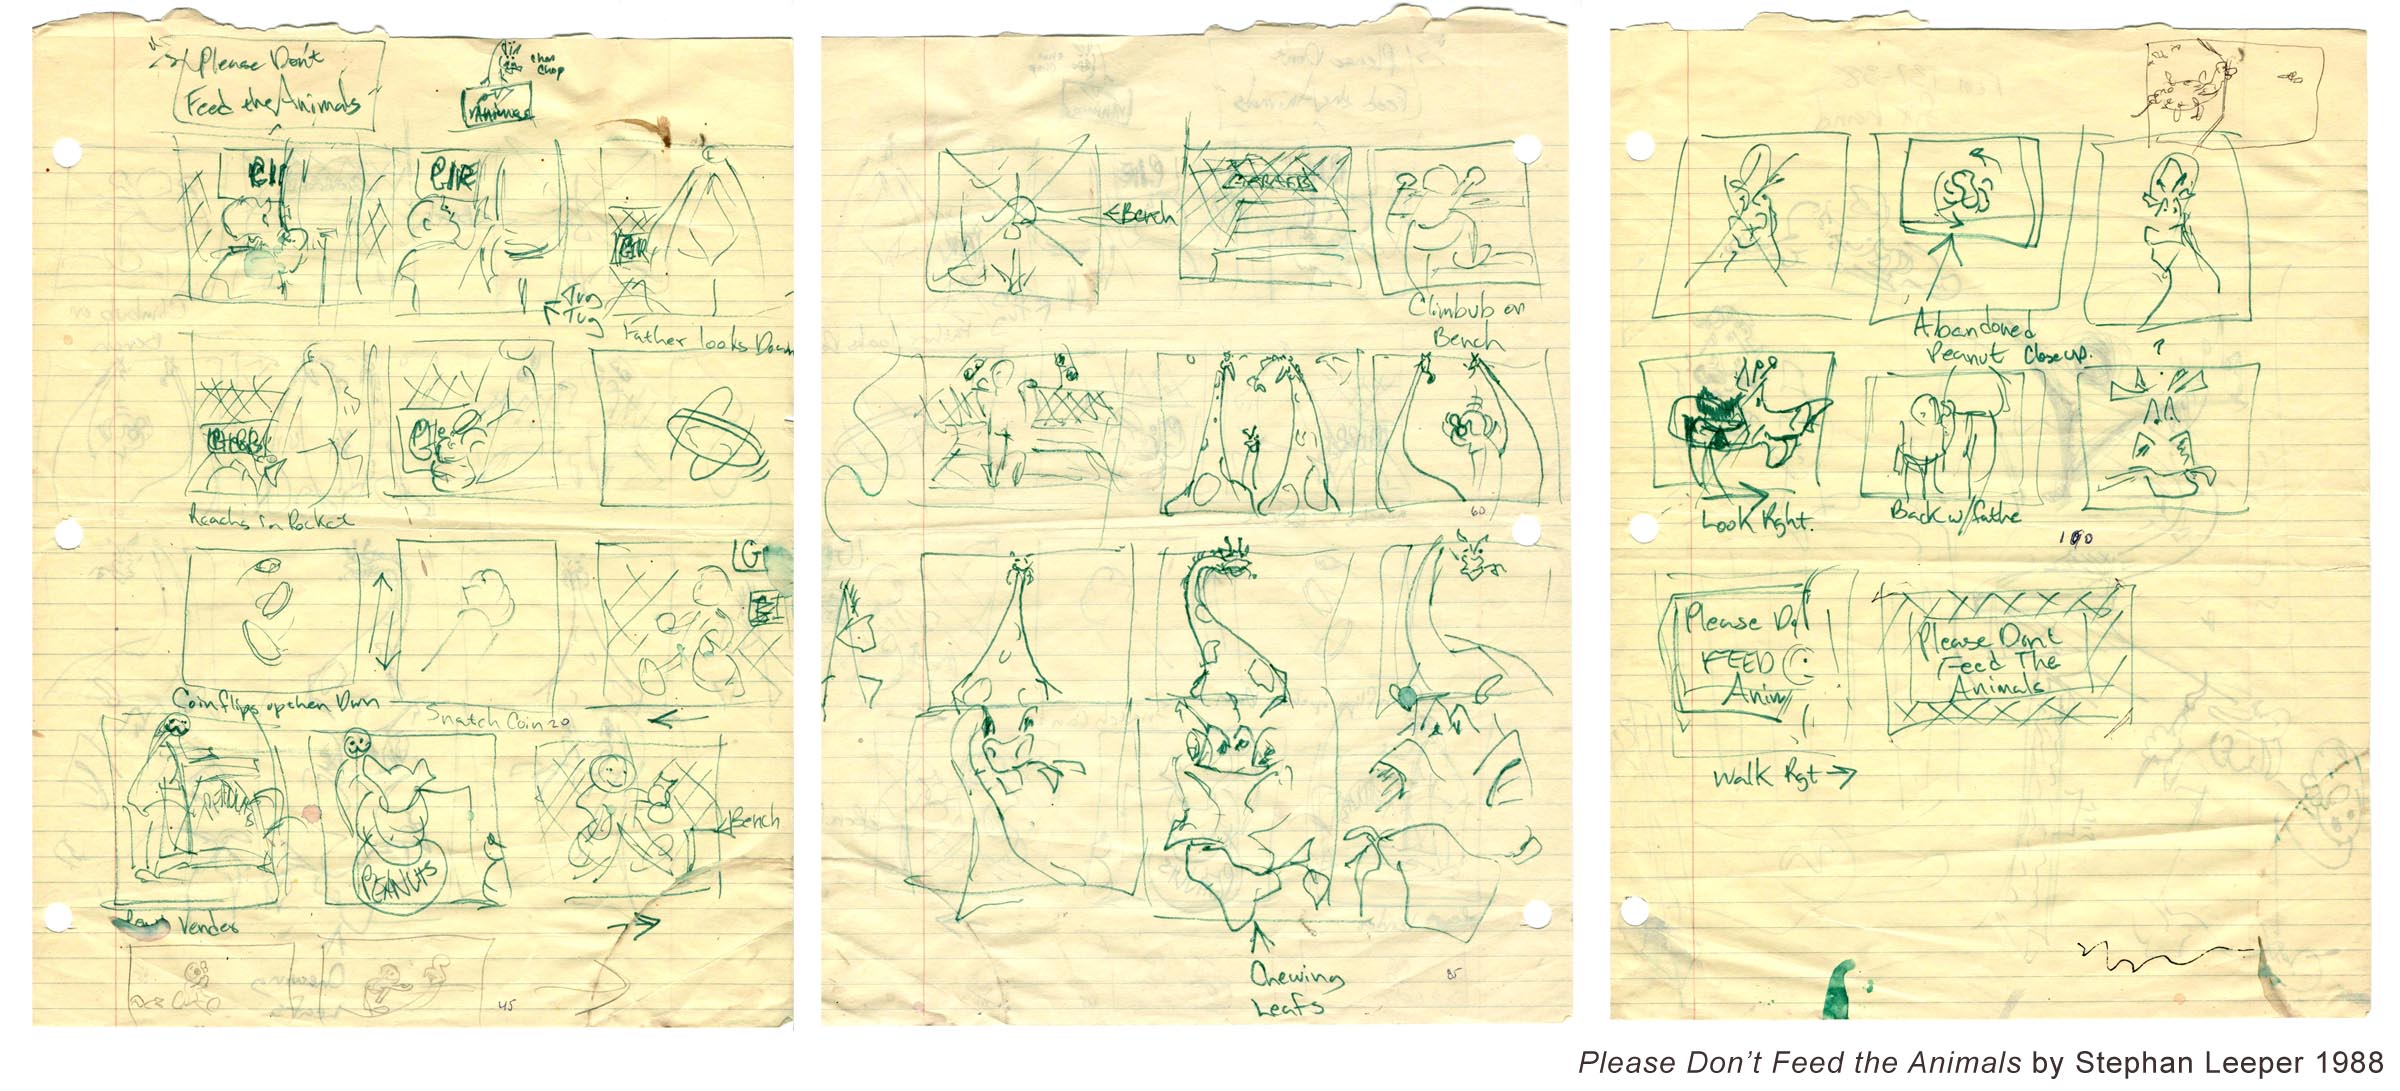
These are the original thumbnail sketches for my first student film Please Don’t Feed the Animals 1988. Maybe you can tell that we didn't have a storyboard class. :-) In this case I just thumbed it out straight ahead without even thinking about beats (we had a week to come up with boards for our first film). Had I known what I know today I certainly would have gone back over them to tighten up my images. What I ended up doing instead was refining each shot in the animation process. Not a strategy I recommend.
Example #2:
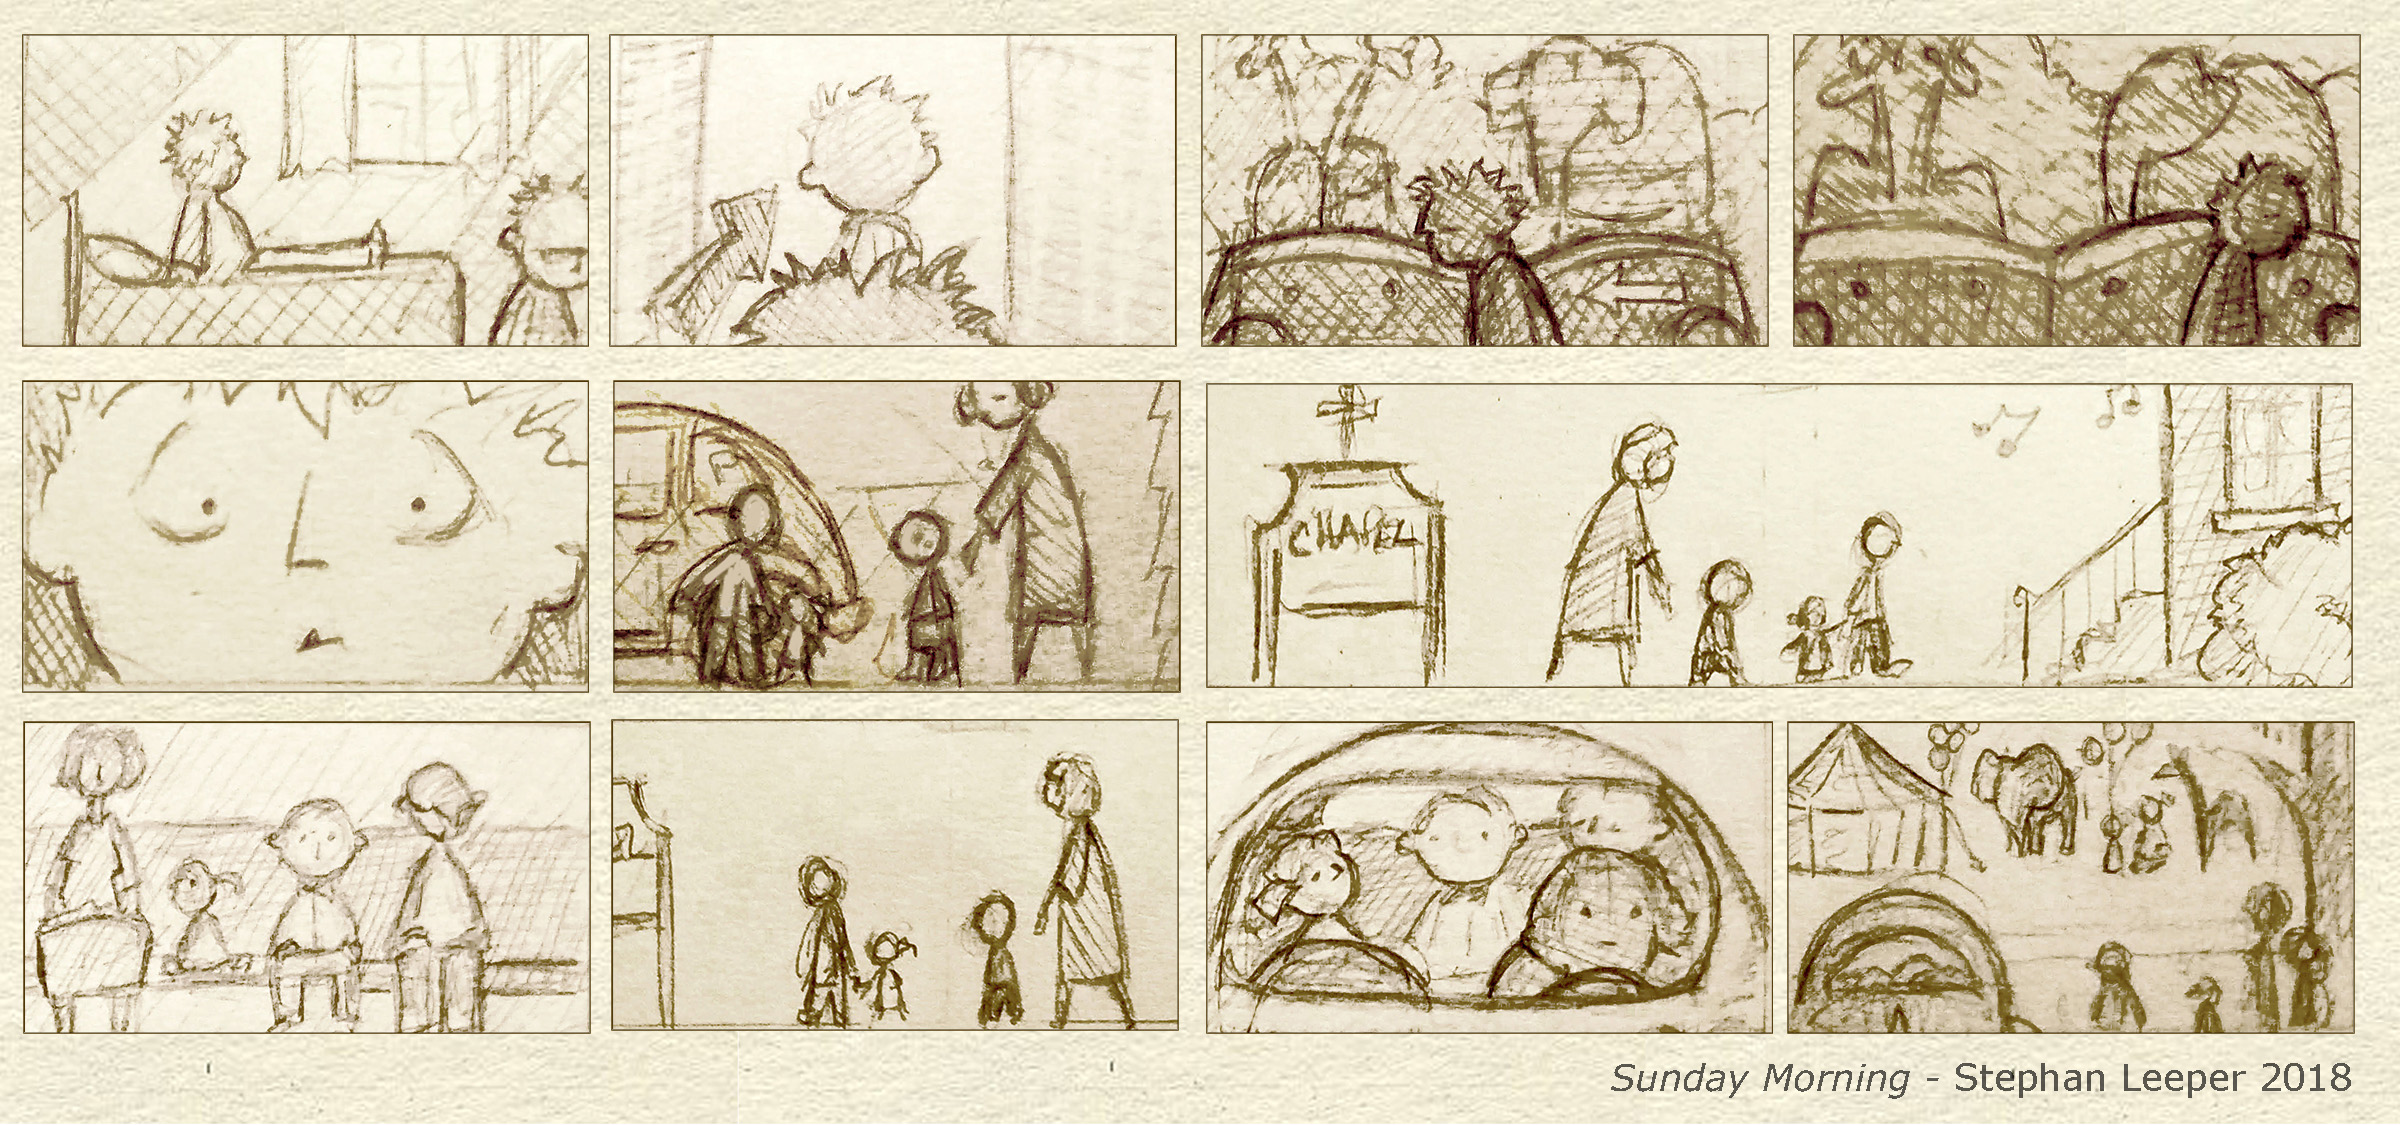
Here's the 11 panel story that came from the Sunday Morning image. Notice that the original "snapshot" never made it into the story.
Workflow:
Step 1. - Work in your sketchbook making use of the story template or use the multi-panel sheets from the Story Resource Page.
Step 2. - Use 9 to 12 images to convey a story arc (ie. beginning, middle & end). Sometimes endings can be elusive. Do your best and we can change things up later.
Step 3. - There's no need to work in order. Begin with the most compelling image and fill the story in from there. Don't worry about drawing out of sequence. Once the images are exported you can rearrange them as you see fit.
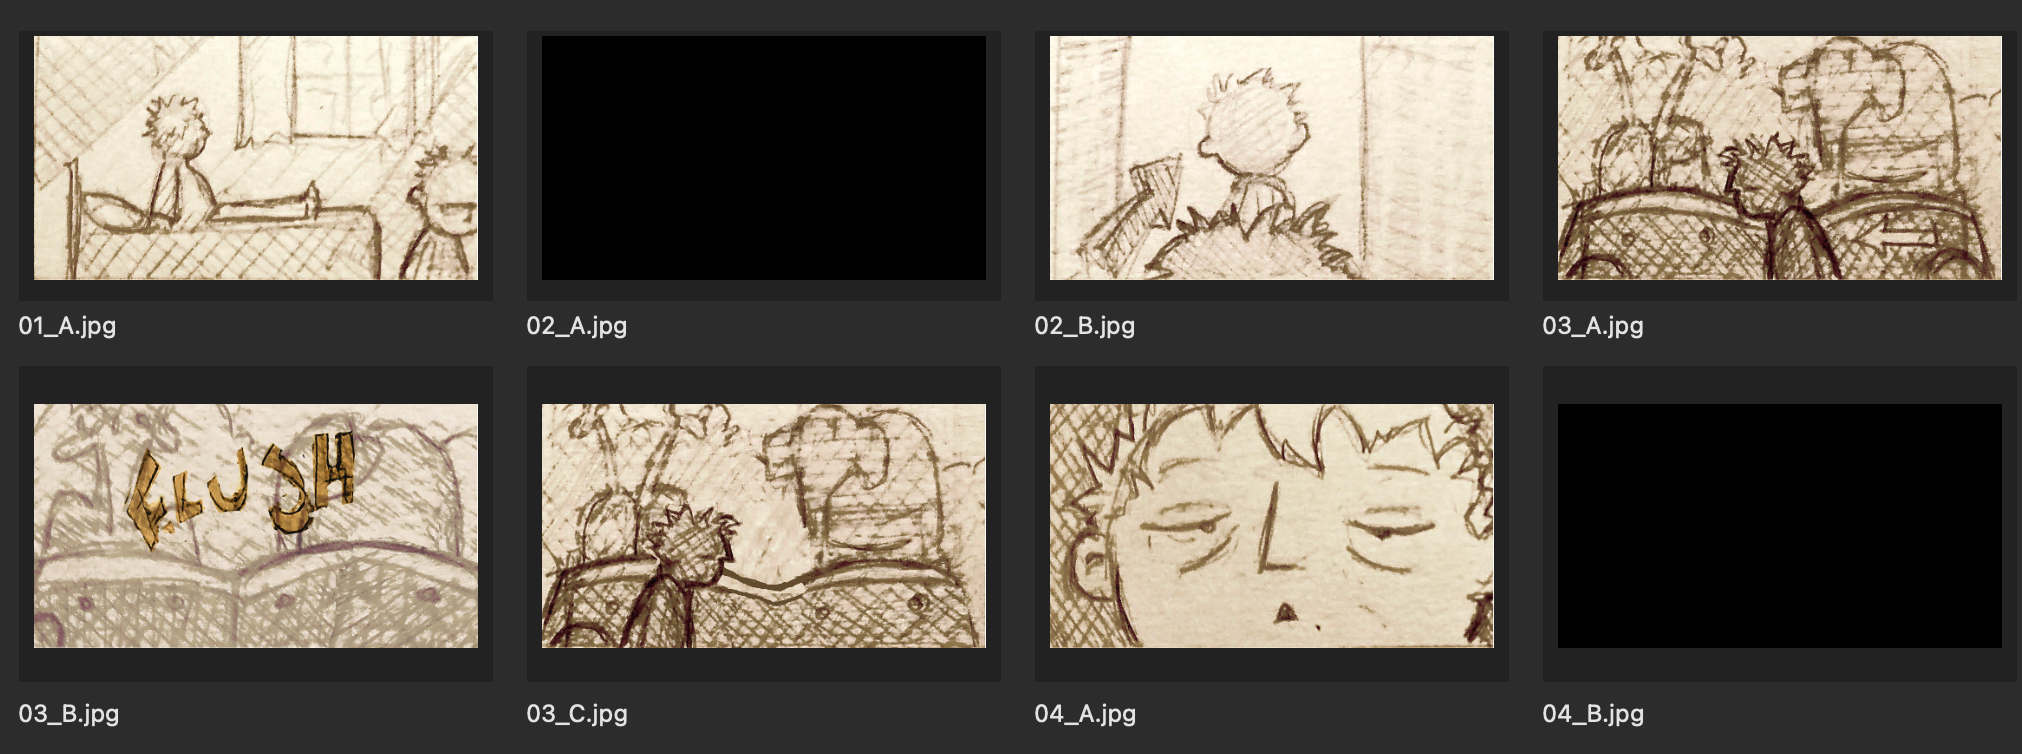
Step 4. - Once you've drawn your story beats convert them to sequential jpg files using JSL Convert and Export Story Panels Tutorial.
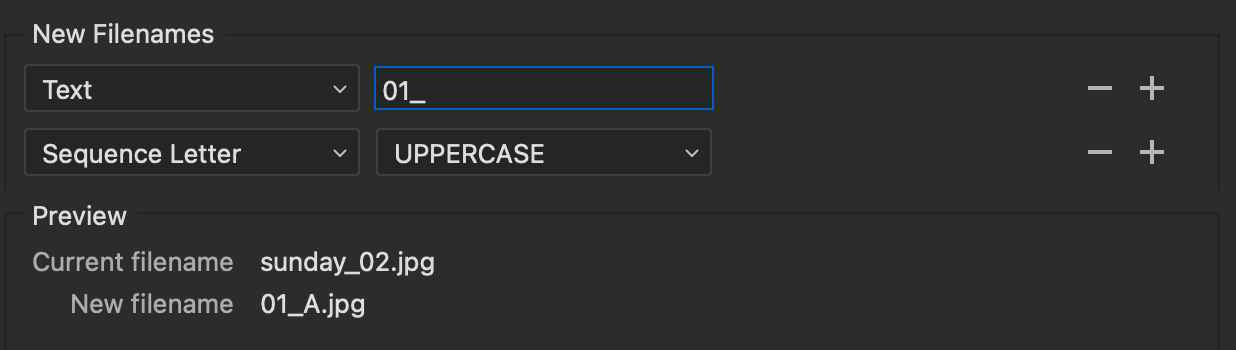
Step 5. - Use Adobe Bridge to arrange your story beats and pitch the panels to see if the story tracks. From there you can rearrange, add or remove drawings and add black frames to get your story to flow. Once you have it, use Batch Renaming in Adobe Bridge to rearrange and renumber your story beats.
Step 6. - Compress the folder containing your sequential panels and post them to the 308 Basecamp DropBox. How to compress (zip) a folder on Mac. / How to compress (zip) a folder on PC
Step 7. - Finally, come to class next week ready to pitch! I suggest you practice with Adobe Bridge. Space bar will open the selected panel in full screen view and you can advance through your images with the right & left arrow keys.
Tutorials:
Submission:
- Story beats should be numbered sequentially in a single folder, zipped and named properly.
- Upload .zip file to the Basecamp 308_Storyboarding for Digital Media/308_dropbox.
Naming: simpsonB_memory_workingTitle.zip